Introduction

Hello from sunny Sonora!
This morning I was delighted to receive an email from Hetzner telling me that my new AX41-NVMe server was provisioned with Debian and ready to go!
This post discusses the first steps I took on the new server. These steps should be the same on VPSes as on dedicated servers. The substance of the steps also should be the same on other operating systems besides Debian, although the commands will differ because different distributions use different software packaging systems.
This post assumes that you have a working ssh client on your local computer and that your ssh public key was installed on your server when the server was provisioned by the provider.
Let’s get started!
Make A Note Of The Basic Information
Hetzner’s email had basic information about the server, such as IPv4 and IPv6 addresses, the order number and date, the server number, the server’s datacenter location, and the host key fingerprint. The email also had a link to software downloads provided by Hetzner as well as a link to Hetzner’s Guide. Additionally, the email contained support addresses, office hours, and phone numbers.
I like to copy the basic information for each server and keep it in a file in my home directory on my laptop.
Update the Operating System
The first thing I did on the server was to update the operating system. Updating needs to be first, because anything else can become confusing if changes are made to local configuration and then updates want to change the configuration files.
root@Debian-1101-bullseye-amd64-base ~ # apt-get update

Get:1 http://deb.debian.org/debian bullseye InRelease [116 kB]

Get:2 http://security.debian.org/debian-security bullseye-security InRelease [44.1 kB]

Get:3 http://deb.debian.org/debian bullseye-updates InRelease [39.4 kB]

Get:4 http://mirror.hetzner.com/debian/packages bullseye InRelease [116 kB]

Get:5 http://security.debian.org/debian-security bullseye-security/main amd64 Packages [154 kB]
[ . . . ]
Get:32 http://mirror.hetzner.com/debian/security bullseye-security/main amd64 Packages [154 kB]
Get:33 http://mirror.hetzner.com/debian/security bullseye-security/main Translation-en [96.3 kB]
Fetched 30.9 MB in 3s (9,792 kB/s)
Reading package lists... Done
root@Debian-1101-bullseye-amd64-base ~ # apt-get upgrade
Reading package lists... Done
Building dependency tree... Done
Reading state information... Done
Calculating upgrade... Done
The following packages have been kept back:
linux-image-amd64
The following packages will be upgraded:
base-files bind9-dnsutils bind9-host bind9-libs bsdextrautils bsdutils
cryptsetup cryptsetup-bin cryptsetup-initramfs curl distro-info-data dpkg
fdisk gpgv gzip intel-microcode libblkid1 libc-bin libc-l10n libc6
libcryptsetup12 libcurl3-gnutls libcurl4 libexpat1 libfdisk1 libgmp10
libldap-2.4-2 libldap-common liblzma5 libmount1 libnss-systemd libpam-systemd
libsasl2-2 libsasl2-modules libsasl2-modules-db libseccomp2 libsmartcols1
libssl1.1 libsystemd0 libudev1 libuuid1 libxml2 locales mount openssl
publicsuffix rsyslog systemd systemd-sysv systemd-timesyncd sysvinit-utils
task-english task-ssh-server tasksel tasksel-data tzdata udev util-linux
util-linux-locales vim-common vim-tiny wget xxd xz-utils zlib1g
65 upgraded, 0 newly installed, 0 to remove and 1 not upgraded.
Need to get 39.2 MB of archives.
After this operation, 16.4 kB disk space will be freed.
Do you want to continue? [Y/n] Y
[ . . . ]
root@Debian-1101-bullseye-amd64-base ~ #
Security — Configuring SSHD
The second step for me is security. I like to go into the /etc/ssh directory and edit the sshd configurantion. I start by making a backup copy of the original configuration file, /etc/ssh/sshd_config, as installed and updated by the Debian installer. It’s always a good idea to be able to revert.
root@Debian-1101-bullseye-amd64-base ~ #

cp -p /etc/ssh/sshd_config /etc/ssh/sshd_config~

root@Debian-1101-bullseye-amd64-base ~ #
Then I edit the /etc/ssh/sshd_config. Usually I change the default port setting from 22 to some high port such as 17800. I also like to disable password authentication.
Changing the default port setting away from 22 and disabling password authentication are the easiest way of stepping aside from literally thousands of ssh password hack attempts.
Here are the changes to /etc/ssh/sshd_config:
root@Debian-1101-bullseye-amd64-base ~ # cat /etc/ssh/sshd_config
[ . . . ]
Port 17800
[ . . . ]
PermitRootLogin prohibit-password
[ . . . ]
PasswordAuthentication no
[ . . . ]
root@Debian-1101-bullseye-amd64-base ~ #
Please remember to restart sshd after changing the sshd_config file. If you don’t restart sshd, your changes won’t take effect until the next reboot.
root@Debian-1101-bullseye-amd64-base ~ # systemctl restart sshd
When you’re finished restarting sshd, it’s a good idea to leave your existing local ssh connection to the server as is and try logging in again from a different terminal window. Restarting sshd will not drop your existing connection. If you find that you cannot get in from the second terminal window, you can still use the first window to debug your mistake. That’s much better than getting locked out and needing to reinstall.
Also, I usually try to login from an account that lacks the local ssh key that’s needed. This test is a way of making sure password login has been disabled. If the server doesn’t ask me for a password, then the server won’t be responding to all the password hacks. The server’s access logs usually get much more peaceful after the ssh port is changed and password login is disabled.
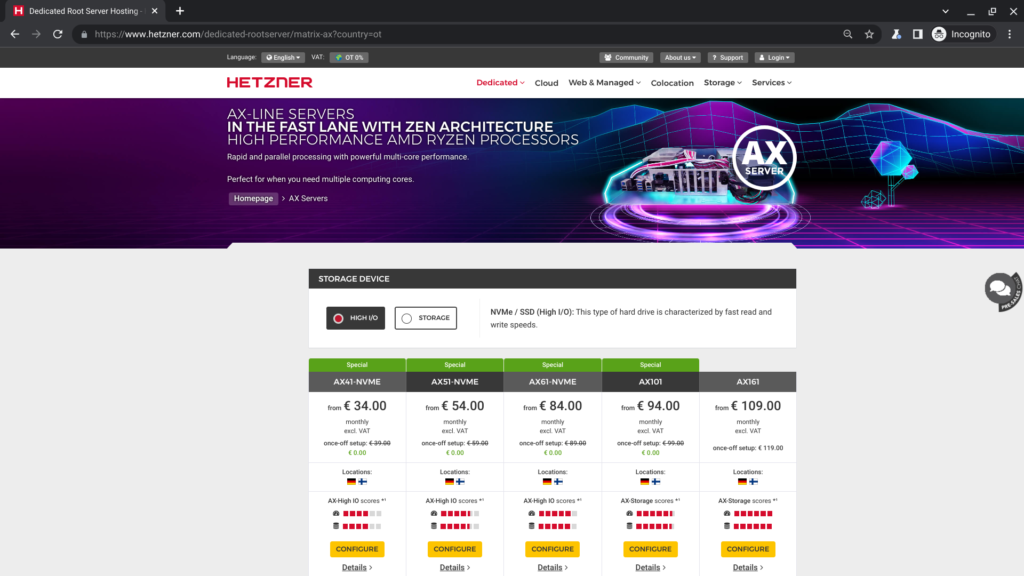
Get Your Own Hetzner AX Server!
Here is a link to Hetzner’s AX Line page for anybody who wants to get one. Or maybe even more than one!
Related Posts:
How to SSH in a Non-Permissive Environment (Behind an Unfriendly Firewall at Work or School)
Knock, Knock: How to Shield Your VPS From Port Scanning with Port Knocking
Tighten Up Your VPS With an SSH Audit! Let's Look at the ssh-audit Package...Does OpenBSD Score Hig...
The Buzz: Latest News, Gossip, and Drama from LowEndTalk
Dropbear in 2025: Still the LowEnd SSH Server of Choice?
Hetzner Terminates Kiwix With Extreme Prejudice - What Do You Think?
It feels like just yesterday—but it was actually fifty years ago—that I stood in a doorway, watching yard after yard of ASCII art scroll out of a Teletype Model 33, surrounded by a group of laughing, wide-eyed tech enthusiasts. That was my first taste of computing, and I’ve been hooked ever since.
My Low End Adventure began right here on LowEndBox, when I stumbled across the perfect deal on a dedicated server from OVH a few years ago. That moment opened the door to a whole new world of tinkering, learning, and community.
Today, I’m the proud owner of Darkstar—a lovingly maintained antique server currently colocated in Dallas, Texas at LevelOneServers.com. She may be older than most, but she runs like a champ and has taught me more than a few lessons about hardware and humility.
In addition to writing for LowEndBox and helping out as a moderator on LowEndTalk, I spend my time exploring the worlds of programming, networking, and Linux system administration. There’s always something new to learn—and luckily, the LowEnd community is filled with brilliant, generous people who are more than willing to teach.
All these years later, I’m still learning, still experimenting, and still having a blast.
It’s very, very fun here on the Low End… isn’t it? 😊


Leave a Reply