![]() The title isn’t clickbait, in fact, you can even get the domain for free…
The title isn’t clickbait, in fact, you can even get the domain for free…
A paid domain is definitely recommended, so people take you seriously, however.
(You can get one of those for as low as 99 cents here.)
Outside of that? This is a grand total of free-ninety-nine.
Better yet? We’ll do it in four easy steps.
I should first note, though:
This is primarily for WordPress sites where the emphasis is on the content, so traditional blogging or websites.
If it’s for a use case like WooCommerce, a WordPress forum… or something that would require constantly pulling/pushing of information to a database like those applications, this tutorial also probably isn’t for you.
That being said, let’s get right into it…
Step 1) Download LocalWP
LocalWP is an extremely simple and beginner friendly tool for local development and staging.
Basically, we still need to be able to host a WordPress site… we just don’t have to do it publicly.
We’ll do that with LocalWP.
First you’ll want to click here to download it, and create an account. It’s free.
You’ll see a screen like this:
If you already have a WordPress site and are looking to host it for free…
You can take your wp-content folder as well as a dump of your sites database (.sql) and zip it up into a folder and import it with the bottom option.
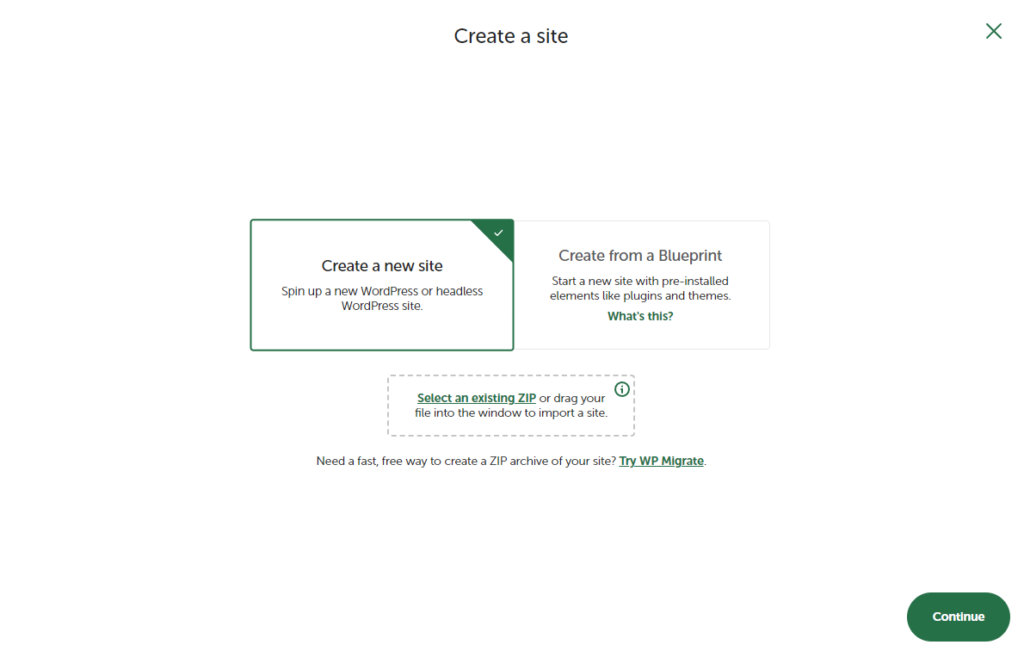
If not, which I assume is the most likely option… then, you can simply click “create a new site”.
Afterwards, you’ll see three different steps:
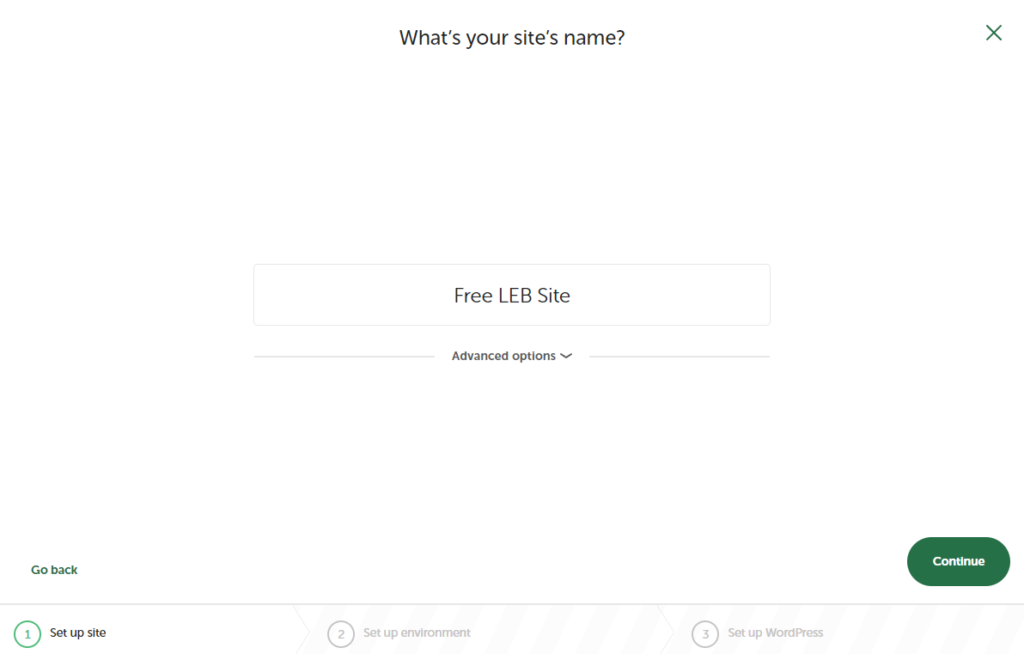
Name your site to your hearts context…
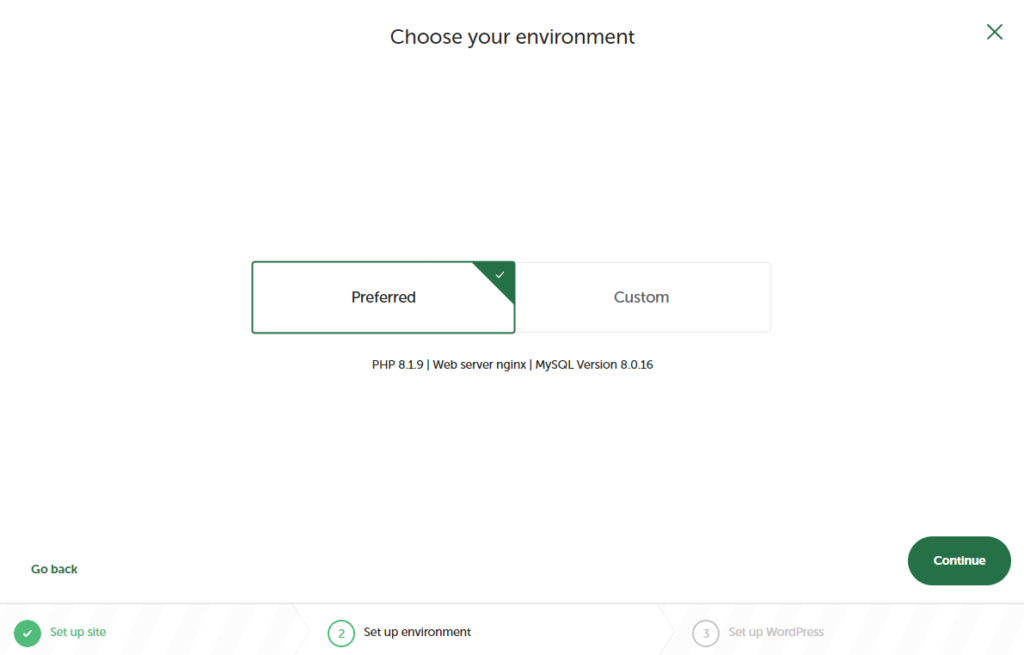
Leave everything stock.
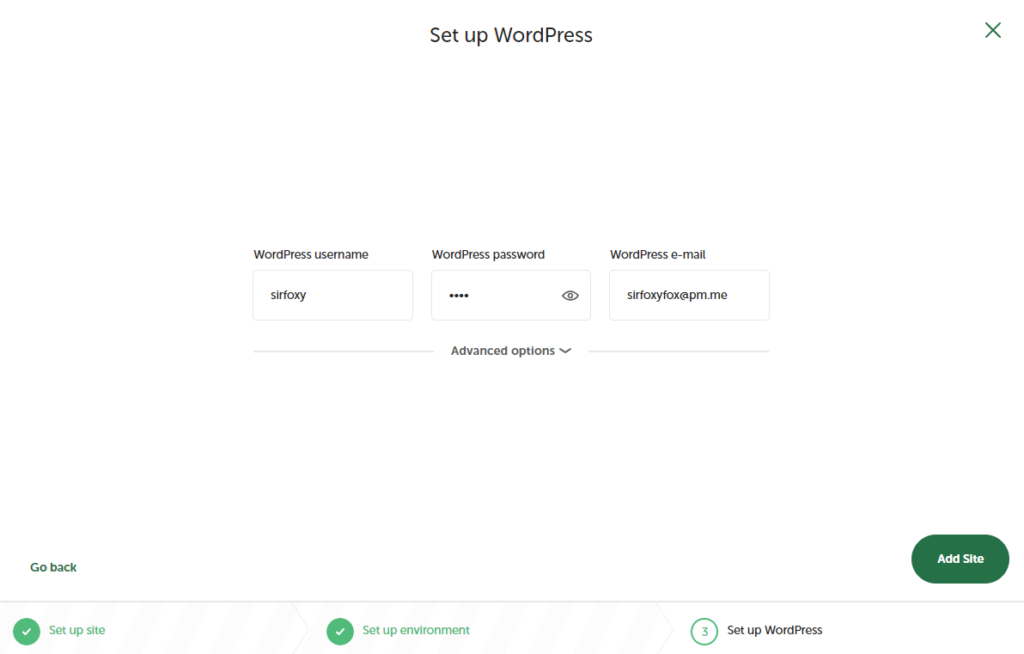
And last, but not least, fill out your admin information accordingly and click “add site”.
Now, you have your very own local WordPress installation:
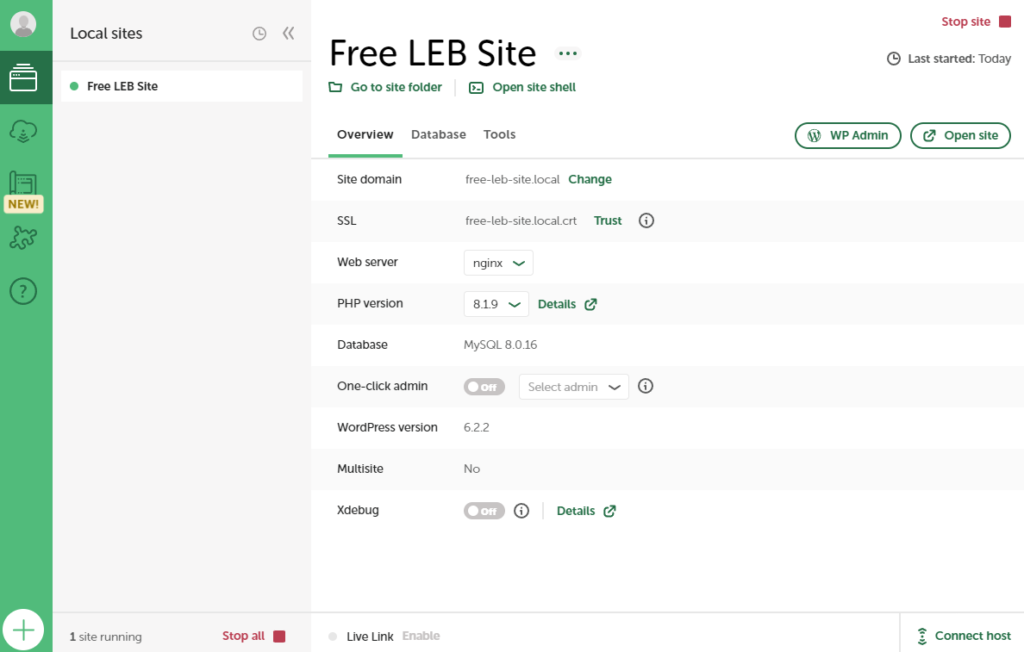
(Make sure your site is running as it should be after the creation process finishes, it should say “stop all” in the corner if it is.)
If you haven’t already, make sure to change the site domain to the domain you’ll be using.
If you leave it as the Your-Site.local domain seen above, the plugin we’re using later to export our site will fail.
By the way:
When developing locally, any domain you will put there will work. It doesn’t have to be active.
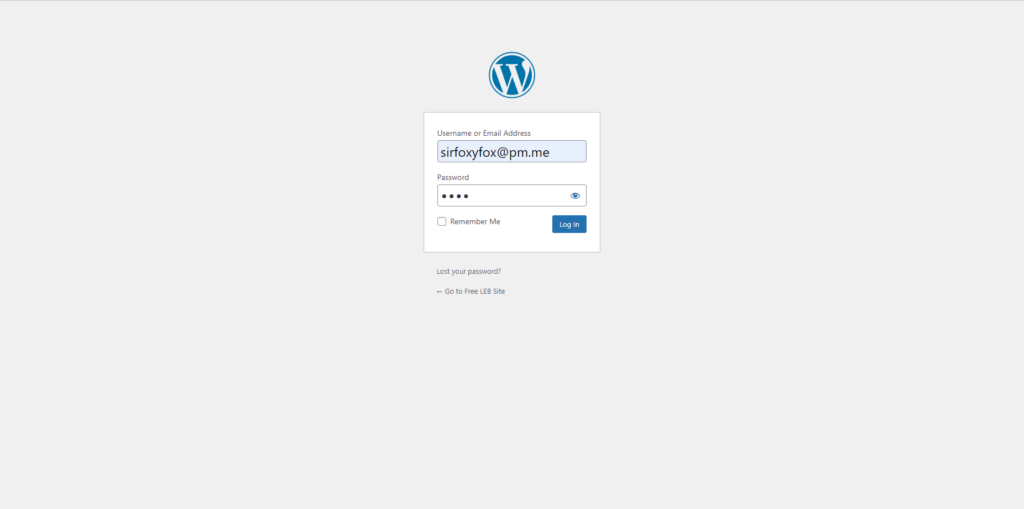
After you get your domain set, go ahead and click the “WP Admin” button.
You’ll be greeted with the standard login:
Step 2) Customize and Create Until Your Hearts Content
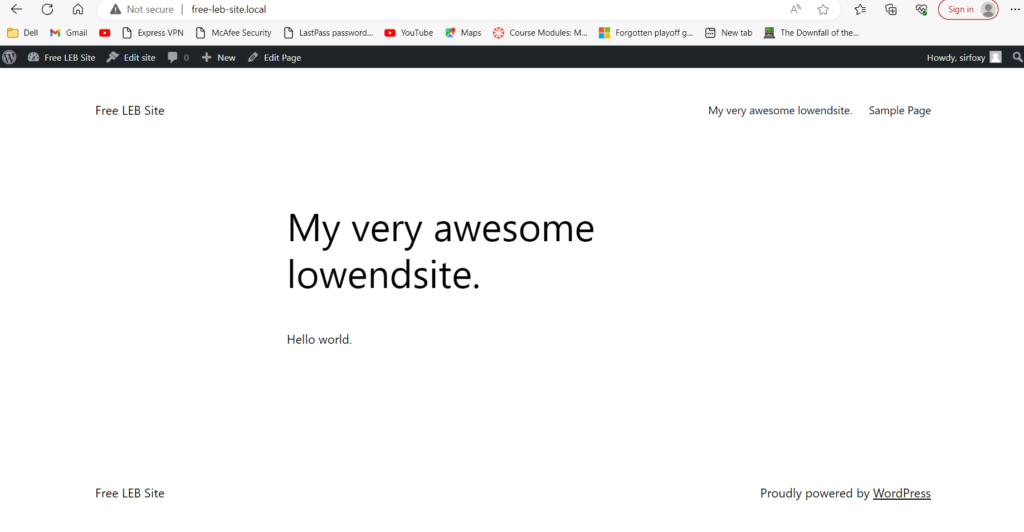
After you login, you’ll realize pretty quickly everything you do is identical to the experience as if you were paying to host it and were remotely accessing your site on a server.
The only difference is it’s much, much faster.
You can do anything you would normally, such as:
- Add new pages
- Publish blog posts
- Customize your site
- Install new themes
- Install new plugins
- And beyond
Of course the public won’t be able to access your site yet, which is fine.
The important part is you customize your site and get it to your liking before we get to the next step.
By the way, yes, you can update your site in the future and all your posts and customizations will be saved.
That means this way you can have a secure (offline, on your own computer) content management system like WordPress was meant to be, and then afterwards you can simply…
Step 3) Export Your Site
Normally, WordPress is dynamic… meaning it uses a database to load your website and content.
If we install a WordPress plugin called Simply Static, we can export just the static pages alone – which will still be a fully functional WordPress site, just without the database part.
That’s how we’re going to be able to host it for free.
Go ahead and download and activate Simply Static on your local WordPress site:
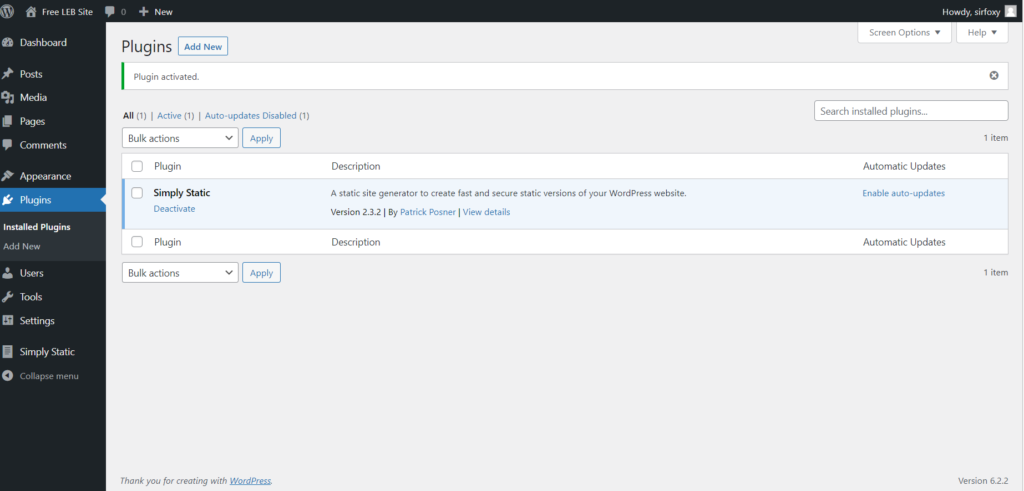
Then click on it, select “save for offline use” with “local directory” as the delivery method and finally, click “generate static files”.
If you’re on Windows, that should output to C:/Users/YourUser/Local Sites/YourSite/app/public_static/ – if not, simply find the export location.
Afterwards, you’ll see this:
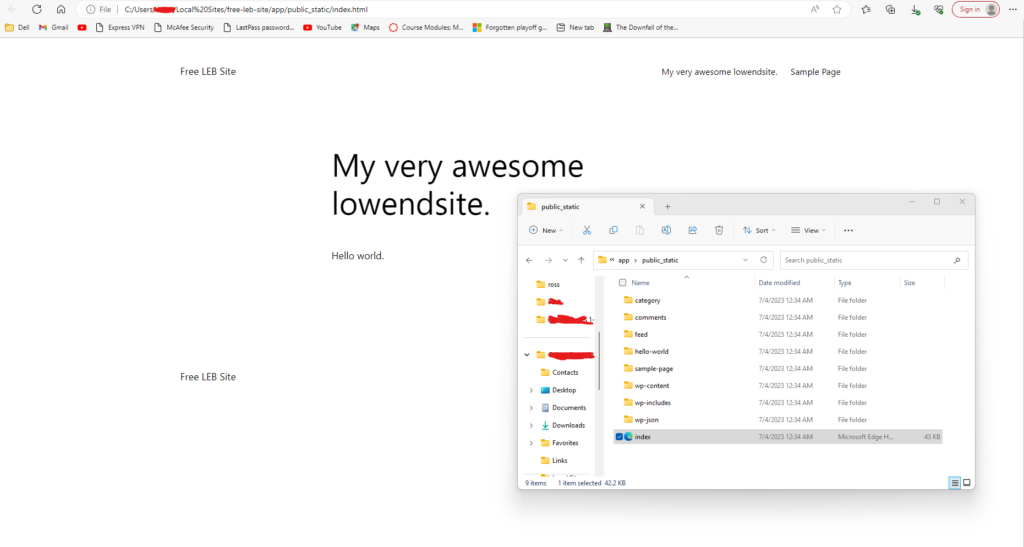
That is your entire site converted into a static format. Instead of being index.php, it’s index.html.
You no longer need to pull information from MySQL… just what we needed to do this for free.
Step 4) Upload to GitHub Pages (or Alternatives)
You’ll need to make sure you have a GitHub account first. It’s also free.
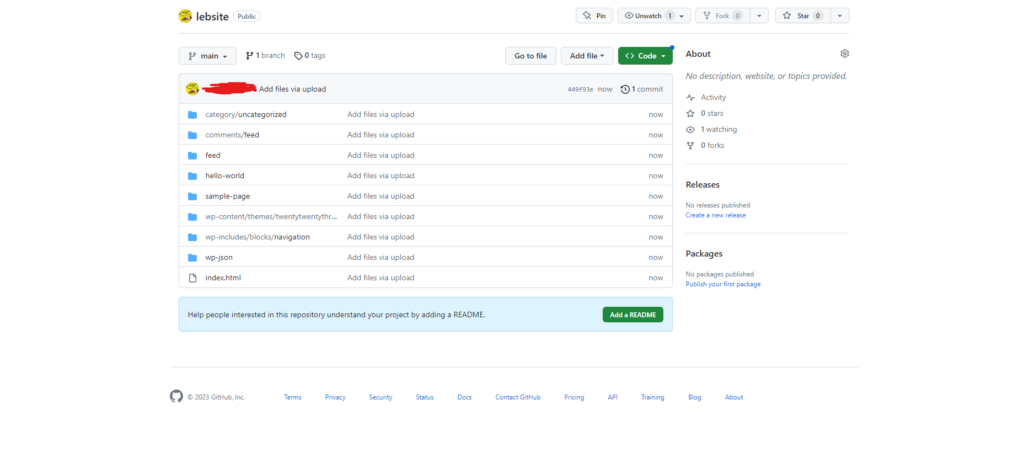
Then, you’ll need to create a new repository:

Make sure it’s set to public status, and then click create.
Next, we’ll upload the entire folder we just created from our local WordPress installation:
And finally, click on your settings tab and go down to the “Pages” tab – you’ll need to enable pages, and then it’ll give you a free domain.
It’ll be YourUser.github.io/YourRepository originally, but you can also add a custom domain as well:
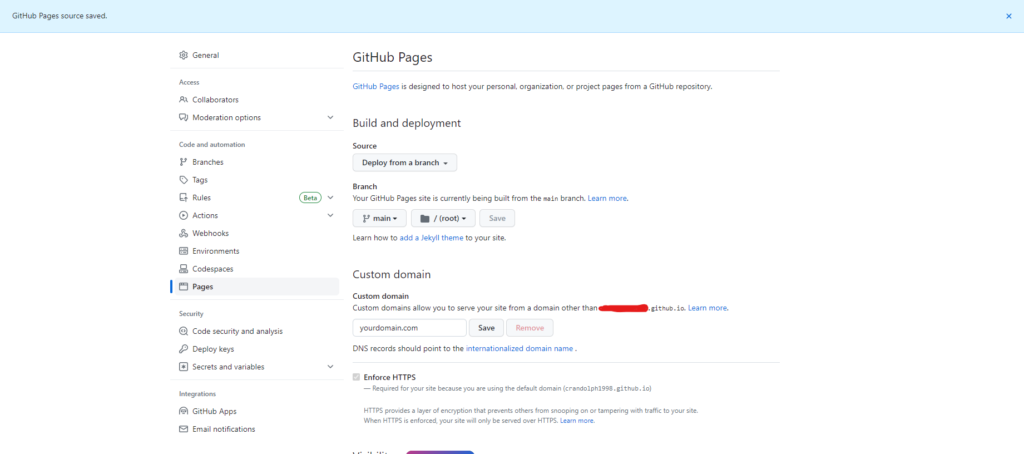
Just in put the custom domain into the box, and make sure you point your custom domain to your internalized domain which will be the .github.io one mentioned above.
They also have some very straightforward documentation here about adding custom domains to GitHub pages.
There You Go! Free WordPress Hosting for Life
That’s all you need to do to create a WordPress site for entirely free.
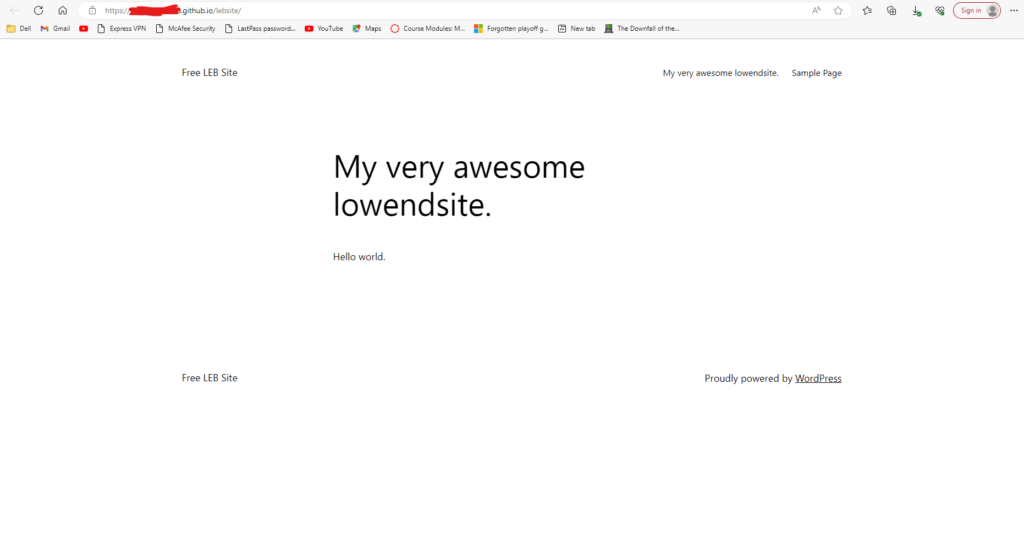
(Our site, as shown in the URL is now served on the internet instead of locally.)
Just setup a local installation, do all of your customization and creation on it, then export it to free static site hosting.
Extremely simple, and there’s alternatives out there you could use like CloudFlare pages or Netlify, too.
It’ll even be faster than most paid WordPress hosts because you won’t need to pull or push to a database.
Next time to update your site, you’ll simply need to update the static files you just uploaded (or add new ones).
I love running WordPress sites this way because not only is it optimized (and more secure than default, because you can’t hack a static site like you could a dynamic one), but you’re also essentially getting a drag and drop page builder that requires zero coding and gives you the ultimate level of customization.
It’s a win/win scenario, if you ask me.
Related Posts:
Want to Guess How Many Spam Comments We've Blocked Since 2016?
⚡️Turbocharge Your WordPress Site with Bunny.net CDN⚡️
How to Add Two-Factor Authentication (2FA) to WordPress in About 2 Minutes
LowEndBoxTV: FASTER CORES vs MORE CORES? Is Ryzen 3x the Speed of Epyc for WordPress?
The Vexing WordPress "Missed Schedule" Issue - How to Fix It, Permanently
The Top Free Website Builders: Expert Tested and Reviewed
I write things sometimes. Contact: hey@sirfoxy.com


How about comments and search? These are not working with static WordPress unless you use some third – party software integrated in your static website.