Kimai is an open source time tracking software. It tracks work time and reports can be retrieved from the dashboard based on different criteria. Kimai can be run on a single user machine or can be installed on any web server that runs on PHP and a database. MySQL is the preferred database for running Kimai time tracking software.
In this tutorial, we will be showing how to install Kimai on Ubuntu 16.04.
Requirement
The following are the minimum requirement to run Kimai on a web server.
- MySQLi, php-xml and iconv extension for PHP
- PHP 5.4 or above
- A MySQL database
If you haven’t gone through our LAMP stack installation tutorial, please go through it and install LAMP stack on ubuntu machine
The basic requirement to run Kimai is a web server with PHP and MySQL. The LAMP stack installation satisfies the basic requirement for Kimai open source time tracking software installation. The following steps will guide through the installation of Kimai.
Before installation starts, please run the following command to the putty box to update the system repositories
sudo apt-get update
Install PHP-XML on Ubuntu 16.04
php-xml is a required extension to run Kimai on the web server. You need to install this extension on Ubuntu 16.04 before the Kimai installation starts.
Please use the following command in putty box to install php xml extension on server
sudo apt-get install php-xml

Preparing Directory for Kimai
I will be installing the Kimai on my demo server over the domain name example1.com/kimai. So I will change my directory to the public root of my domain name example1.com and create a new directory named Kimai.
cd /var/www/example1.com/public_html
Create a new directory
mkdir kimai
change the present working directory to Kimai
cd kimai
Download Kimai Package
In this step, we will fetch the latest Kimai stable version into our server. Please use the following command to fetch the version 1.1.0 which is the latest stable version available by the time of writing this article from the official website
Use the following command to fetch the zip package
wget https://github.com/kimai/kimai/releases/download/1.1.0/kimai_1.1.0.zip
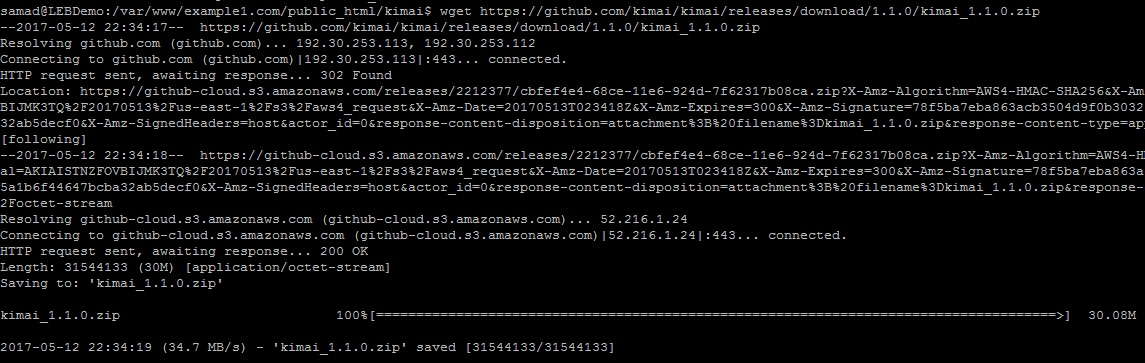
Now you will have kimai_1.1.0.zip on the current directory. Extract it using the following command
unzip kimai_1.1.0.zip
After extracting the zip file, the directory structure will look like as below
kimai
|– COPYING
|– INSTALL.md
|– core
|– error.php
|– extensions
|– favicon.ico
|– forgotPassword.php
|– includes
|– index.php
|– installer
|– js
|– kimai_1.1.0.zip
|– language
|– libraries
|– processor.php
|– skins
|– templates
|– temporary
`– updater11 directories, 8 files
Now go ahead with next step which will guide you through the creation of database required for running Kimai time tracking software.
Create Database for Kimai
A database needs to be created for Kimai before starting with the installation. This database details will be required to complete the web browser installation. Please follow the below steps to create a database and user with proper permission to manage tables.
Log in to the database using the following command and enter the MySQL root password when it asks.
mysql -u root -p
Create a database using the following command. I’m using the database name as kimai. You can replace it with any name you wish
CREATE DATABASE kimai;
Now create a database user using the following command.
CREATE USER ‘kimaiuser’@’localhost’ IDENTIFIED BY ‘Ki3@iP@55’;
Where,
kimaiuser is the database user name and Ki3@iP@55 is the password for the database user. These two values can be replaced with any name and password.
The following command will give full access to the database kimai for the user kimaiuser. Replace database name and username with your actual database name and username created in the above step.
GRANT ALL ON kimai.* TO ‘kimaiuser’@’localhost’;
Flush the privileges using the following command
FLUSH PRIVILEGES;
Now exit the database using the exit command
exit;
Now you are all set to go with the web browser installation
Installing Kimai using Web Browser
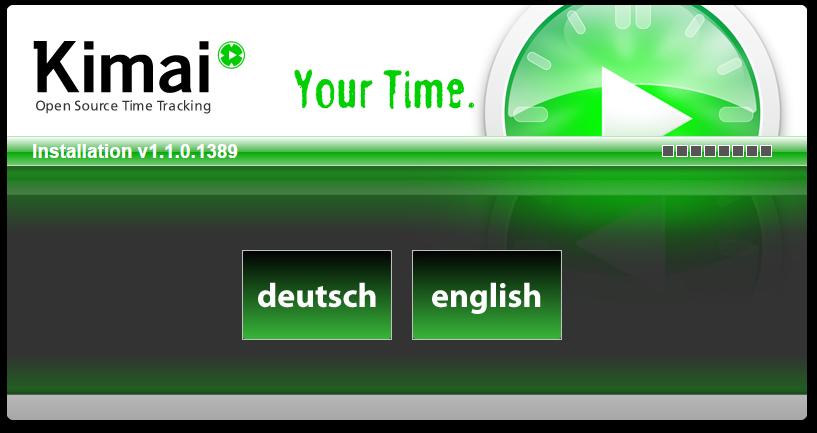
Once you have all the necessary files on your web server, further installation can be done using the web browser. Just launch your domain name on the web browser to start the installation.
In my case, I will use example1.com/kimai to start the installation of Kimai. This will redirect you automatically to the installation process.
Just choose your language and go ahead with installation
In the next step, read and agree to the Kimai terms of service to continue with installation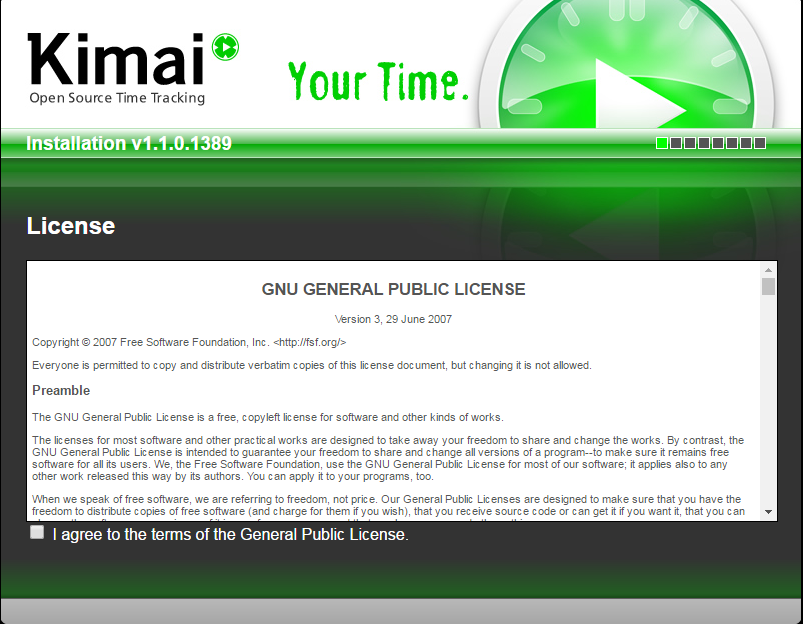
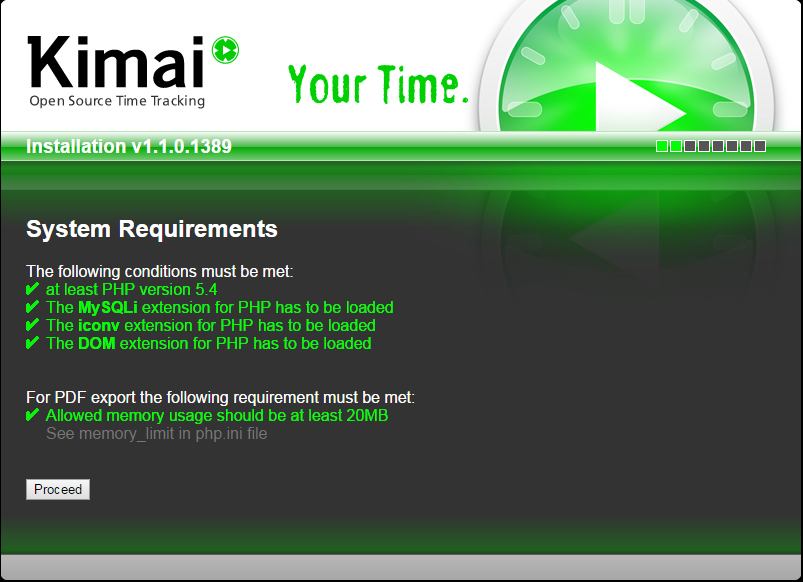
System requirement will be checked by the installation script in the next step. Please proceed with the installation if everything is perfect.
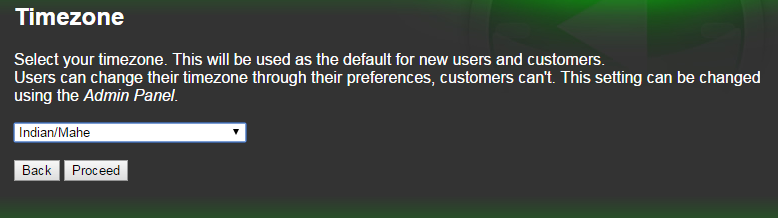
The next step will ask you to choose the time zone. This can be later changed using the admin panel. This will be the default time zone for the users and customers. However, users can change it from the dashboard.
Most probably, in the next step, you will receive a file permission error message as like below
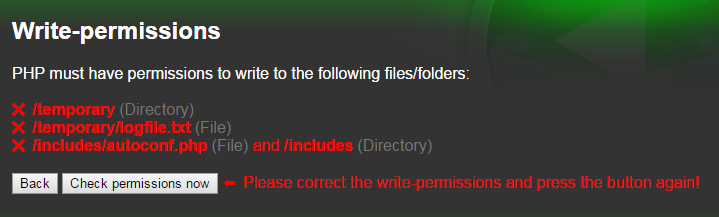
You need to fix this issue by giving proper permission to the files and folders. Run the following command to give the proper file permission and continue with the installation
sudo chmod 777 temporary includes
click on the “Check permissions now” button to recheck the permission after changing the permission. It will look like below now
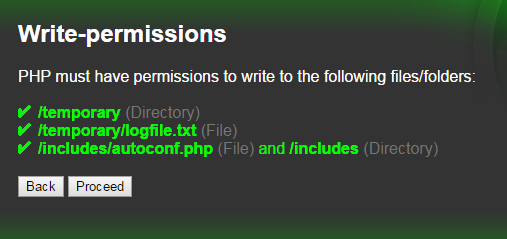
Now you are ready to proceed to the next step. In this step, you need to input the database user details.
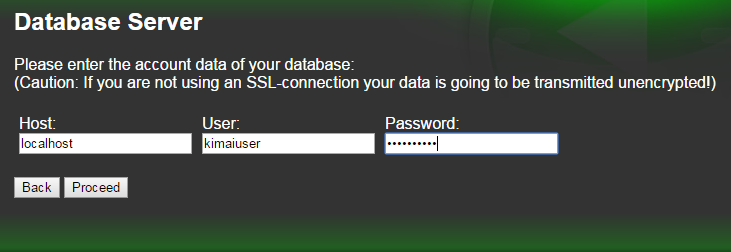
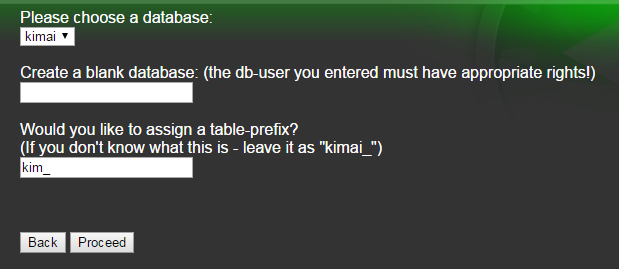
Proceeding to the next step will list all the database names that are accessible by the given user. In our case, it will be only one database which we have created earlier. Choose the database name and enter a database prefix. It is better not to use the default prefix value.
Proceed to the next step which will list all the configuration details that are ready to write into the configuration file.
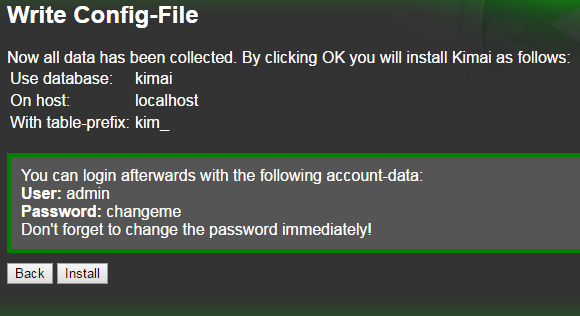
Click on the Install button once you are ready to go!
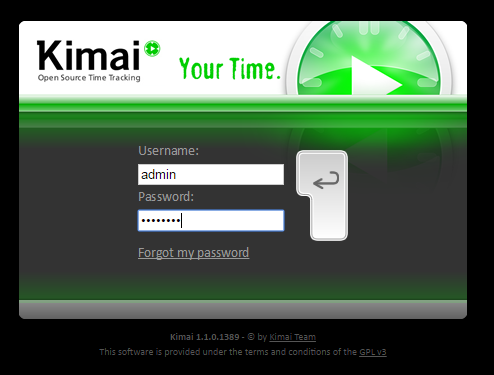
After the successful install, you will be redirected to the admin login page. You can access the admin panel using the username “admin” and password “changeme”
Before you proceed further, you should perform the following two things
- Remove installer directory from server ( This will stop others from reinstalling Kimai)
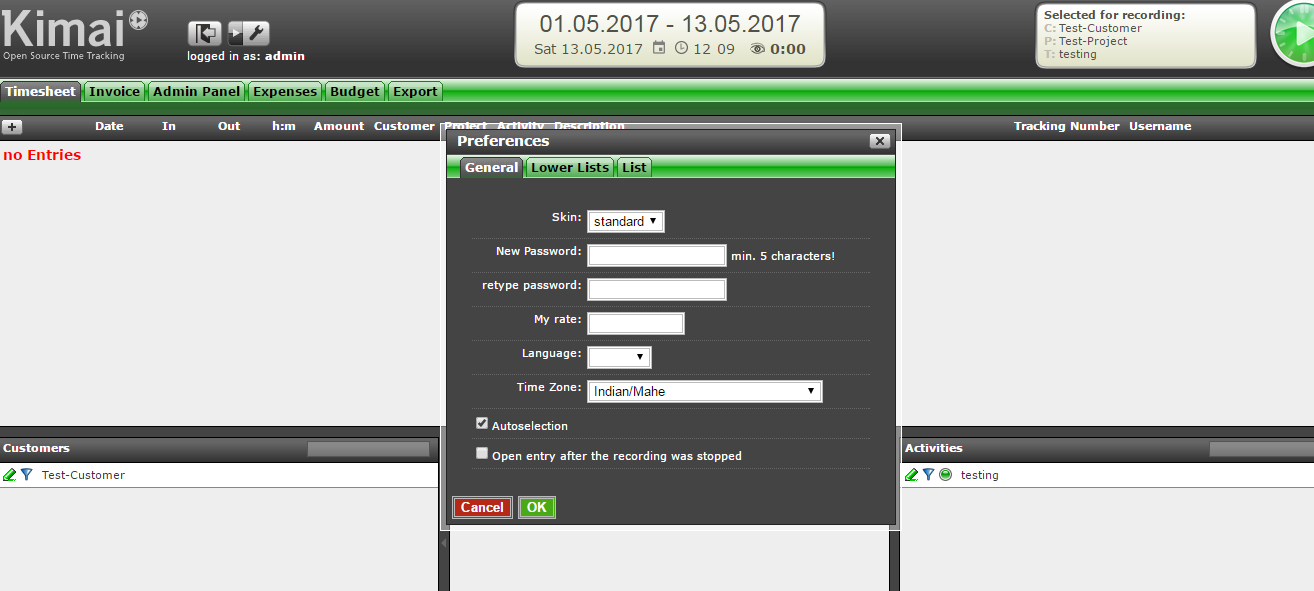
- Change the admin password (You should change the login password immediately after the first login)
You can change the password from settings -> preferences option from the dashboard.
Hope this tutorial helped you to install Kimai on your server successfully. Thanks for reading!
At LowEndBox, our News and Editorial Team is dedicated to delivering timely, accurate, and actionable content tailored to the needs of developers, hosting enthusiasts, and infrastructure professionals. We curate, report, and analyze the latest developments in the world of hosting, cloud infrastructure, data centers, open-source platforms, and internet services, always with a focus on value, performance, and accessibility.
Our team monitors the global hosting landscape to bring you breaking news, vendor updates, platform changes, market trends, and expert insights. Whether it’s a price hike from a major control panel, a breakthrough in virtualization technology, or a new indie provider shaking up the market, we strive to deliver content that empowers the LowEnd community to stay informed and ahead of the curve.
We also collaborate closely with the vibrant LowEndTalk community to surface meaningful discussions, highlight real-world deployments, and share voices from within the ecosystem.
Our mission is simple: to help you make smarter infrastructure decisions by delivering the stories that matter, clearly, consistently, and without hype.
Stay tuned for fresh editorial content, in-depth analyses, and community-powered features from the team that keeps LowEndBox running.


I cannot thank you enough for the blog post. Really looking forward to reading more. Great
Hi, I really need a How-to (step-by-step.. because I’m a newbie linux user) for a Kimai integration with Active Directory, I read many docs and I can’t understand that configuration.
I use a Windows Server domain, and Ok, but the Kimai configuration is a mistery for me.
Remove installer directory means, which one? could you please elaborate this step as well.