 Bunny.net is one of the fastest and most affordable CDNs on the market. They also participate in our community, which makes them a provider you should consider.
You might enjoy our interview with the founder.
This tutorial walks you through configuring Bunny.net with WordPress.
Why Use Bunny.net with WordPress?
Bunny.net delivers your static files (images, CSS, JavaScript) from servers around the world, reducing latency and improving page load speeds. They offer:
- Over 100 global PoPs
- Pay-as-you-go pricing (as low as $0.01/GB).
- Image optimization and edge rules for advanced control.
- Easy integration with WordPress caching/CDN plugins.
In this tutorial, I’ll be configuring wordpress.lowend.party, which is a 1GB VPS from Vultr in Tel Aviv, Israel. I chose this location because it’s on the other side of the world from me. I configured WordPress as normal. I created a bunch of fake content using the FakerPress plugin.
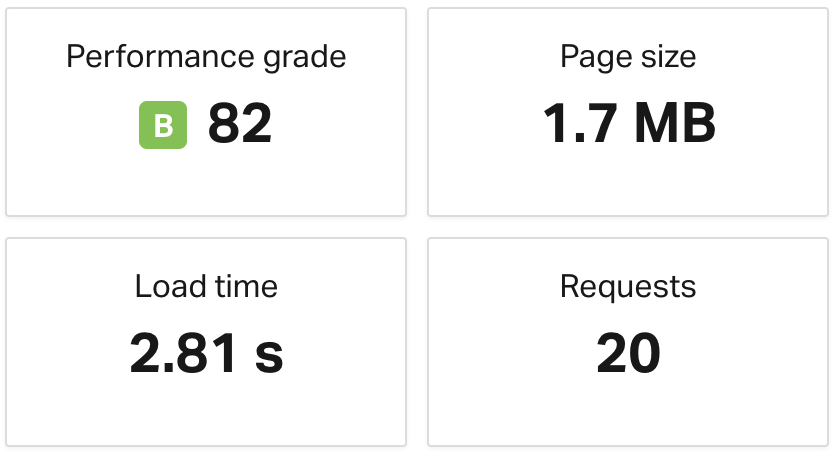
Prior to integrating Bunny.net, I used WebPageTest.org to run a performance test, pretending to be a web browser from Los Angeles, CA. Here’s the pre-CDN performance baseline:
Start with a Bunny.net Account
Go to Bunny.net and create a free account. If you sign up, you get $20 in credits that expire in 14 days. If you add your billing address and credit card, you get another $30 worth of trial credits.
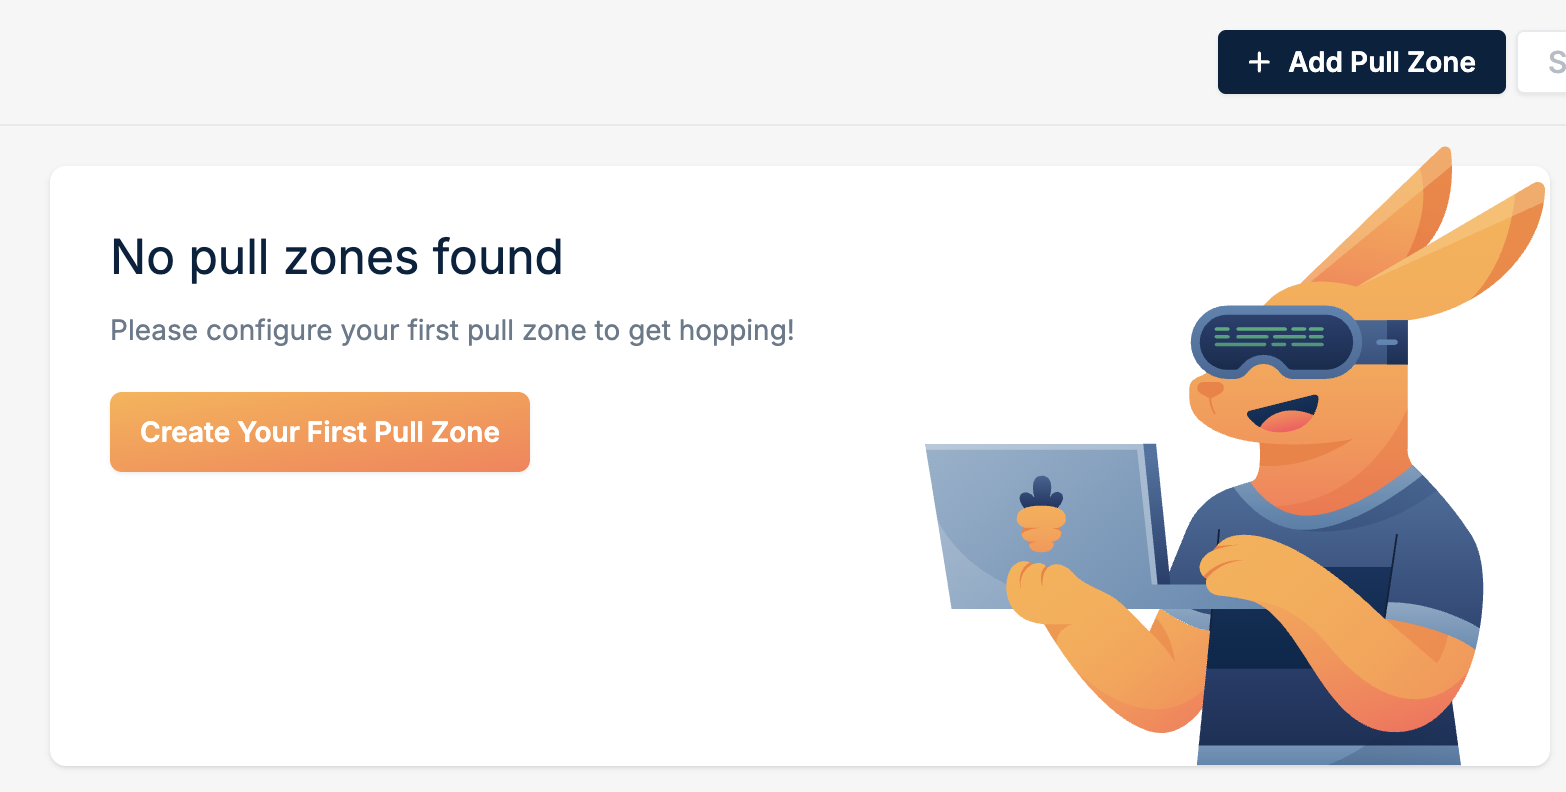
After you confirm your email, select CDN on the Bunny.net dashboard, then Pull Zones in the upper right.
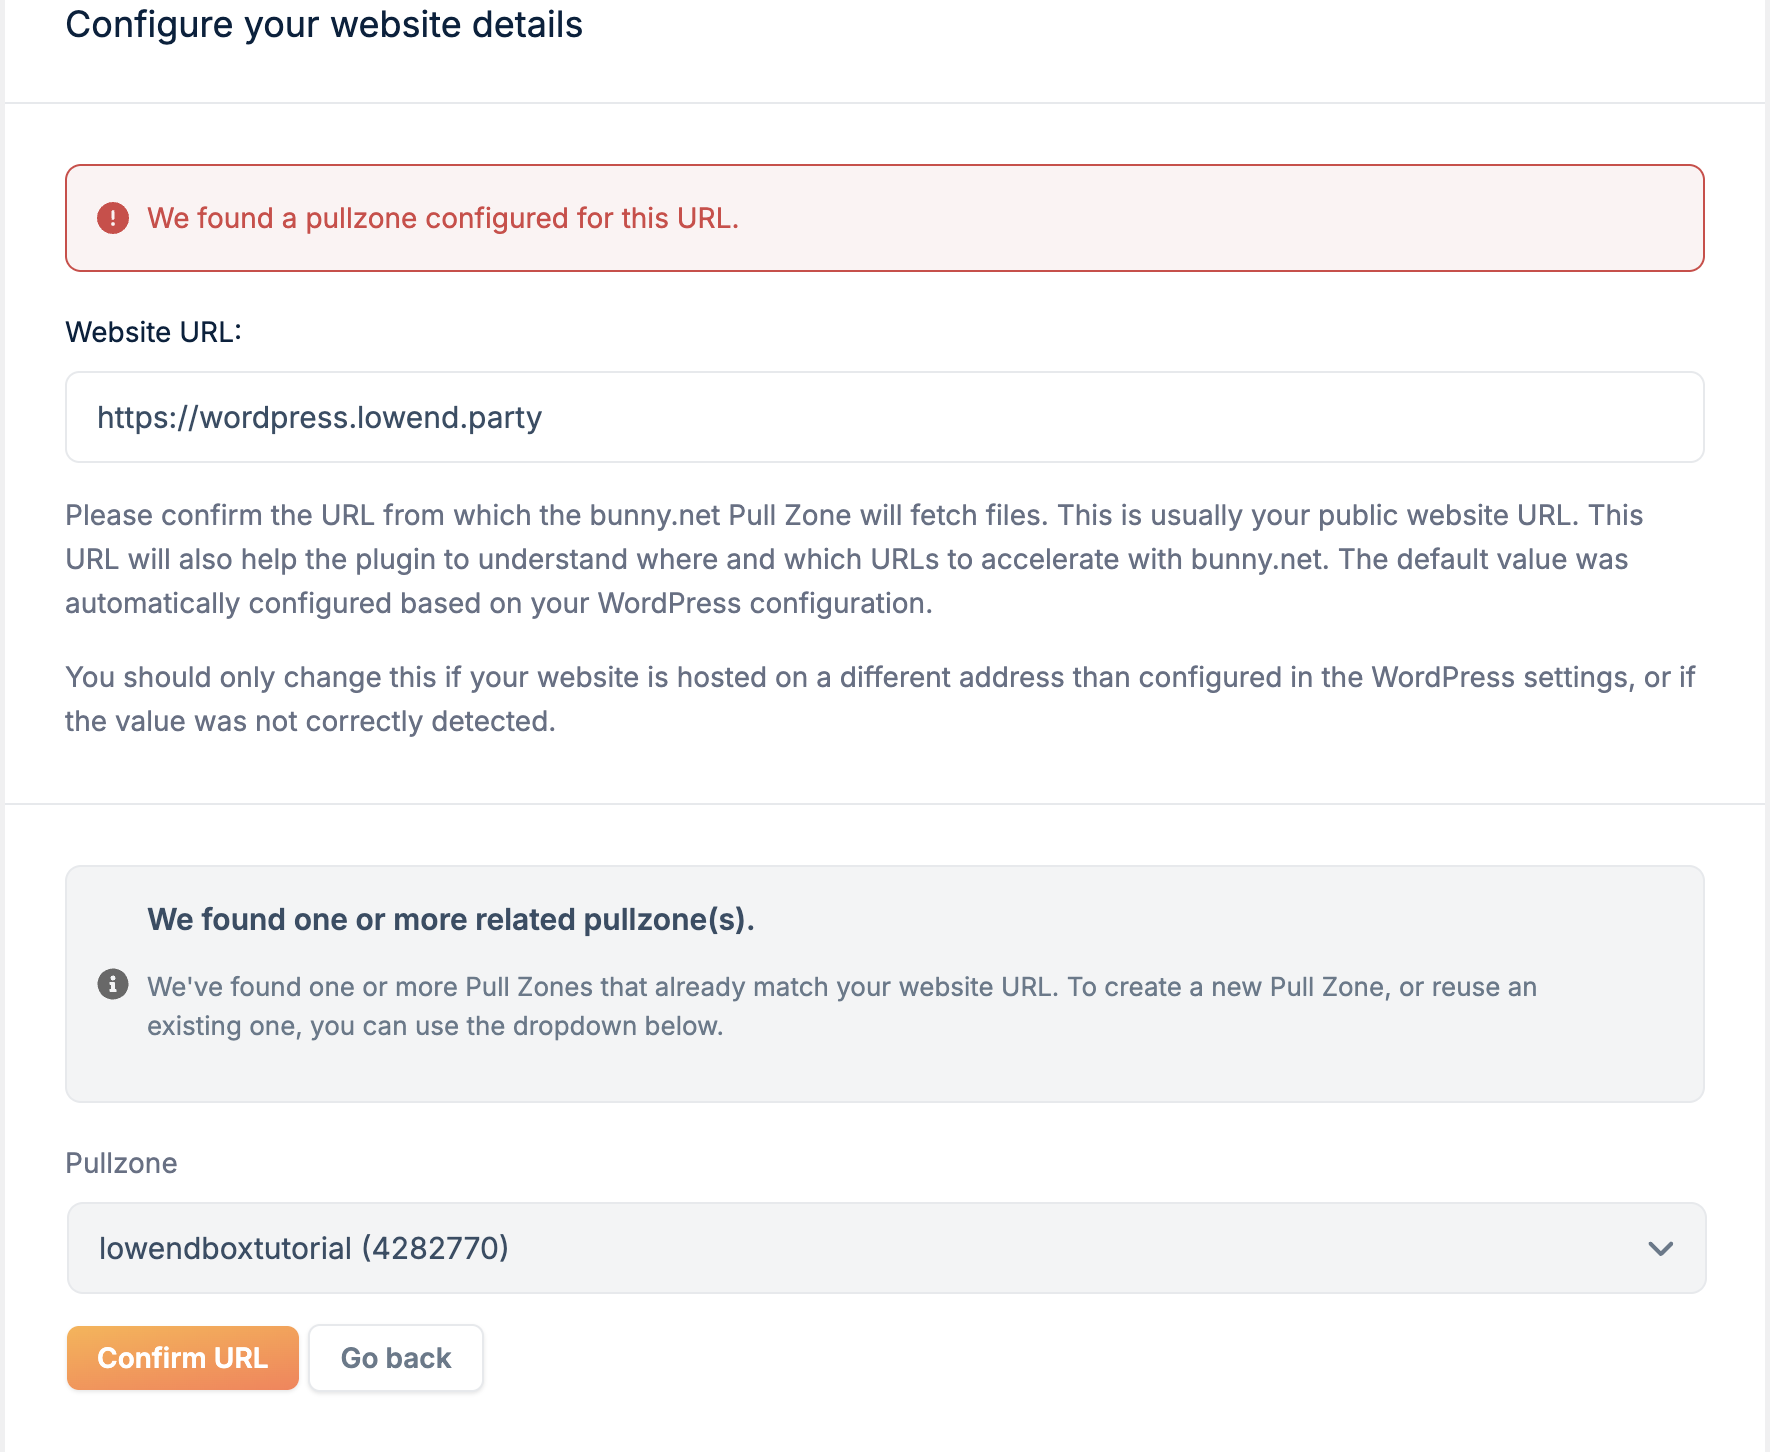
Give it a name. Note that this has to be globally unique so it’s a little out of your control. I’ll use “lowendboxtutorial”. Then specify the origin URL (in this case, https://wordpress.lowend.party). You can leave the rest on the defaults. Click Add Pull Zone.
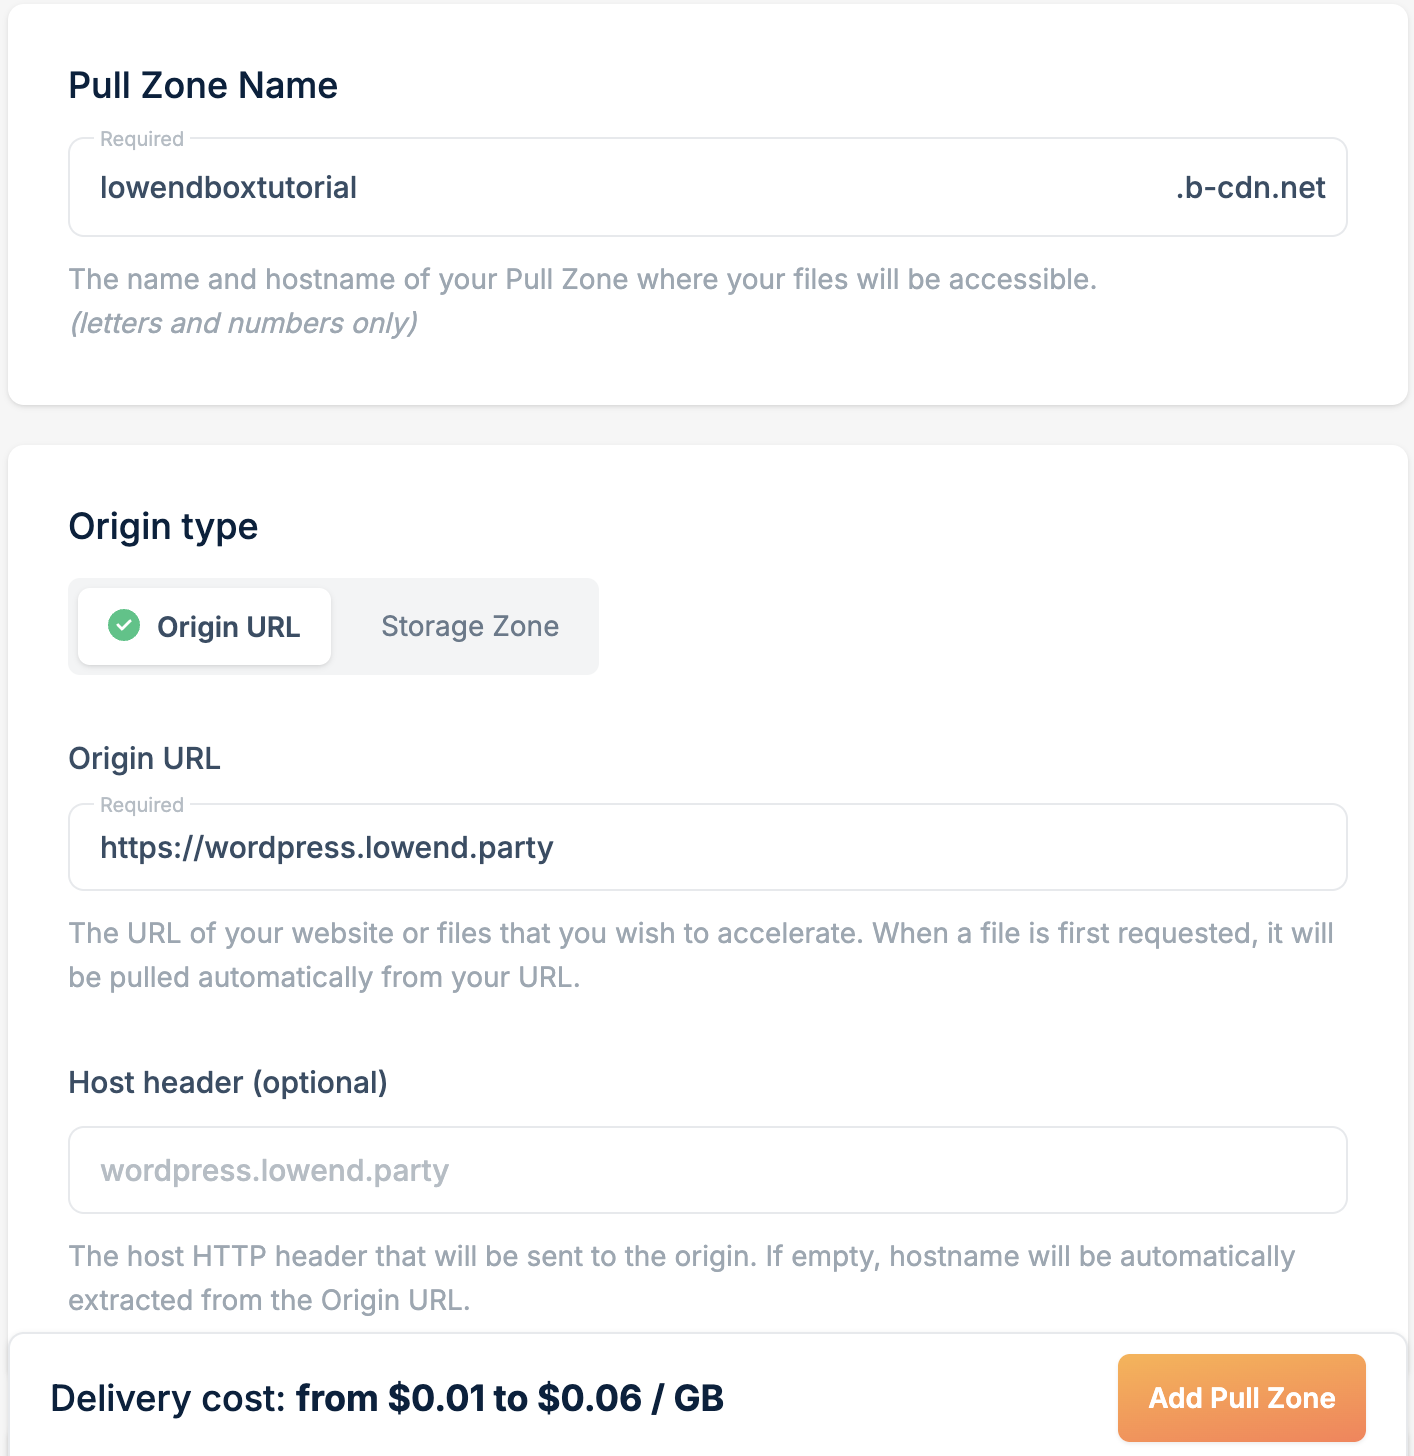
Now you have a Bunny CDN URL. In this case:
https://lowendboxtutorial.b-cdn.netNext, I’ll create a custom custom CNAME for this. On my DNS, I created cdn.lowend.party to point to wordpress.lowend.party. Then in the Bunny dashboard, click CDN and the name of your pull zone. and add a custom hostname. Also enable Force SSL.

Install a WordPress CDN Plugin
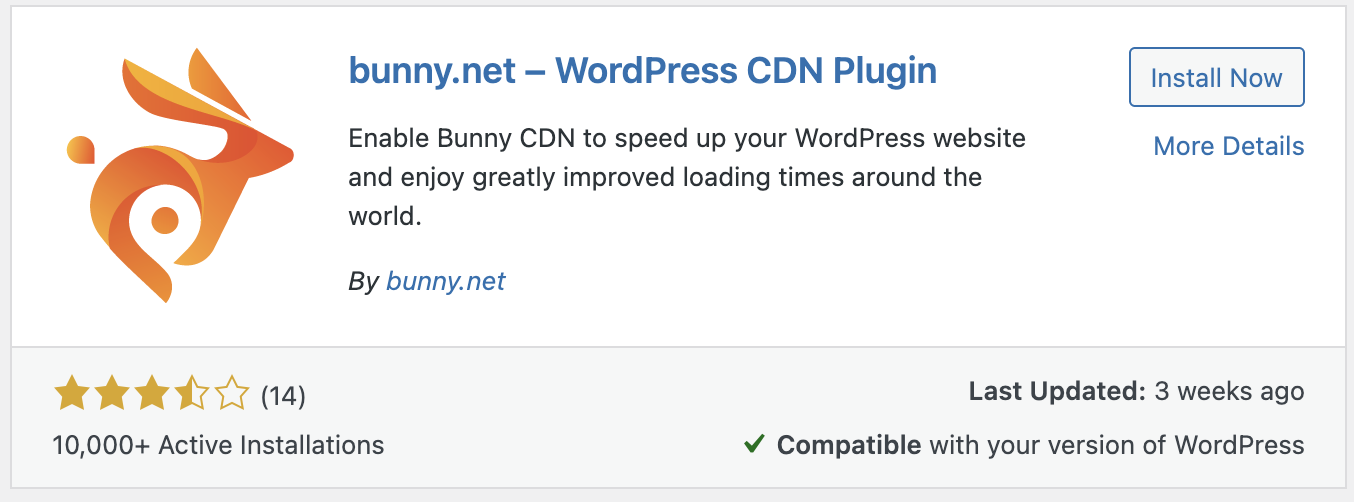
To rewrite static file URLs to use the CDN, you’ll need a plugin. There are various options but we’ll use the official BunnyCDN plugin.
You add it like any other WP plugin: Plugins->Add Plugin, and search for “BunnyCDN”.
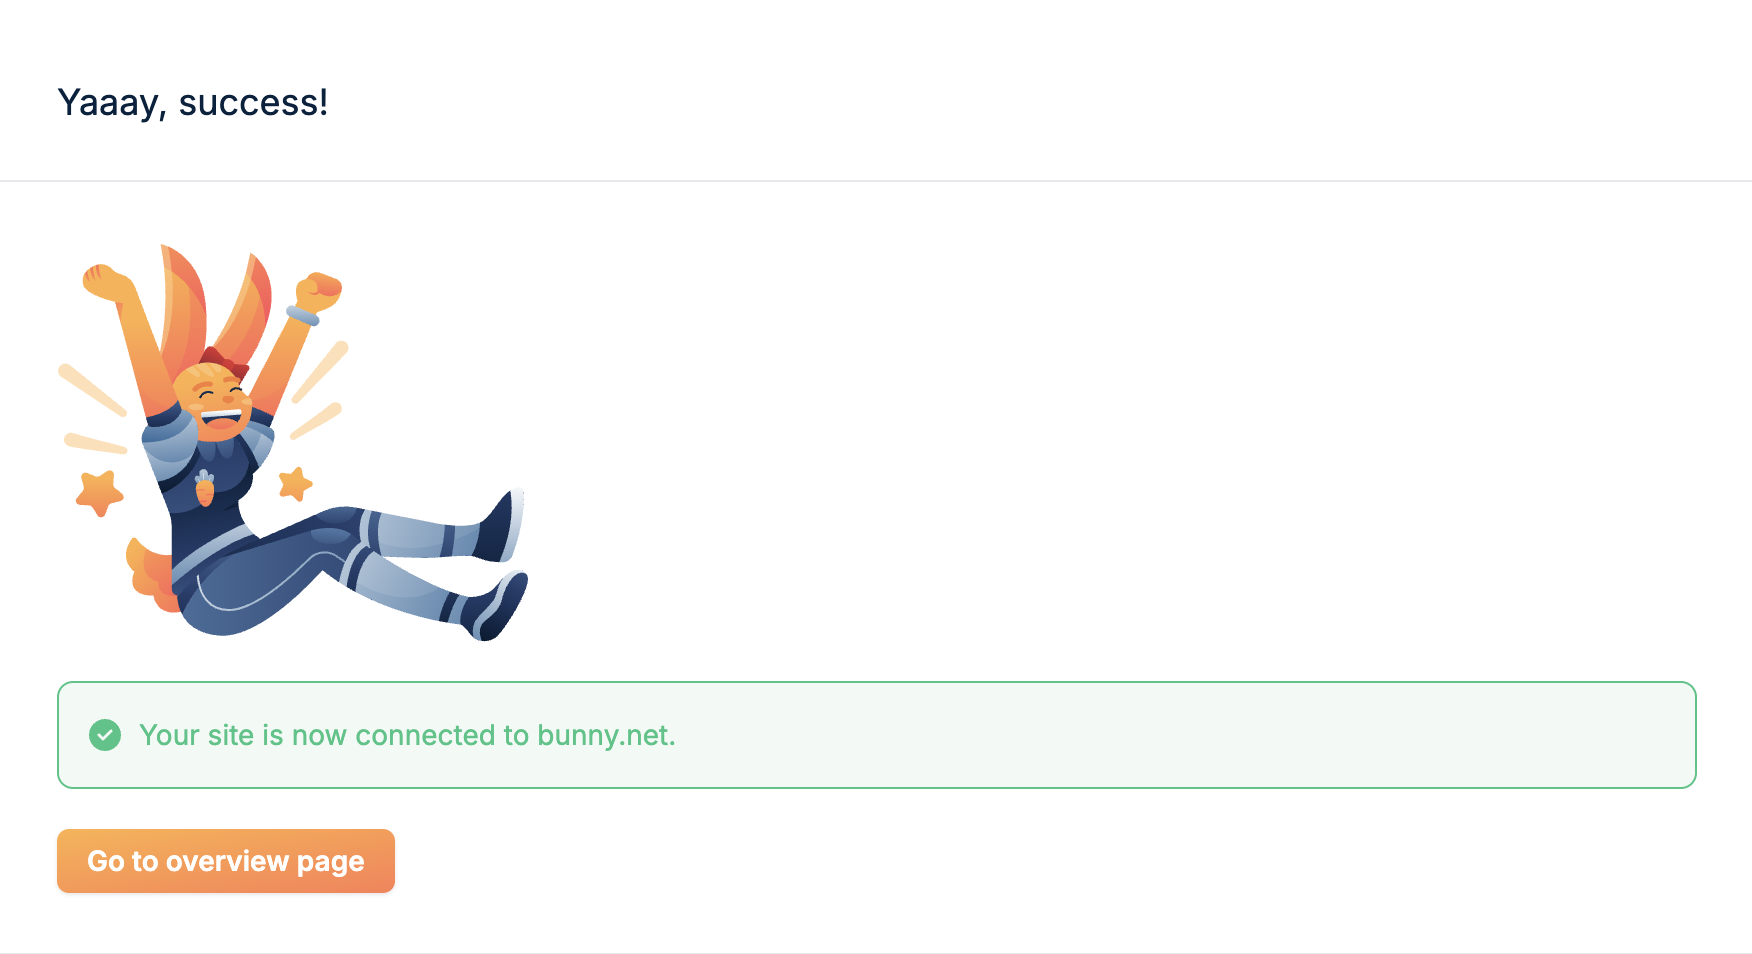
After clicking Install and Activate, click “bunny.net” on the left menu of your WordPress dashboard. Login to Bunny.net. Then step through the wizard, specifying your site URL and the pull zone name.
That’s it.
Test CDN Integration
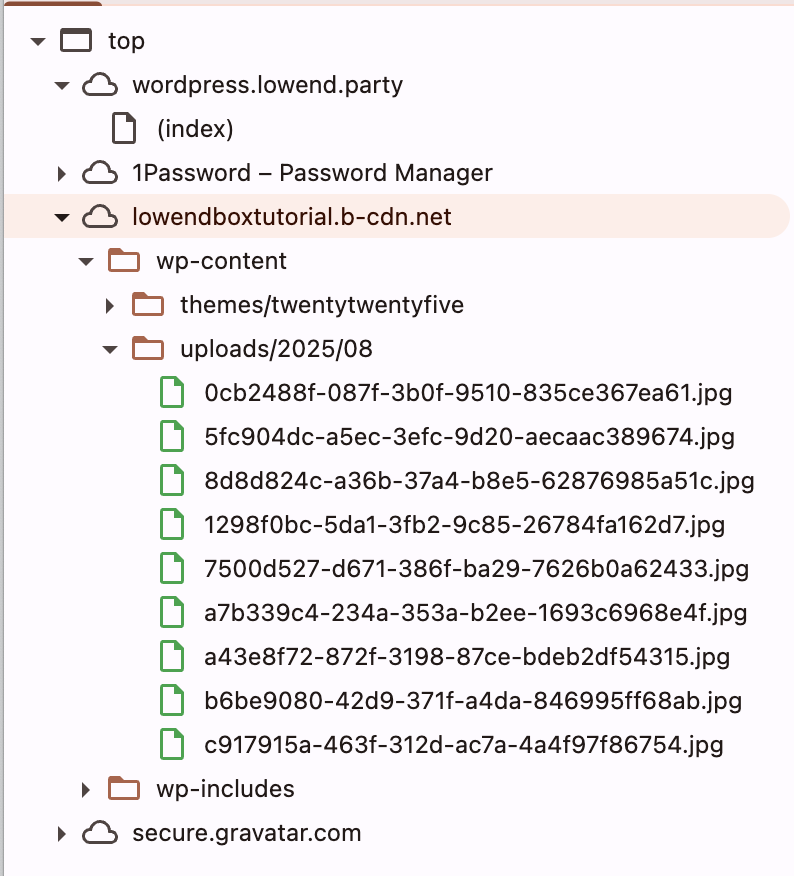
Now when I browse to wordpress.lowend.party, I can see that a lot of the site is loaded from BunnyCDN. Her’s a screenshot from Chrome’s dev tools:
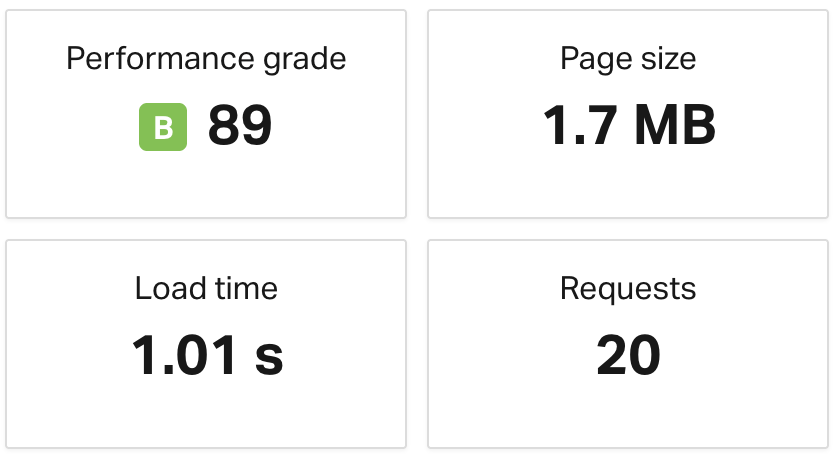
And my Pingdom has improved substantially:
Final Thoughts
In this case, the amount loaded is pretty small – less than 2MB. If this was a 20MB or 50MB page, the improvement would be more dramatic in terms of the end user experience.
Pricing-wise, if you have a 10MB site, that’s 100 loads for 1 cent using a CDN. Pretty cheap! And it’s a fantastic experience for your users, because your web site acts like it’s right next door..
Related Posts:
Want to Guess How Many Spam Comments We've Blocked Since 2016?
How to Add Two-Factor Authentication (2FA) to WordPress in About 2 Minutes
LowEndBoxTV: FASTER CORES vs MORE CORES? Is Ryzen 3x the Speed of Epyc for WordPress?
The Vexing WordPress "Missed Schedule" Issue - How to Fix It, Permanently
The Top Free Website Builders: Expert Tested and Reviewed
Has Matt Mullenweg of WordPress Actually Lost His Mind?
raindog308 is a longtime community LETizen, technical writer, and self-described techno polymath. With deep roots in the *nix world, he has a passion for systems both modern and vintage, ranging from Unix, Perl, Python, and Golang to shell scripting and mainframe-era operating systems like MVS. He’s equally comfortable with relational database systems, having spent years working with Oracle, PostgreSQL, and MySQL.
As an avid user of LowEndBox providers, raindog308 runs an empire of LEBs, from tiny boxes for VPNs, to mid-sized instances for application hosting, and heavyweight servers for data storage and complex databases. He brings both technical rigor and real-world experience to every piece he writes.
Beyond the command line, raindog308 has a life-long love of German Shepherd Dogs, high-quality knives, target shooting, theology, tabletop RPGs, playing guitar, and hiking in deep, quiet forests.
His goal with every article is to help users, from beginners to seasoned sysadmins, get more value, performance, and enjoyment out of their infrastructure.
You can find him daily in the forums at LowEndTalk under the handle @raindog308.


Leave a Reply