If you’ve been following my journey with Directadmin, I signed up for a DirectAdmin reseller account with Silicom Network:
- Gettings Started with DirectAdmin on Silicom Network, Part 1: Signup and Setup
- Gettings Started with DirectAdmin on Silicom Network, Part 2: WordPress Installed!
There’s one more thing I’d like to do: back everything up.
My Philosophy..or Rather, the Community’s
On the one hand, providers offering shared hosting are responsible for backups. I’m here to use DirectAdmin, not manage a server. What do I know about backing up my site? If the server blows up, I expect the provider to restore it to working order, including my data.
Then there’s reality.
After putting time and effort into creating a site, I don’t want all my eggs in someone else’s basket. I’d like to keep my own backups. The provider could be hacked, go out of business, couldhit by a meteor, etc.
And backups should be automated. If I have to rely on myself periodically going into FileZilla, it won’t happen.
Backups should also be secure, off-site, in duplicate or triplicate, versioned, etc. but let’s just get the basics in place.
Database Backups
The good news is that setting up a script to automatically copy everything on your DA reseller is pretty easy. But we do have to think about MySQL.
The databases are hosted on a DB server. It could be the same as the DA server itself, but the point is that the data doesn’t live in your home directory. So you need to do a MySQL dump first.
Since we don’t have shell access…how to accomplish this?
Enter cron. We’ll create a cron job to run mysqldump.
Preparing DA for MySQL Backups
First, let’s create a directory to hold the backups. You do not want this folder in your public_html because then everyone in the world will be able to access it!
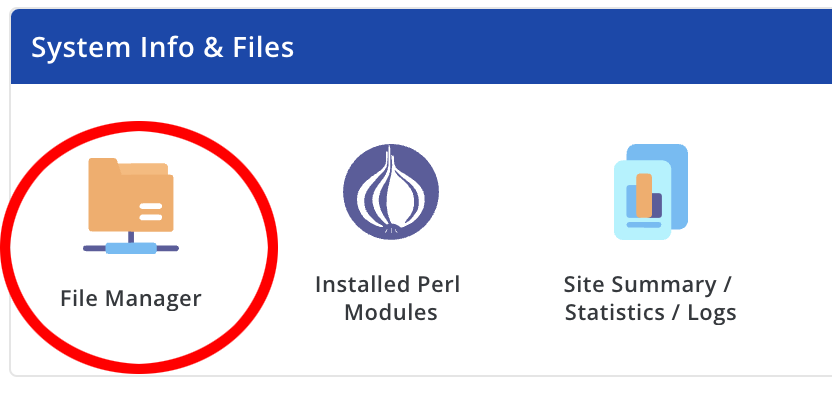
Fire up the File Manager in your DirectAdmin
Then on the left, click New Folder:
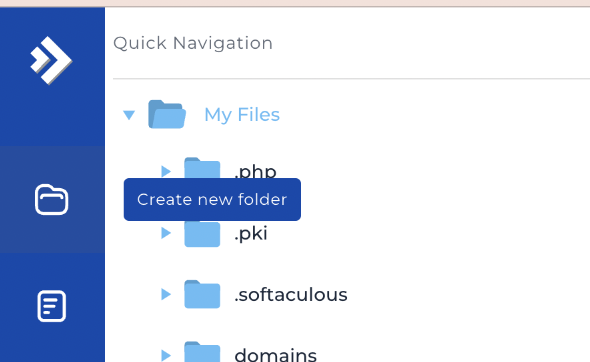
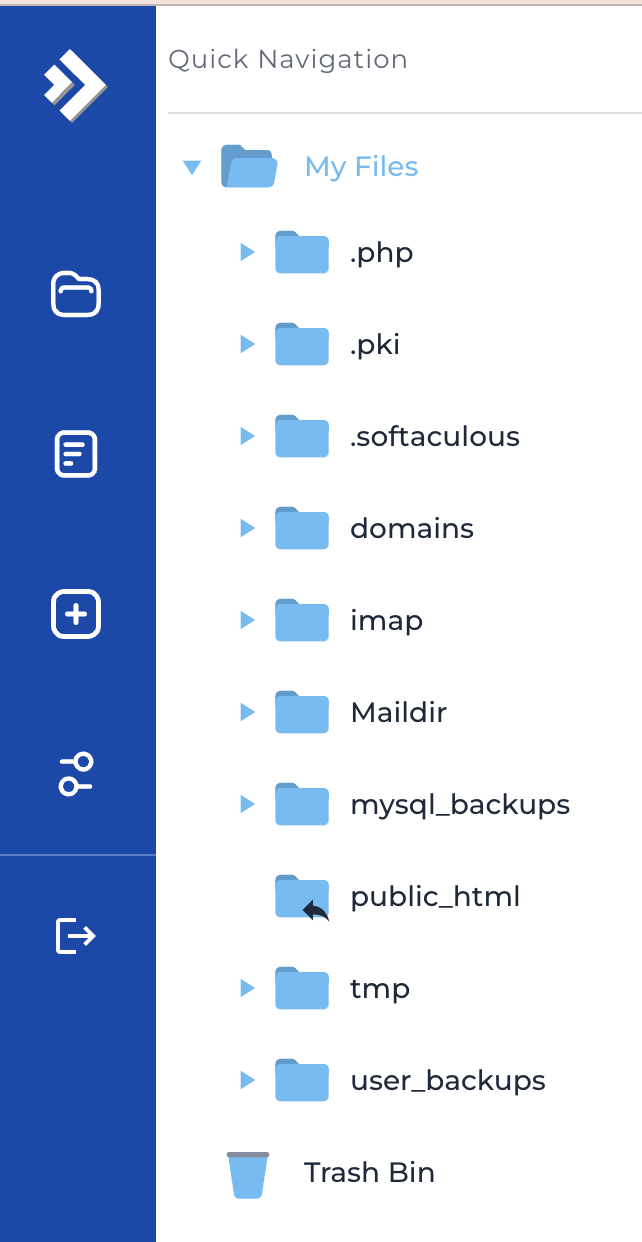
Name it mysql_backups. When you’re done, it should look like this:
Now let’s get on to authentication.
There are different ways to authenticate to the database from the command-line. You can type in your password, which obviously won’t work here.
You can also use the MYPWD environment variable. You’ll see a lot of nonsense about how this is “insecure” and “shows your password in a ps anyone can see”. This is false. The ‘export’ command is a shell built-in (has to be, if you think about it). The only people who can see your environment are you and root – who are the same people who can see anything you do.
However, MYPWD is being deprecated, so we’ll use the old reliable: a .my.cnf file.
Again in File Explorer, click New Text File:
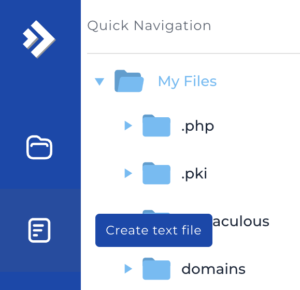
Name it .my.cnf. Then right click on it on click Edit:
Populate it as follows:
[client]
user=your-database-user
password=your-database-password
database=your-database-name
Then click Save File in the upper right hand corner.
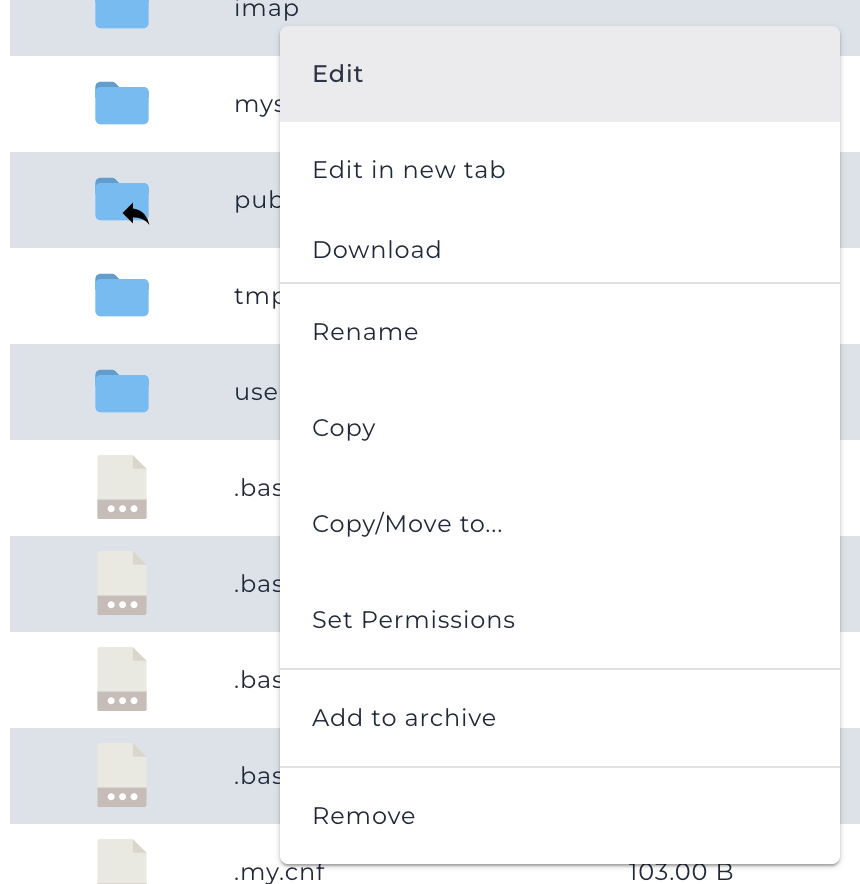
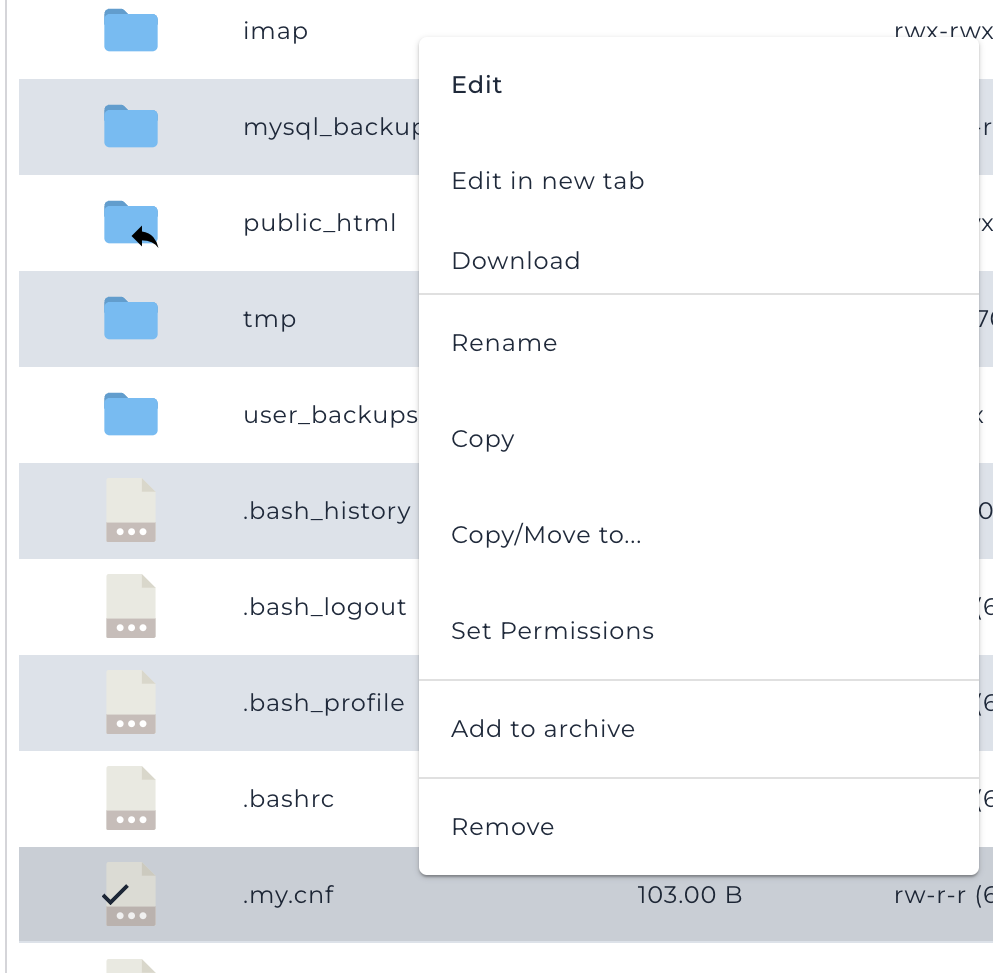
We need is to make this file so only the owner can read-write it (mode 0600). To do that, in File Manager, right click the file and select Set Permissions:
In the dialog, put “600” under “Chmod”. Or you can click the relevant checkboxes to make it look like this:
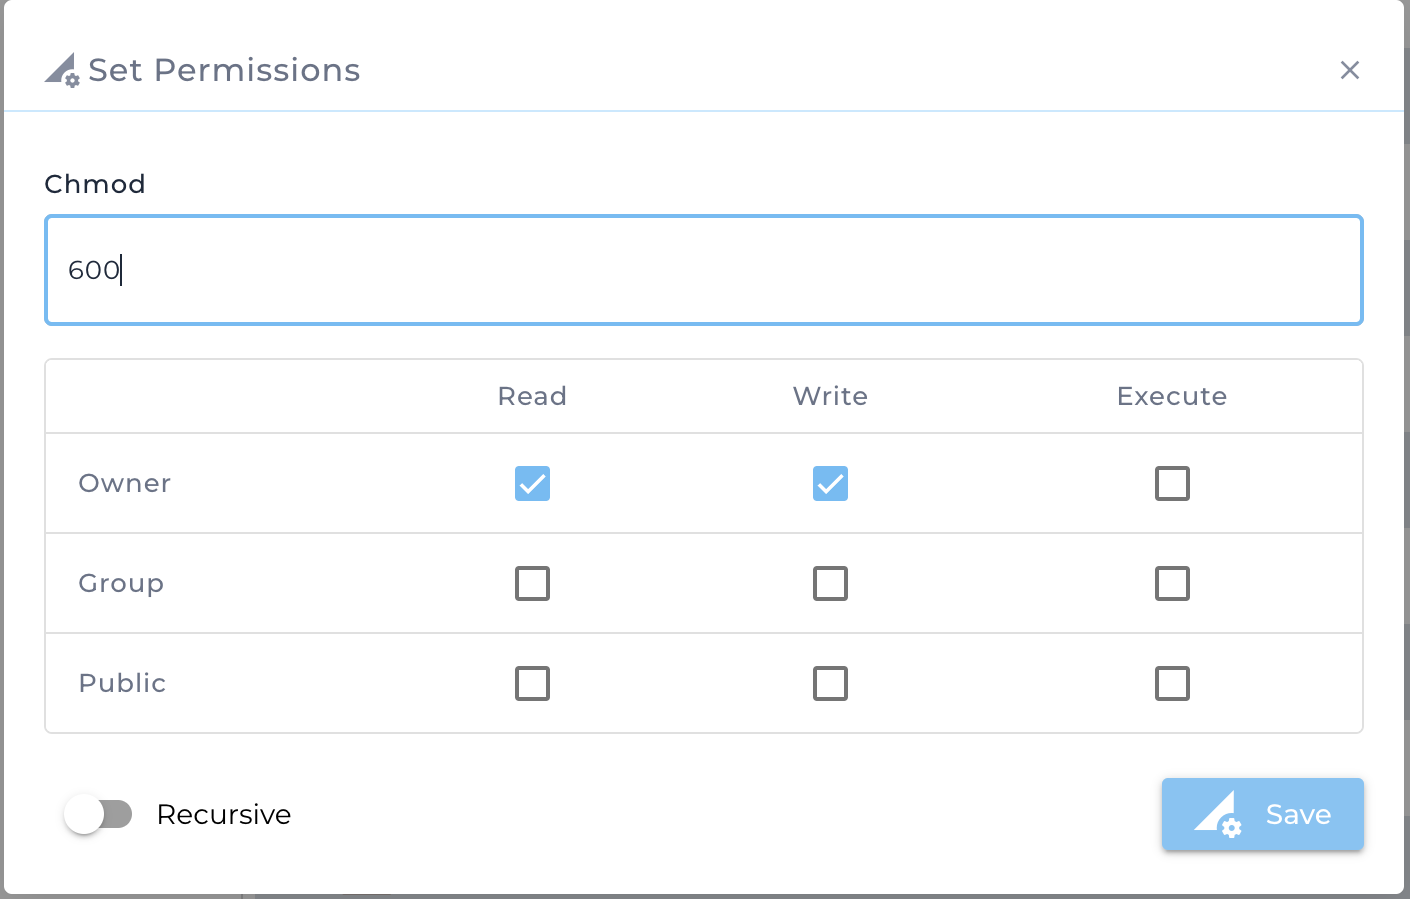
Click Save.
Creating the Cron Job
Click Cron Jobs in the DA panel.
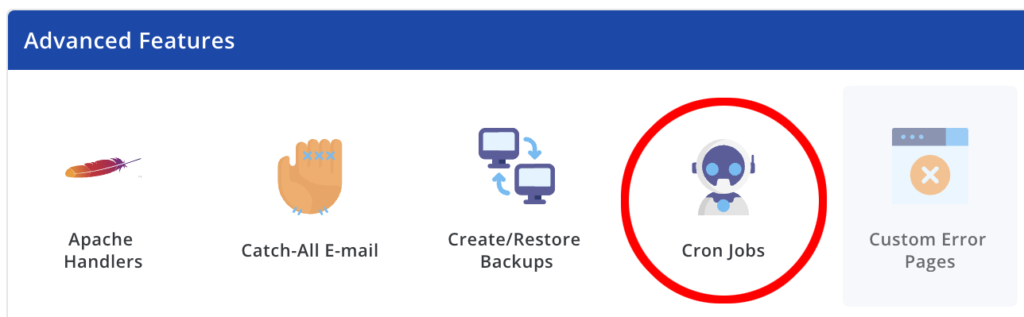
Then click Create Cron Job in the upper right.
In the following panel, you need to select what time you want this job to fire. Let’s say you want it to run at 11am. You’d put “11” in the Hours and leave everything else the same. Every day at 11 the job will run. Modify to suit your needs.
Then for the job itself, under Command:
mysqldump -u your-db-user -h localhost your-db-name > /home/your-da-user/mysql_backups/your-db-name.sql
This will dump your database to a file in mysql_backups called your-db-name.sql.
If you have multiple databases, you’ll need to create a cron job for each. You could also create a script that handles them, but that’s getting outside this simple tutorial. Take a look at this StackOverflow note for how to handle that with .my.cnf.
You might also consider clicking “Send All Cron Output to Email” and putting in your email. That way, any errors from your cronjob will be mailed to you.
Getting the Backup Home
On your home system, you can use wget to efficiently pull down a copy of everything in your ‘domains’ folder:
For example, to pull down my runningdos.com account:
wget -r --mirror 'ftp://raindog308:MY_DA_PASSWORD@ftp.runningdos.com:/domainsOf course, make sure you schedule this for a time after your database dump works.
Possible Improvements
There’s several ways this setup could be improved:
- Dump the databases to different files based on date, so each new backup doesn’t overwrite the old one
- If this is done, a job to remove old backups
- Handle multiple databases
- You could backup other things besides your ‘domains’ folder, such as your email
But I think this should be enough to get you started. Enjoy!
Related Posts:
Get Shared Hosting for $2.40/YEAR from VisualWebTechnologies! Wow!
Silicom Network has Expanded into France and Japan! Cheap Shared and Reseller Hosting in 11 Datacen...
Oracle Database 26ai is Coming Out in January. You Don't Need It. But There's a Free Version.
BLACK FRIDAY: FastNvme Has Awesome Prices on Shared ($2.50/YEAR) and Reseller ($14.50/YEAR) Hosting!
BLACK FRIDAY: Reseller Hosting with Unlimited Accounts for Only $1.25/Month From Silicom Network!
Get DirectAdmin Shared Hosting Starting at Only $3.50/YEAR! Wow! Reseller Deals, too - thanks, Sil...
raindog308 is a longtime community LETizen, technical writer, and self-described techno polymath. With deep roots in the *nix world, he has a passion for systems both modern and vintage, ranging from Unix, Perl, Python, and Golang to shell scripting and mainframe-era operating systems like MVS. He’s equally comfortable with relational database systems, having spent years working with Oracle, PostgreSQL, and MySQL.
As an avid user of LowEndBox providers, raindog308 runs an empire of LEBs, from tiny boxes for VPNs, to mid-sized instances for application hosting, and heavyweight servers for data storage and complex databases. He brings both technical rigor and real-world experience to every piece he writes.
Beyond the command line, raindog308 has a life-long love of German Shepherd Dogs, high-quality knives, target shooting, theology, tabletop RPGs, playing guitar, and hiking in deep, quiet forests.
His goal with every article is to help users, from beginners to seasoned sysadmins, get more value, performance, and enjoyment out of their infrastructure.
You can find him daily in the forums at LowEndTalk under the handle @raindog308.


Leave a Reply