
Nagios has, for a long time, been the defacto standard tool for server monitoring. These day that’s surprising, as Nagios’ visible development has been quite slow over the past years and new solutions have popped up meanwhile. Not just self-hosted solutions, but cloud-based solutions with fancy metrics voodoo as well.
Still, though, switching monitoring solutions can be a pain and cloud-based solutions arguably cost more than a self-hosted solution. So, say you want to switch from Nagios or you want to start with server monitoring, there is a solution. Icinga2!
Icinga started as a Nagios fork and did quite well, mostly considering Icinga Web which was better than Nagios’ web interface. Icinga 2 is a complete rewrite and even adds a fancy new (optional) web interface which is responsive and customizable. On top of that, the communication between the monitoring server and the nodes it monitors has become more secure as NRPE has been ditched (it’s still available, just not prefered).
I’m going to show you how to set up an Icinga 2 server with Icinga Web 2. In two weeks, I’ll let you know how to add nodes to it as well. Let’s get to business!
As usual, I’m assuming an Ubuntu (or other Debian-based) host that’s up-to-date. These instructions work for Ubuntu versions 14.04 and up. You don’t need a lot of resources for this, though depending on how many nodes you’re going to monitor. A server with 256MB RAM should be sufficient for up to 100 nodes considering you’ll also install Icinga Web 2 on it.
Icinga 2
Anyway, let’s get started. To install Icinga 2, you first need to add the repository. On Ubuntu, this is done like this:
add-apt-repository ppa:formorer/icinga
Press ENTER when it asks you to.
Note: If this command gives you an error, run ‘sudo apt-get install software-properties-common’ to get the ‘add-apt-repository’ command!
Once the repository has been added, update apt:
sudo apt-get update
And install Icinga 2:
sudo apt-get install icinga2
That’s it! Make sure Icinga 2 is running:
sudo service icinga2 status
And start it if it isn’t running:
sudo service icinga2 start
With that settled, let’s go to the installation of Icinga Web 2.
Icinga Web 2
I’m going to use PostgreSQL with Icinga Web 2 as it seems to be easier on resources than recent versions of MySQL. The database is used for the web interface, among other things, so it’s going to be a key part of the system.
Install PostgreSQL by running the following command:
sudo apt-get install postgresql
Next, install the package Icinga 2 requires to work with PostgreSQL:
sudo apt-get install icinga2-ido-pgsql
You should be asked a question now: whether you’d like to enable PostgreSQL for Icinga 2. Select ‘Yes’ here and hit ENTER.
Next you’ll be asked if you want the installer to configure the database for you. Again, select ‘Yes’ and hit ENTER.
Finally, you’ll be asked for a database password. Leave this empty and hit ENTER; a password will be generated for you.
With the database being set up, you can enable it for Icinga 2:
sudo icinga2 feature enable ido-pgsql
You’ll also want to enable the external command module, since you’ll need it later on:
sudo icinga2 feature enable command
In order to activate these changes, you need to restart Icinga 2:
sudo service icinga2 restart
You should get no errors for the restart. Icinga 2 is now taking to PostgreSQL and we can continue with our installation of Icinga Web 2.
It’s possible to manually install Icinga Web 2 or do it automatically. I’m taking the easy route and will should you how to install the package and go on from there. With this automatic installation comes Apache 2 as a web server. If you don’t like that, please see here on how to set up Icinga Web 2 manually: https://github.com/Icinga/icingaweb2/blob/master/doc/installation.md
First, add the repository key for the repository that contains Icinga Web 2 (it’s not in the PPA mentioned before):
sudo wget -O – http://packages.icinga.org/icinga.key | apt-key add –
This will ensure packages’ signature are considered valid. Next, add the repository:
sudo add-apt-repository ‘deb http://packages.icinga.org/ubuntu icinga-trusty main’
I’m using Ubuntu 14.04 (Trusty). In case you’re using a newer version, replace ‘trusty’ with the name of your distribution.
Update APT caches to make sure the package can be found:
sudo apt-get update
And install Icinga Web 2:
sudo apt-get install icingaweb2
When the installer is done, you should be able to go to your server’s hostname or IP address and add ‘/icingaweb2/setup’ to it and you’ll be met with the setup script for Icinga Web 2:
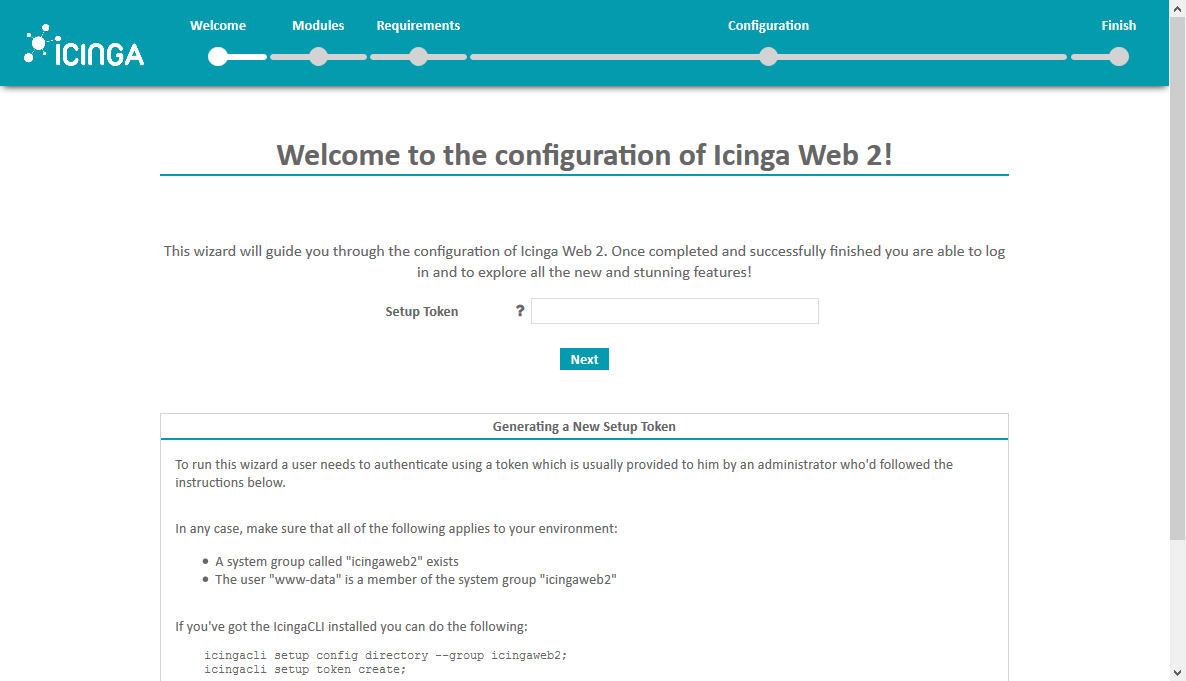
This asks for a setup token, so make sure you run the server this installation of Icinga Web 2 runs on. Go back to your terminal and run:
sudo icingacli setup token create
This should give you a token. Copy that and put that in the Setup Token field in your browser.
Next, you’re asked which modules to enable:
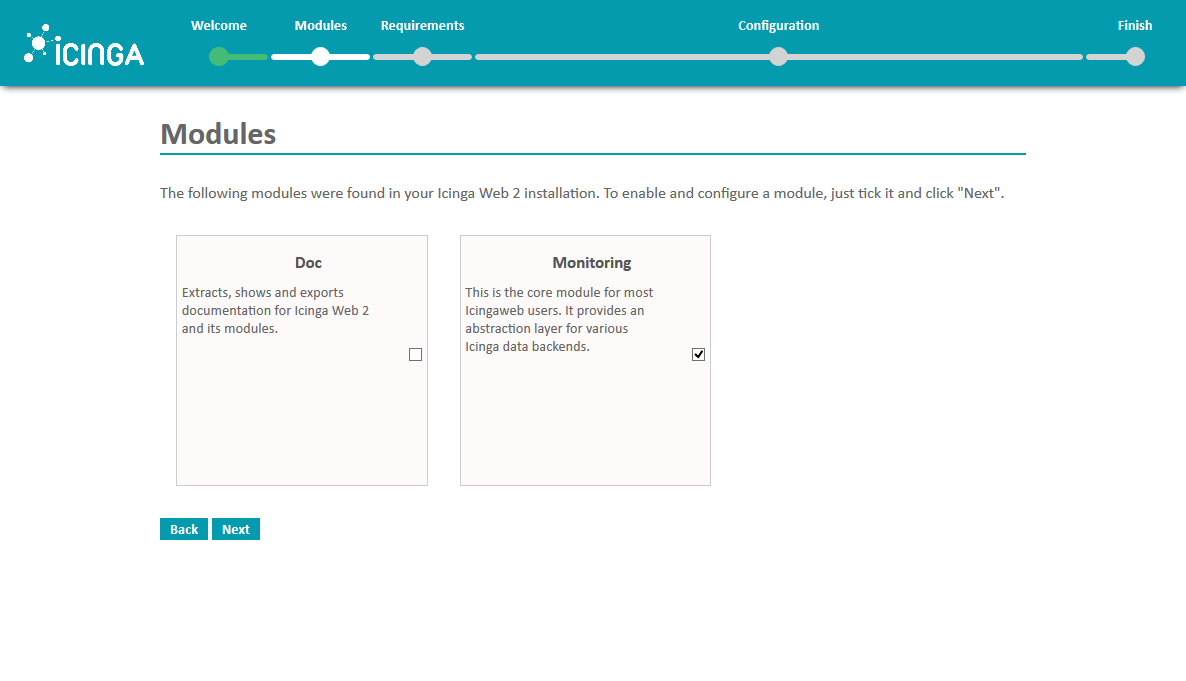
Just click ‘Next’.
This is where the problems start. For some amazing reason, the installer couldn’t fix some simple things for you, so you’ll have to do that yourself.
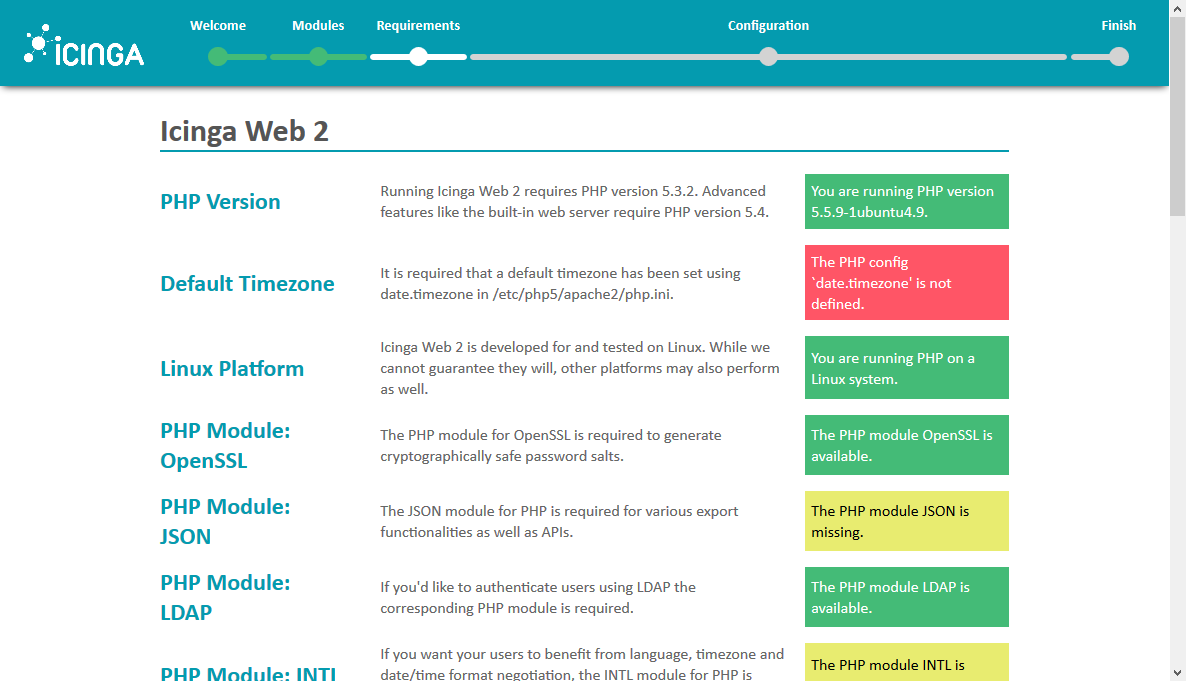
I’ve limited the size of the screenshot for convenience. Rest assured, the error and warnings will be there ¤Öé
First of all, open up /etc/php5/apache2/php.ini and look for the following line:
;date.timezone =
Change that into this:
date.timezone = “America/New_York”
Feel free to replace ‘America/New_York’ with your time zone. Please use this list to see which time zones are allowed: http://php.net/manual/en/timezones.php
This should have fixed the ‘Red’ error message. To apply these changes, you need to restart Apache 2, but we’ll do that after the next step.
On to the warnings then. To fix those, install some packages:
sudo apt-get install php5-json php5-gd php5-imagick php5-pgsql php5-intl
Now restart Apache 2:
sudo service apache2 restart
And hit the ‘Refresh’ button at the bottom of the page in your browser. This should give you a nice green list and allow you to click ‘Next’. Do so.
It asks you to select an authentication type:
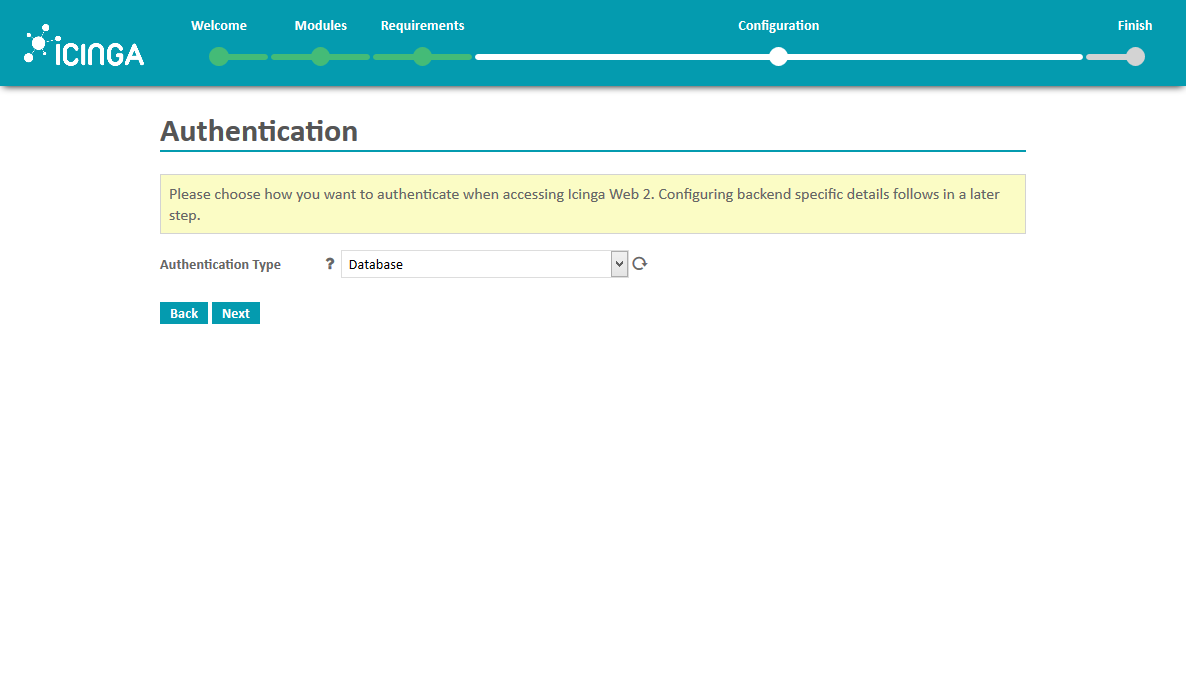
Select ‘Database’ and hit ‘Next’.
It asks you where you want to store user preferences:
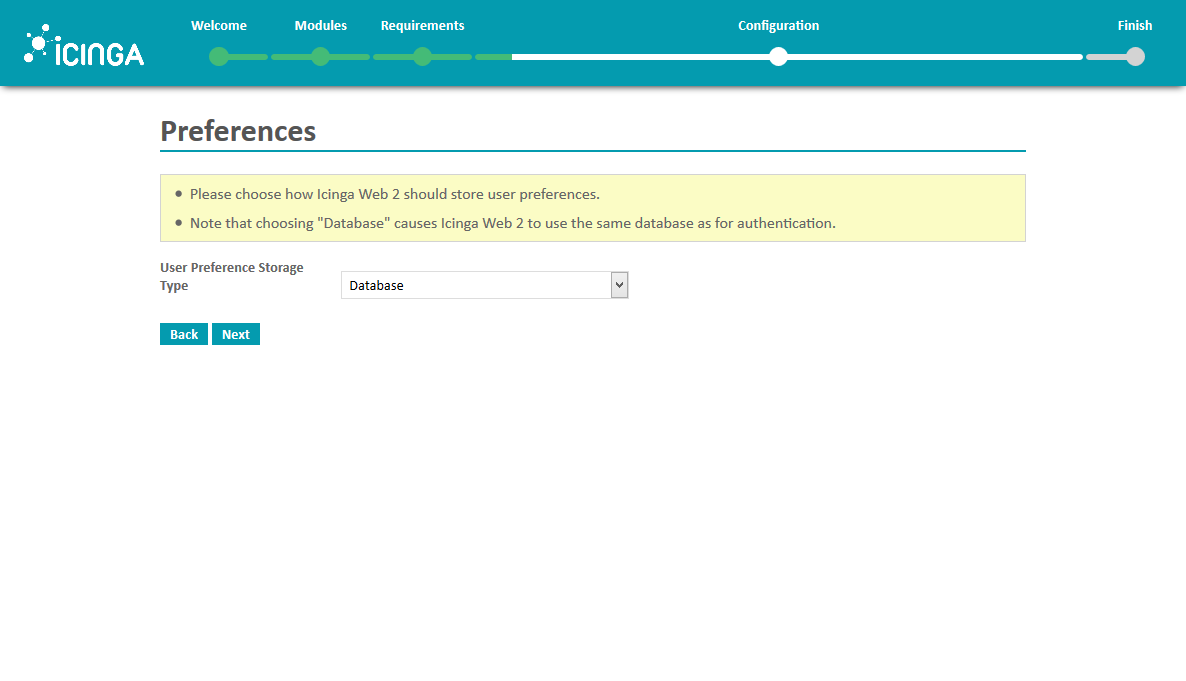
Again, select ‘Database’ and hit ‘Next’.
This will give you the database configuration screen:
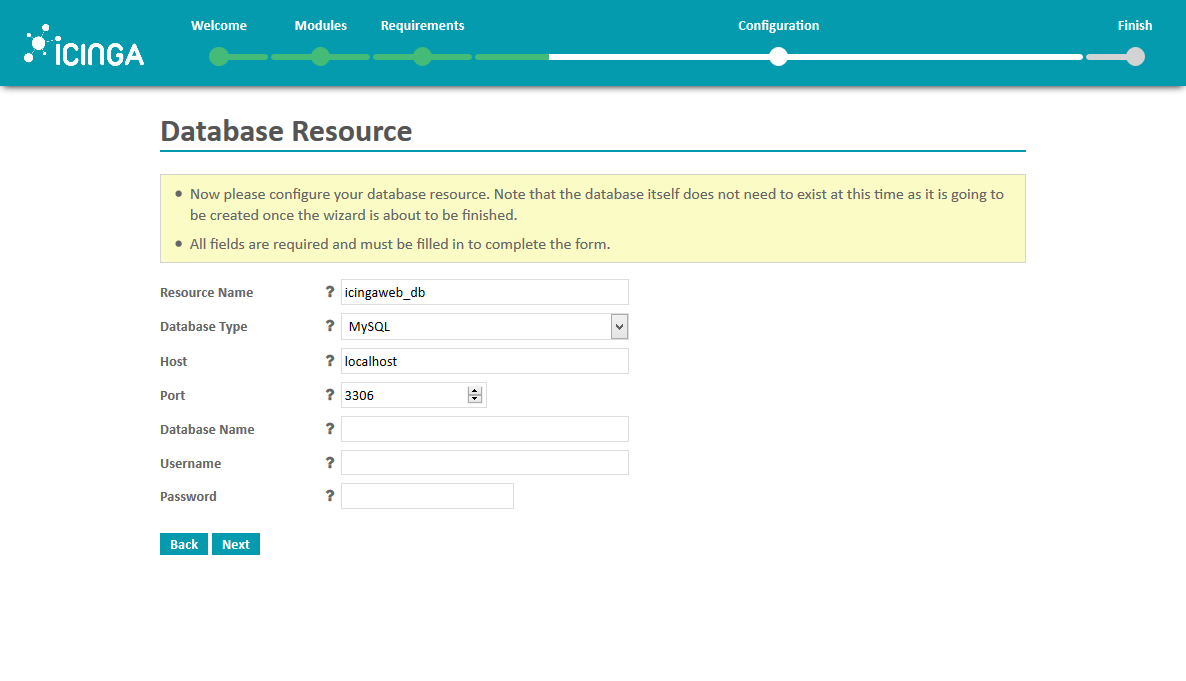
Select ‘PostgreSQL’ as the ‘Database Type’, change the ‘Host’ to ‘127.0.0.1’ and change the ‘Port’ to ‘5432’.
Fill out a database name, a username, and a strong password and hit ‘Next’. Remember these details; you may need them later.
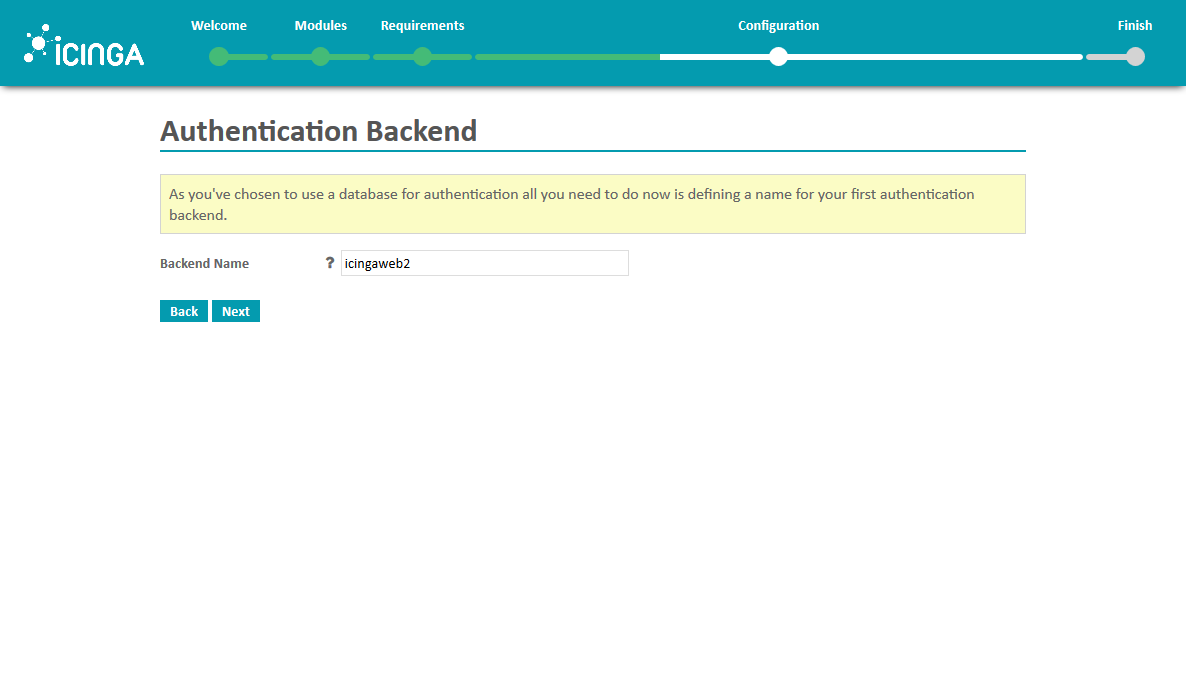
At the next screen, just hit ‘Next’: the backend name it has picked should be good.
The creation of the initial administration account is up next:
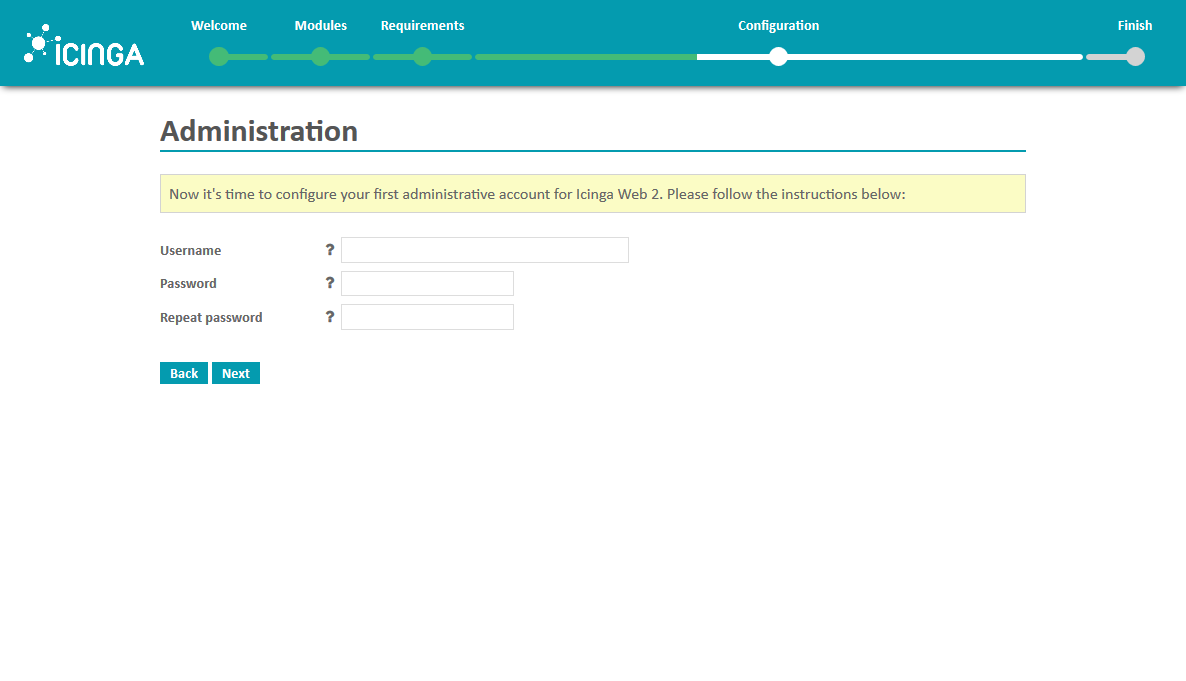
Fill out these details as you with and hit ‘Next’.
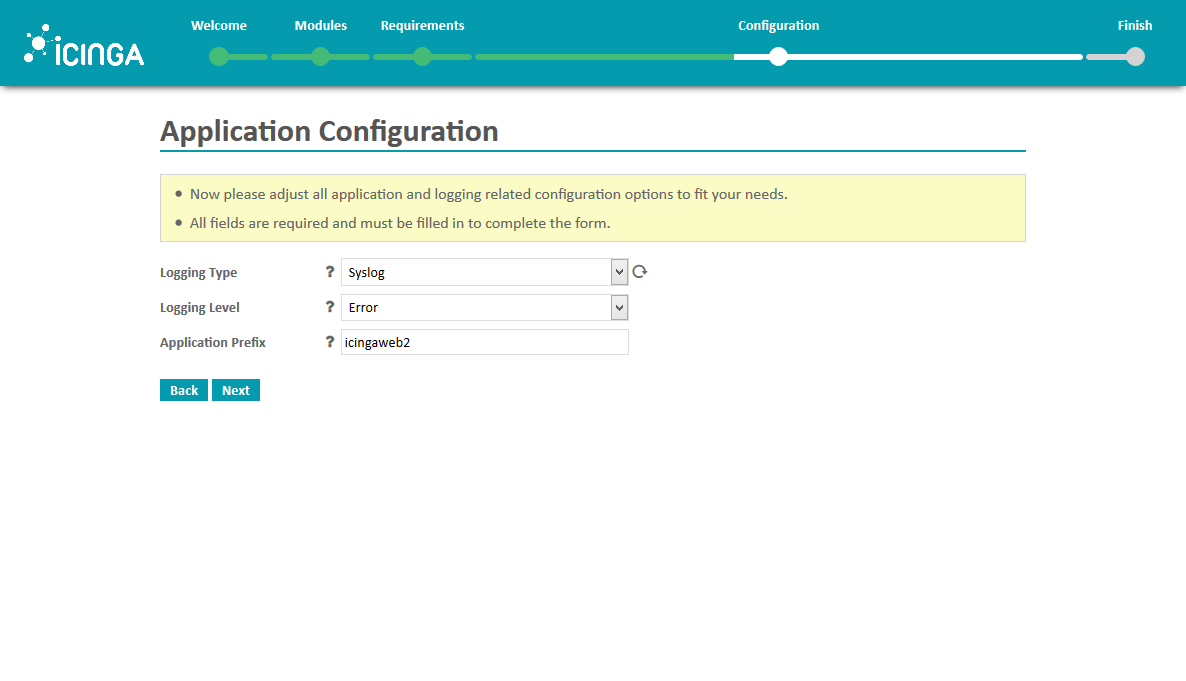
You are presented with some configuration options. You shouldn’t have to change these, so click ‘Next’.
You’ll now get a message that the database details you filled out before are not working. This is logical, because we didn’t create the role and the database yet. From the command line, run these commands:
cd /tmp
sudo -u postgres psql -c “CREATE ROLE < username > WITH LOGIN PASSWORD ‘< password >'”;
sudo -u postgres createdb -O < username > < database name >
This moves you to the /tmp directory so PostgreSQL has rights to write a temporary file. Then it created the role (or user). Please replace the tokens with their appropriate values. Next, it created a database that is owned by the role you just created.
Now, move back to the browser and hit ‘Next’. You’ll now get an overview of what’s about to be written to the database:
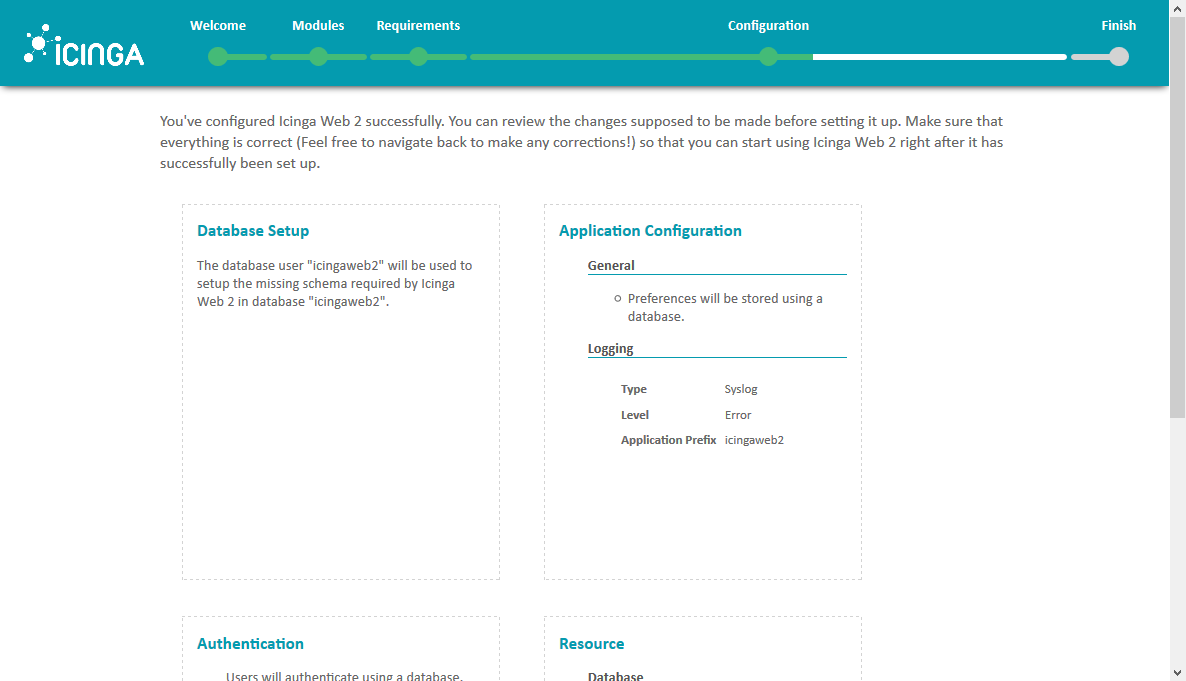
Hit ‘Next’ to apply these changes.
But wait, there’s more…! Another module to configure:
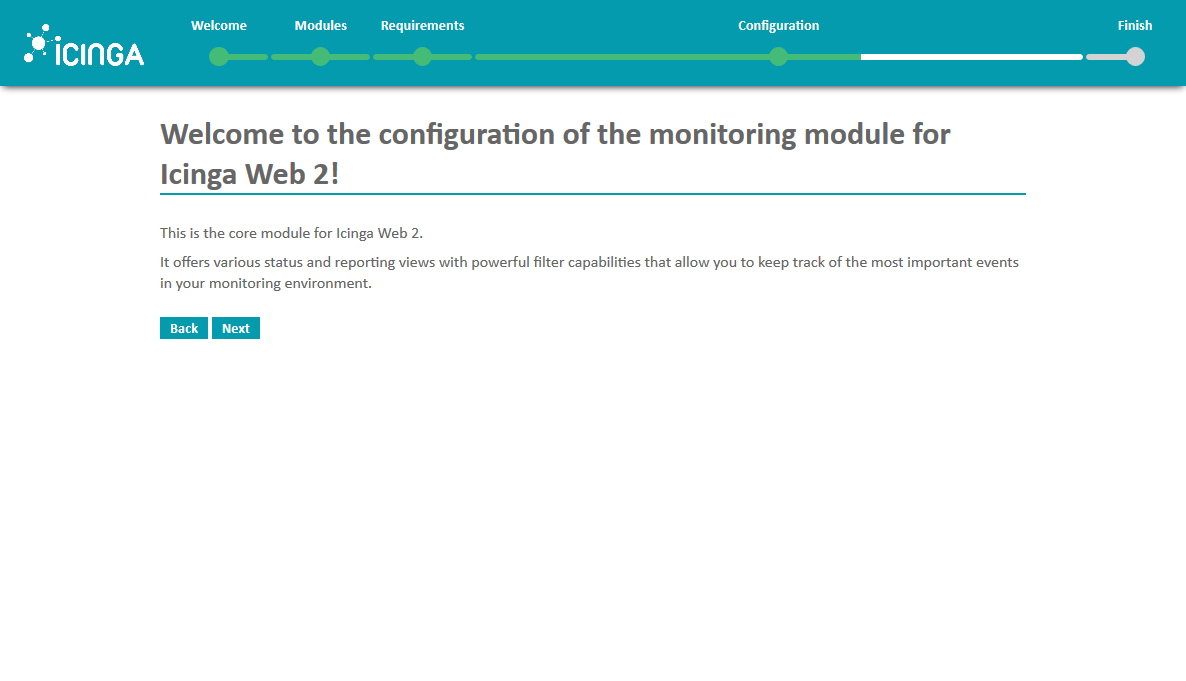
What we just configured was Icinga Web 2; now it’s time to configure the connection with Icinga 2. Hit ‘Next’.
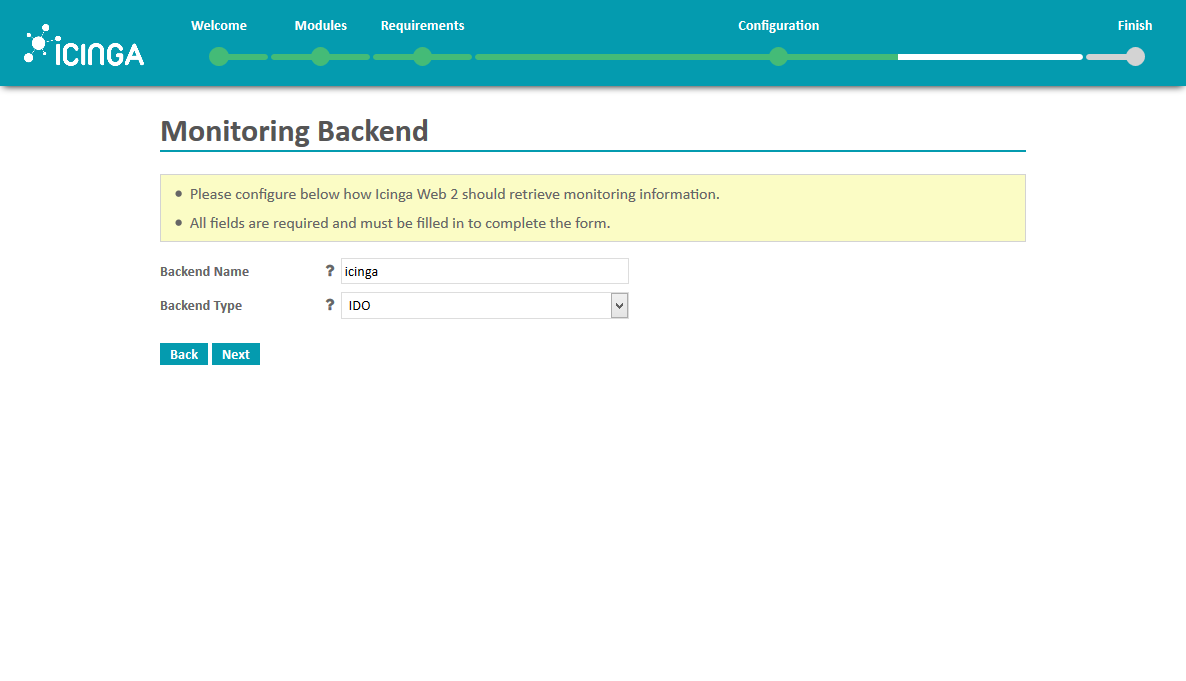
Accept the default values at this screen as they shouldn’t require any changes, then hit ‘Next’.
This next screen is where it gets interesting:
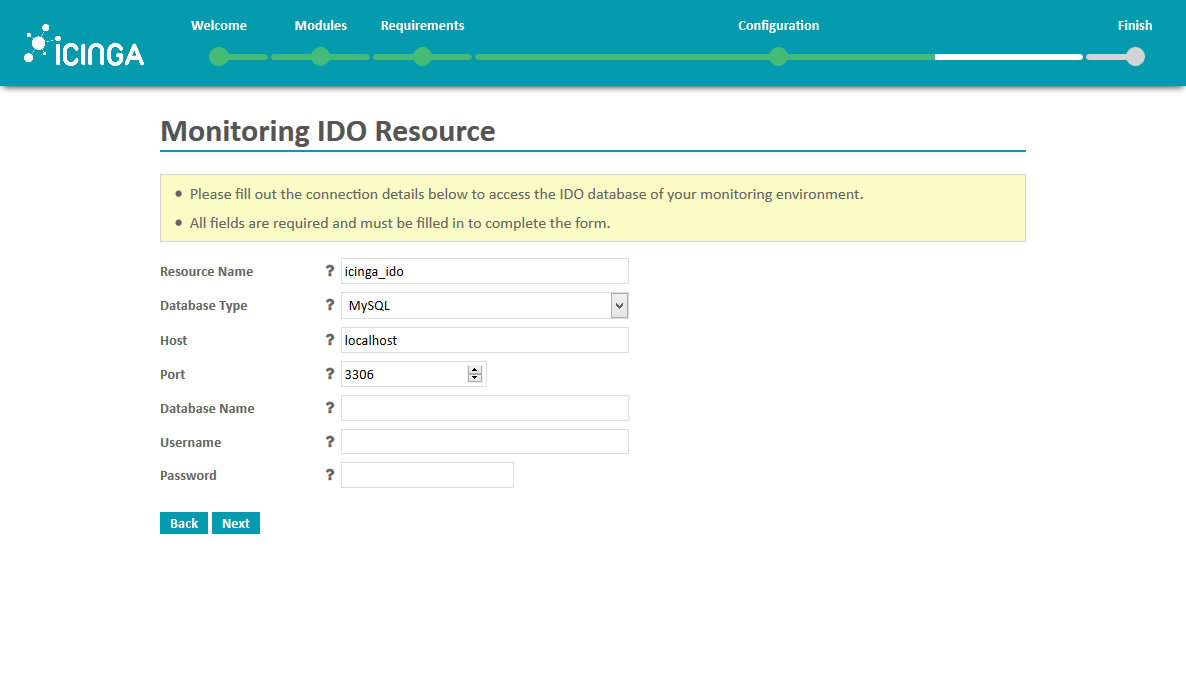
You’ll now need some details that you need to look up, but first set the ‘Database Type’ to PostgreSQL, the ‘Host’ to ‘127.0.0.1’, and the ‘Port’ to ‘5432’.
Next, in your terminal, open the following file: /etc/icinga2/features-enabled/ido-pgsql.conf
In here you’ll find the database name, username, and password you’ll need. Please copy-and-paste these to your browser and hit ‘Next’.
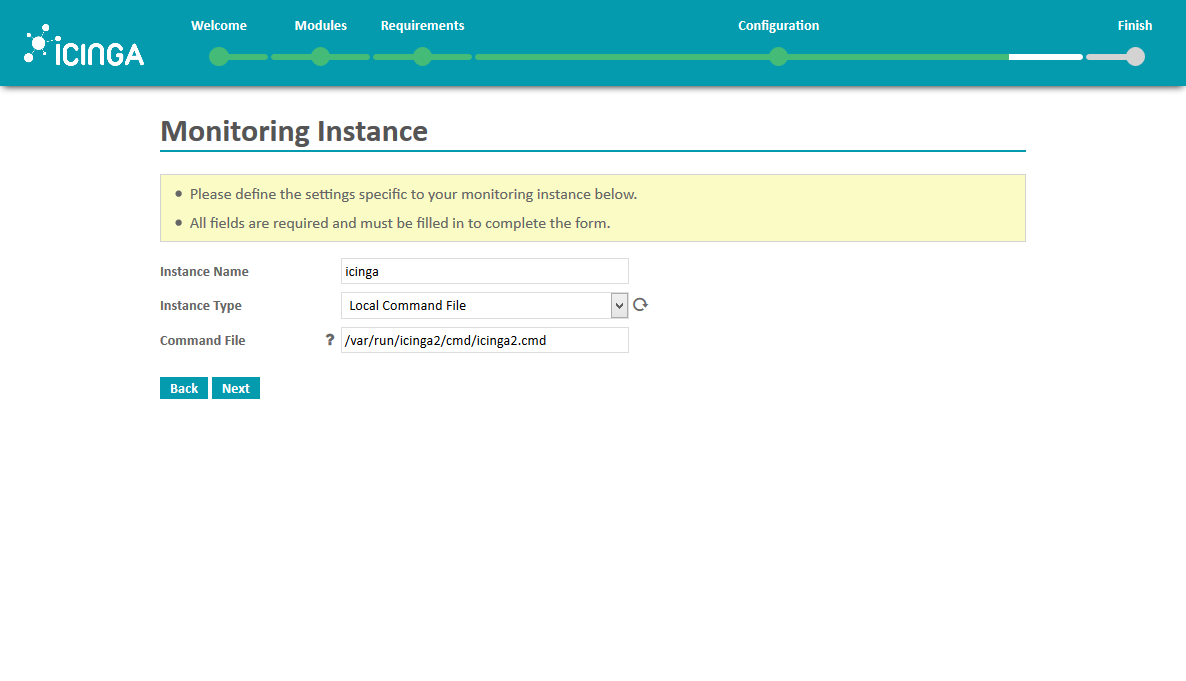
Accept the default values and hit ‘Next’.
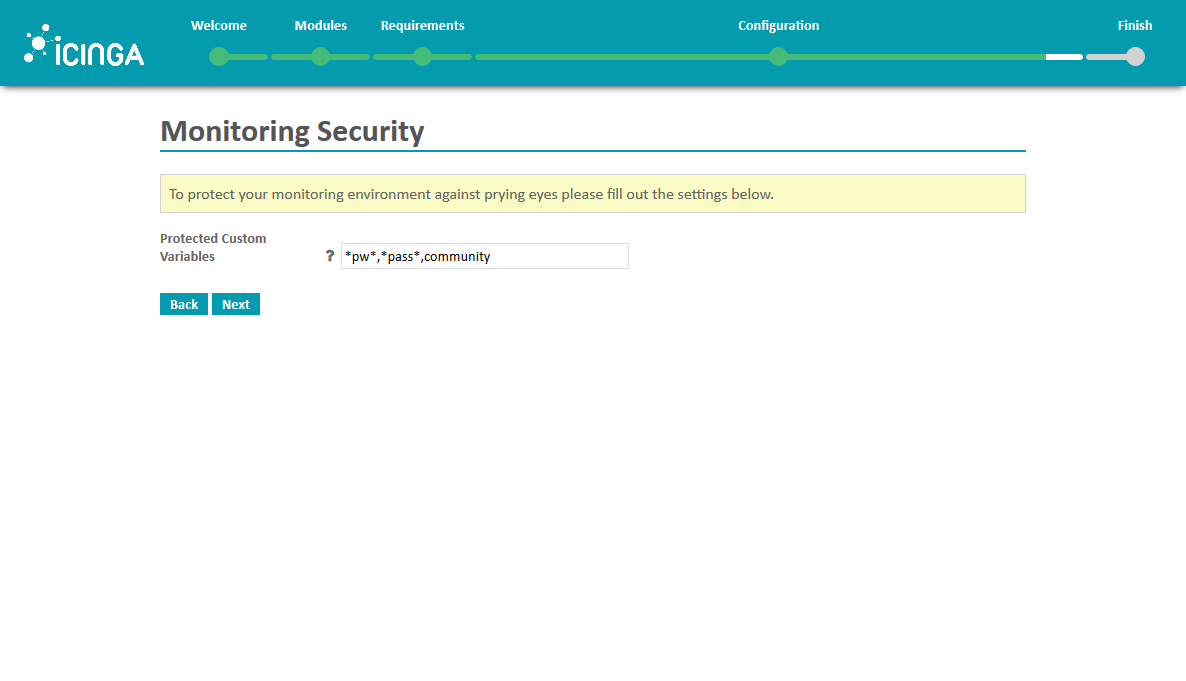
Once more, accept the default values and hit ‘Next’.
And finally, you are presented with the overview of this configuration as well:
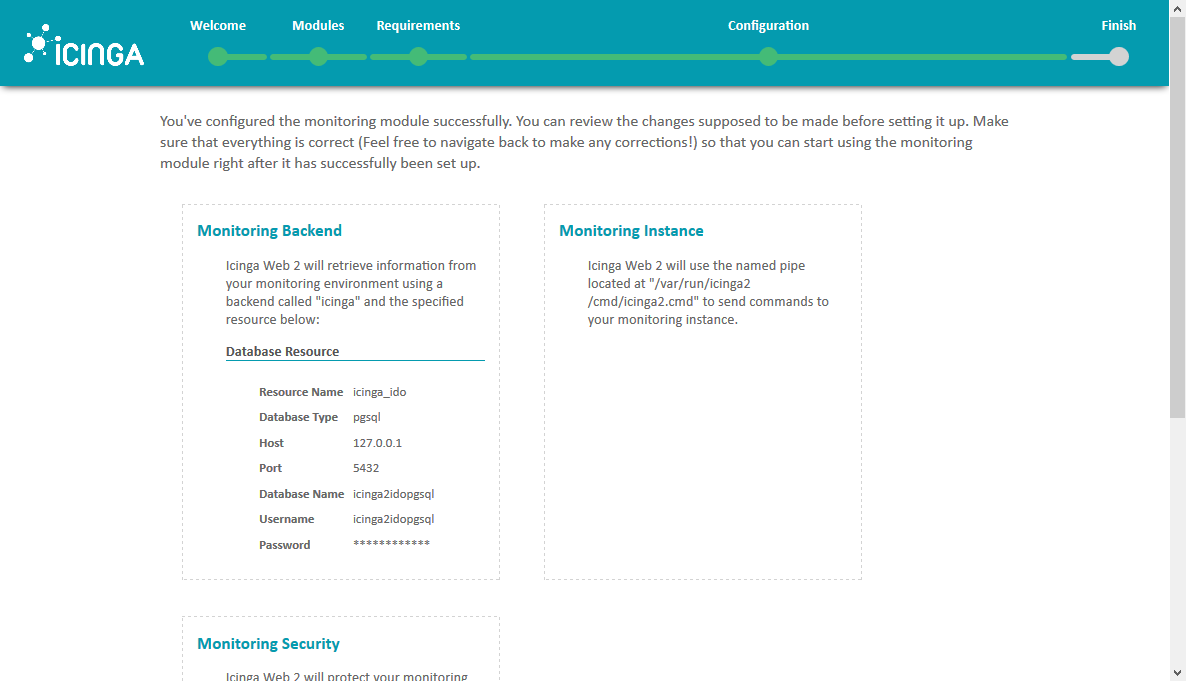
Click ‘Finish’ to make sure all of what just has been prepared becomes reality. The next screen should thus give you good news and a button to log in to your Icinga Web 2 installation! Please do so, and be amazed:
IT’S WORKING!
You’ve worked hard, so enjoy your new (and for the next two weeks completely useless) installation and grab a beer. That’s all for today!
Final notes
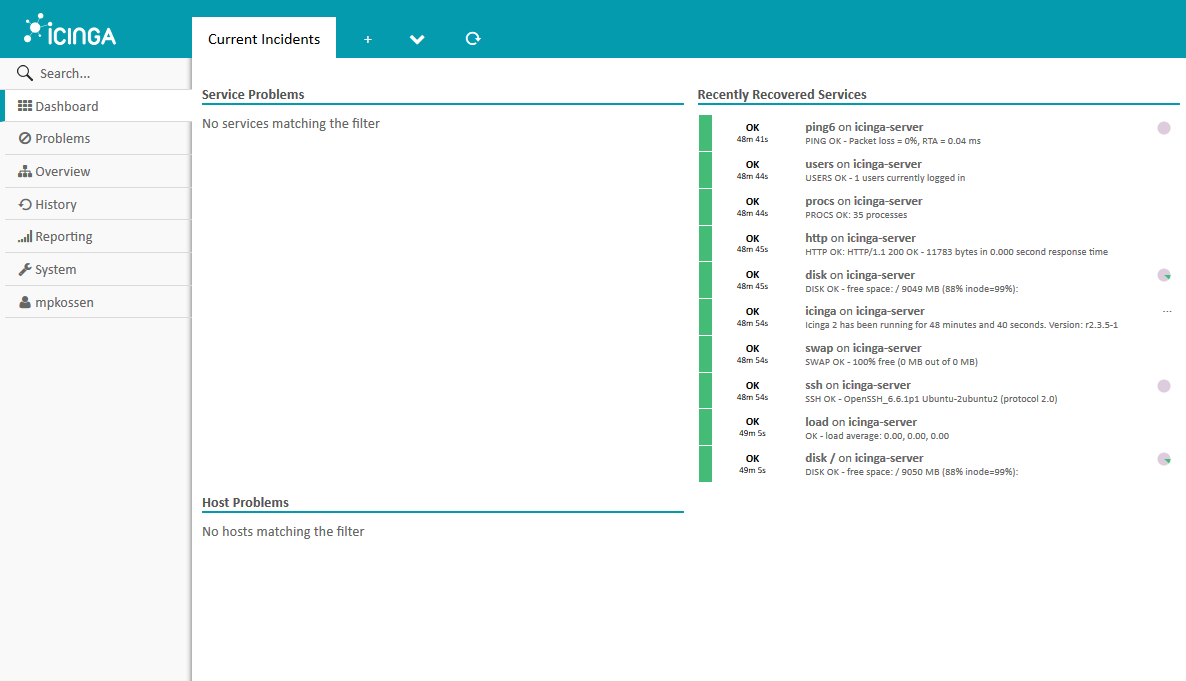
Of course the installation isn’t completely useless, because it monitors itself. This kind of supersedes the purpose, but at least you can look at the fancy statistics. Or you could try and add some hosts yourself. But if you want to be sure of what steps are next, come back here in two weeks for part 2!
Thanks for reading!
Related Posts:
Are Tutorials Dead?
Nyr's Legendary Road Warrior Script: Still the Rock Solid Go-To for Easy VPN!
Roll Your Own: How to Setup and Maintain a Minecraft Server on Your VPS
Have You Checked Out RackNerd's TikTok Channel? Video Content That Brings Web Hosting Mainstream!
From Oracle Cloud to TOR to Telegram: Check Out LowEndTalk Tutorials!
LowEndBox BUSTED for Dealing in Mind Expanding Substances
Maarten Kossen served as the administrator of LowEndBox from 2013 to 2015, playing a key role in guiding the platform during a critical phase of its growth. During his tenure, Maarten introduced numerous improvements, helped shape editorial direction, and contributed to the evolution of LowEndBox as both a resource and a community hub for budget-conscious hosting users.
With a deep understanding of web hosting, server management, and open-source infrastructure, Maarten brought fresh ideas and steady leadership to the site, bridging the gap between the original vision of LowEndAdmin and the future of the platform.
Today, Maarten remains an active and valued member of the LowEndTalk community (@mpkossen), continuing to share his experience, engage in discussions, and support the broader LowEnd ecosystem.


Nice tutorial Marteen ¤Öé
Thanks for it, and I will try it
When the top server is published Q1 2015?
Issue from the start. entering this:
add-apt-repository ppa:formorer/icinga
gives this error:
bash: add-apt-repository: command not found
I entered this:
apt-get install software-properties-common
and all is well now.
Nice tutorial.. will try this tomorrow.
waiting for the part2..
Looking forward to part 2….
am I being stupid? how can I change ports for a service? Cannot find any information on it anywhere
When is part 2 coming out?
Hi
Seeing that I cannot for the life of me figure out how to start with this after the installation, I am looking forward to part 2. One would think that there is a step by step guide of how to add a host somewhere but I cannot find one that is easy enough to just follow!
Great tutorial. We’re really looking forward to the next part of this!!!
Part 1 was very helpful. Followed it exactly. Had a stumble on the postgresql role and db creation but otherwise went smoothly.
When will part 2 be ready? Can’t wait.
Thank you!
So I decided to redo the server (for training purposes) and now I am receiving the following error upon completion od the websetup:
Unable to create user group “Administrators”. An error occured:
ERROR: Zend_Db_Statement_Exception in /usr/share/php/Zend/Db/Statement/Pdo.php:235 with message: SQLSTATE[42S02]: Base table or view not found: 1146 Table ‘icingaweb2.icingaweb_group’ doesn’t exist, query was: SELECT COUNT(*) AS cnt FROM icingaweb_group AS g WHERE (g.name = ‘Administrators’)
Please help.
Thank you
Seems you Forget to re-create the database as Maarten described during Setting up Icinga Web 2.
Look for :
cd /tmp
sudo -u postgres psql -c ŌĆ£CREATE ROLE WITH LOGIN PASSWORD ŌĆś’ŌĆØ;
sudo -u postgres createdb -O
I got the same error and could fix it as follow.
1) Leave the Setup browser open.
2) Re-create the role and the database as described aboved
3) Go “Back” until you reach the page “Database Resource” for resource Name “icingaweb_db”.
4) Uncheck “Skip Validation”, if checked
5) click “Validate Configuration”, it should be OK now
6) if OK, click “Next” and Review Settings, they should be fine and cached by the browser
7) repeat this for all pages until you reach the final overview page again
8) click “Finish” and hopefully you will get a GREEN message
Hope this helps.
Could you use this syntax
sudo -u postgres psql -c “CREATE ROLE uuuu WITH LOGIN PASSWORD ‘pppppp’;”
sudo -u postgres createdb -O uuuu mydb
Make the semicolon with in the double cote it was in the out side.
It is interesting tutorial I like it. Let us proceed to the next on how to add services and hosts. Thank you.
Hello, I have problems installing icinga2 gives me the following error in DATA BASE RESOURCES and not know where to find the fault.
**Failed to successfully validate the configuration: SQLSTATE[08006] [7] could not connect to server: Connection refused Is the server running on host “192.168.0.100” and accepting TCP/IP connections on port 5432?**
martin
in the web interface could not set up getting stucked in the Monitoring IDO Resource section.
Please let me know the exact steps to do the configuration manually without web interface.
great tutorial!!!! really helped allot. I had to do the addition 2 steps
after creating the security token i had to restart apache2 web service and also give its user ownership of the folder icingaweb2 “sudo chown -R www-data /etc/icingaweb2” for install to complete without errors. Hope that helps someone.
great tutorial!!!! really helped allot. I had to do the addition 2 steps
after creating the security token i had to restart apache2 web service and also give its user ownership of the folder icingaweb2
for install to complete without errors. Hope that helps someone.
I am getting below error after finishing the installation:
===
Monitoring backend configuration could not be written to: /etc/icingaweb2/modules/monitoring/backends.ini. An error occured:
ERROR: RuntimeException in /usr/share/php/Icinga/Util/File.php:97 with message: Failed to create missing directory “/etc/icingaweb2/modules/monitoring/” (mkdir(): Permission denied)
Resource configuration has been successfully updated: /etc/icingaweb2/resources.ini
Command transport configuration could not be written to: /etc/icingaweb2/modules/monitoring/commandtransports.ini. An error occured:
ERROR: RuntimeException in /usr/share/php/Icinga/Util/File.php:97 with message: Failed to create missing directory “/etc/icingaweb2/modules/monitoring/” (mkdir(): Permission denied)
Monitoring security configuration could not be written to: /etc/icingaweb2/modules/monitoring/config.ini. An error occured:
ERROR: RuntimeException in /usr/share/php/Icinga/Util/File.php:97 with message: Failed to create missing directory “/etc/icingaweb2/modules/monitoring/” (mkdir(): Permission denied)
===
Try change icingaweb2 owner:
chown -R www-data /etc/icingaweb2
and restart apache
Great tutorial, many thanks!
Great guide but im having issues at the final config stage! I’ve tried to following instructions exactly.
I receive this error:
Welcome
Modules
Requirements
Configuration
Finish
Sorry! Failed to set up Icinga Web 2 successfully.
Back
General configuration has been successfully written to: /etc/icingaweb2/config.ini
Authentication configuration has been successfully written to: /etc/icingaweb2/authentication.ini
Account “root” has been successfully defined as initial administrator.
User Group Backend configuration has been successfully written to: /etc/icingaweb2/groups.ini
Unable to create user group “Administrators”. An error occured:
ERROR: Zend_Db_Statement_Exception in /usr/share/icingaweb2/library/vendor/Zend/Db/Statement/Pdo.php:225 with message: SQLSTATE[42P01]: Undefined table: 7 ERROR: relation “icingaweb_group” does not exist
LINE 1: SELECT COUNT(*) AS cnt FROM icingaweb_group AS g WHERE (g.na…
^, query was: SELECT COUNT(*) AS cnt FROM icingaweb_group AS g WHERE (g.name = ‘Administrators’)
Resource configuration has been successfully written to: /etc/icingaweb2/resources.ini
Monitoring backend configuration could not be written to: /etc/icingaweb2/modules/monitoring/backends.ini. An error occured:
ERROR: RuntimeException in /usr/share/php/Icinga/Util/File.php:97 with message: Failed to create missing directory “/etc/icingaweb2/modules/monitoring/” (mkdir(): Permission denied)
Resource configuration has been successfully updated: /etc/icingaweb2/resources.ini
Command transport configuration could not be written to: /etc/icingaweb2/modules/monitoring/commandtransports.ini. An error occured:
ERROR: RuntimeException in /usr/share/php/Icinga/Util/File.php:97 with message: Failed to create missing directory “/etc/icingaweb2/modules/monitoring/” (mkdir(): Permission denied)
Monitoring security configuration could not be written to: /etc/icingaweb2/modules/monitoring/config.ini. An error occured:
ERROR: RuntimeException in /usr/share/php/Icinga/Util/File.php:97 with message: Failed to create missing directory “/etc/icingaweb2/modules/monitoring/” (mkdir(): Permission denied)
Module “monitoring” has been successfully enabled.
Any ideas?
I’ve got this same issue. I’ve set all the permissions up correctly, but I am still getting a permission denied error and I cannot figure out why.
Great tutorial, but… got the same error. Any ideas?
Go back to “database resource” of your wizard. After giving correct details clik next and there you need do give username & password.
Note this should be “root”. If you run ‘mysql-secure installation’ before provide the “password” you enter there,otherwise leave password field.
Uncheck ŌĆ£Skip ValidationŌĆØ, if checked and check. now should be ok.
not sure where you took “mysql-secure installation” command from, but…
I got the same error – what worked for me:
case A) the problem I had (it’s just some kind of bug):
I went back to “database resource” and pressed button “Validate Configuration” there. The OP didn’t had that button in the picture – but you will. (2 “check” buttons in total actually: here at “database resource” and at “Monitoring IDO resource”).
OR instead of pressing the button uncheck ŌĆ£Skip ValidationŌĆØ and press “Next” – like krishan said. – it will perform the same validation check.
SO if it will say “configuration has been successfully validated” after you press “Validate Configuration” button at “database resource” page – then you should be good. Just keep going next and you should get no errors.
If on ŌĆ£database resourceŌĆØ page you don’t validate ‘successfully’ then you have
case B) you didn’t used those 3 ‘postgres’ commands. OR you used them but filled different values in your ŌĆ£database resourceŌĆØ page, so now they don’t match and don’t validate.
Look for “cd /tmp” in OPs post.
It should be kinda like:
Now check your fields in a ŌĆ£database resourceŌĆØ page -> it should be:
You should validate now and have no “Unable to create user group ŌĆ£AdministratorsŌĆØ” error.
Go back to “database resource” of your wizard. After giving correct details clik next and there you need do give username & password.
Note this should be “root”. If you run ‘mysql-secure installation’ before provide the “password” you enter there,otherwise leave password field.
Uncheck ŌĆ£Skip ValidationŌĆØ, if checked and check. now should be ok.
I have a problem please help “All configured authentication methods failed. Please check the system log or Icinga Web 2 log for more information. Username root Password Login Icinga Web 2 ┬® 2013-2016 The Icinga Project “
I had the same error “Unable to create user group ŌĆ£AdministratorsŌĆØ” too – solutions for you:
case A) the problem I had (it’s just some kind of bug):
I went back to “database resource” and pressed button “Validate Configuration” there. The OP didn’t had that button in the picture – but you will. (2 “check” buttons in total actually: here at “database resource” and at “Monitoring IDO resource”).
OR instead of pressing the button uncheck ŌĆ£Skip ValidationŌĆØ and press “Next” – like krishan said. – it will perform the same validation check.
SO if it will say “configuration has been successfully validated” after you press “Validate Configuration” button at “database resource” page – then you should be good. Just keep going next and you should get no errors.
If on ŌĆ£database resourceŌĆØ page you don’t validate ‘successfully’ then you have
case B) you didn’t used those 3 ‘postgres’ commands. OR you used them but filled different values in your ŌĆ£database resourceŌĆØ page, so now they don’t match and don’t validate.
Look for “cd /tmp” in OPs post.
They should be kinda like:
Now check your fields in ŌĆ£database resourceŌĆØ page -> correct them to:
You should validate now and have no “Unable to create user group ŌĆ£AdministratorsŌĆØ” error.
sorry for double post, – commenting is painfully buggy here. Most likely due to some anti-spam plugin that OP is using.
Great explanation Thanks….
great explanation, thanks…..!!!!!!