 In this tutorial series, we are setting up a highly available WordPress web site from scratch.
Part 1 – Introduction, Considerations, and Architecture
Part 2 – Ordering the VPSes (this article)
Part 3 – Ansible
Part 4 – Gluster
Part 5 – WordPress install
Part 6 – MariaDB Multi-Master
Part 7 – Round-Robin DNS, Let’s Encrypt, & Conclusion
Last time we went over architecture and design.
Now we’re going to order the VPSes from Hetzner.
Why Hetzner? Although many VPS vendors will do, I selected them for three reasons:
- They offer block storage devices, which makes using GlusterFS easier.
- They are popular in our community and want this tutorial series to be useful to many of our readers.
- They have a location not far from my house (<40mi) which makes the VPS responsive when I’m working on it over SSH and Ansible.
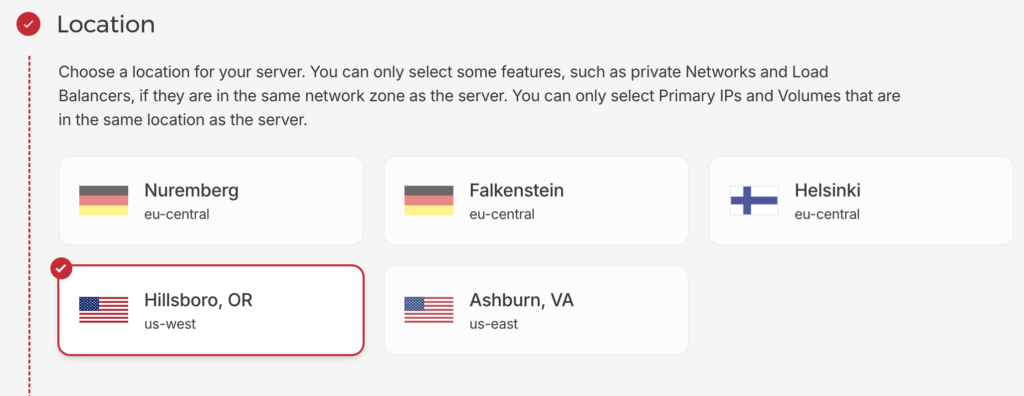
I’ll be using three nodes in Hillsboro, Oregon.
If you’re thinking “why not put one in US West Coast, one in US East Coast, and one in Europe for redundancy,” then I’d be a bit careful. The replication technologies for database and server require commits at each site, and it can take a long time to get an acknowledgement back across the ocean. That will slow things down significantly. Every time you publish something or a user comments, there will be a substantial lag. Not saying it can’t work, but this kind of disaster planning is beyond the scope of this series.
The web site will be www.lowend.party, and here’s how the nodes will look:
5.78.68.150 node1.lowend.party
5.78.91.194 node2.lowend.party
5.78.74.126 node3.lowend.party
These VMs were decomm’d before this tutorial was published, so if you hate me, don’t DDoS those IPs because someone else is using them now.
Let’s step through the Hetzner creation.
As described above, I’m using Hillsboro, Oregon for the location:
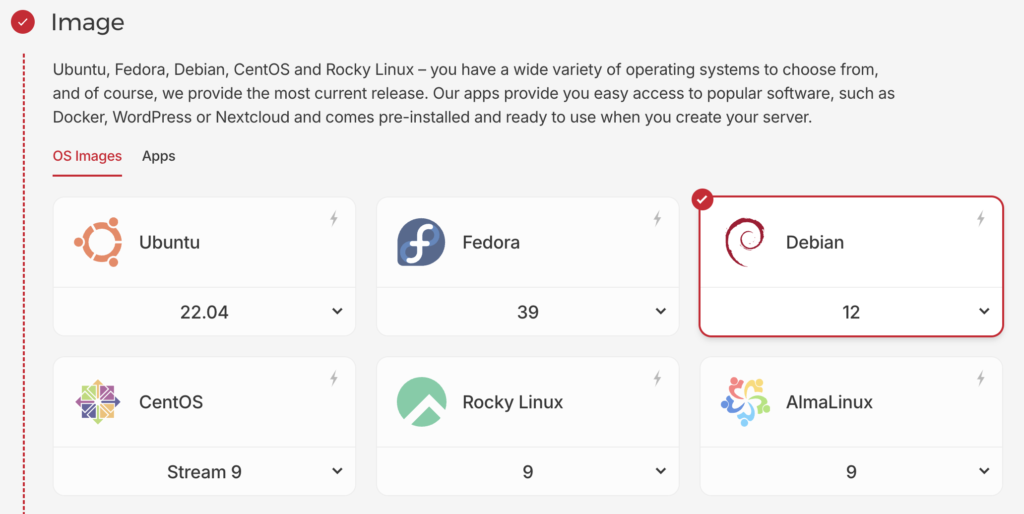
And of course I’m using the One True Distro:
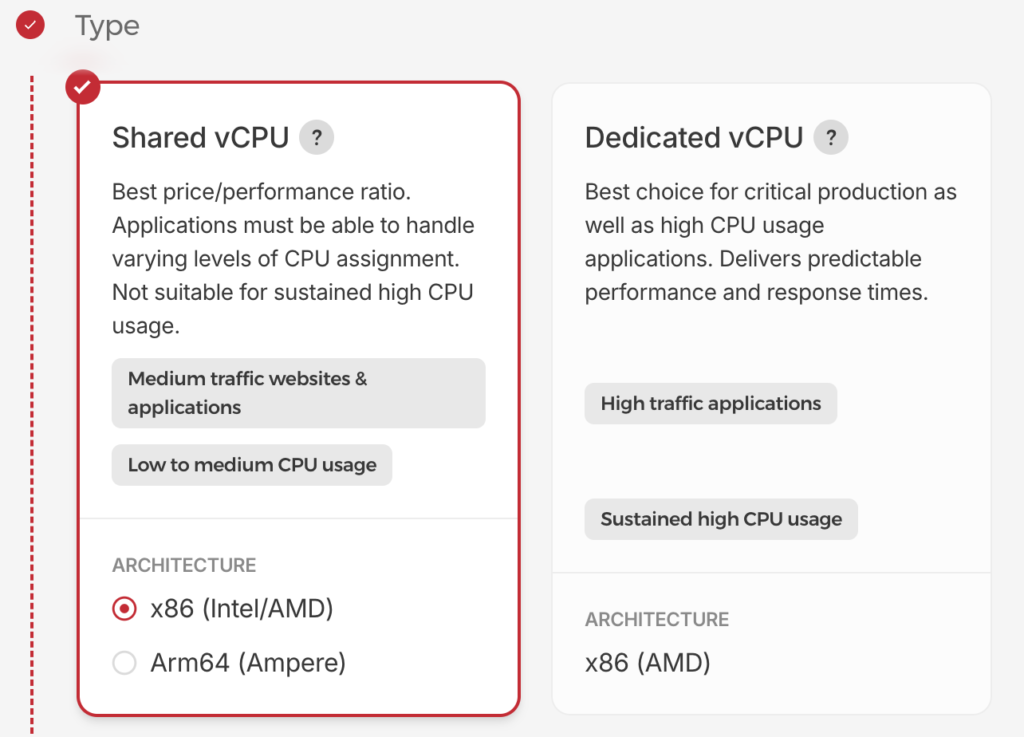
I’m using the Shared vCPU type:
Here’s the VPS model I chose:
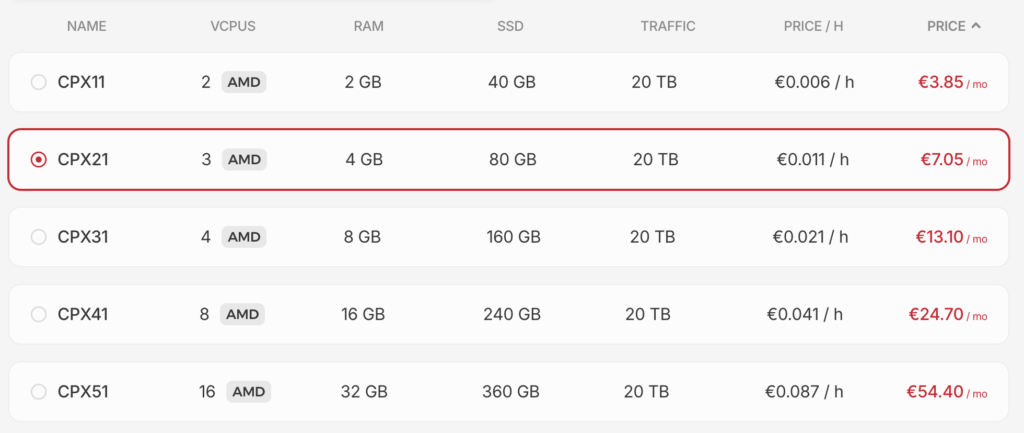
I could have gone with the 2GB model but at this point, I usually provision my VMs with at least 4GB of RAM. I remember when $7 bought you 64MB of RAM! This puts our entirely solution (3 VMs + block storage) at about $30/month. You could cut that in half by starting with 2GB VMS (CPX11 instead of CPX21).
Of course, if you are expecting a lot of traffic, you could choose dedicated vCPU and/or larger boxes. You could, of course, set this up on three dedicated servers if you’re really big.
I enabled IPV4 but won’t be using IPv6 in this tutorial. @yoursunny will be ashamed of me.
I did provision with an embedded SSH key for root, and we’ll leverage that in the next part of Ansible.
I created a Volume:
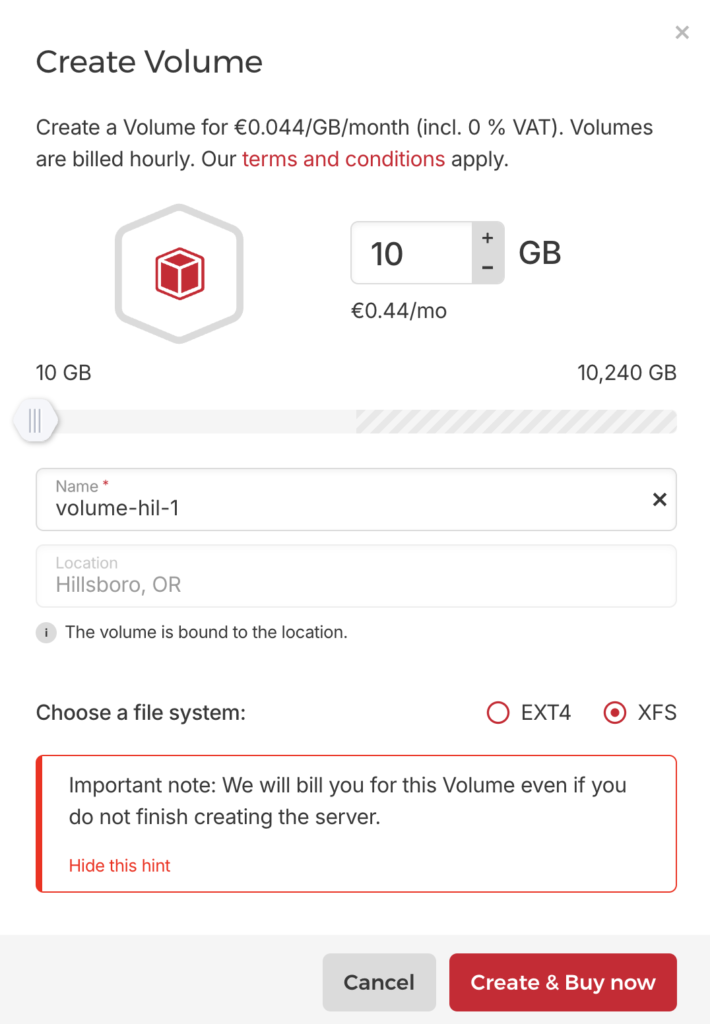
We only need 10GB for this demo. This will hold our GlusterFS replicated filesystem. I chose XFS because that’s best for GlusterFS from what I’ve read.
I skipped firewalls and backups for this tutorial, but of course if you’re doing this for real, you should backup your systems!
The rest I left as-is, except to change the name to node1.lowend.party, etc.
All three VMs are now provisioned, and in the next tutorial we’ll get them efficiently setup using Ansible.


Leave a Reply