 Server and application security are important factors to consider when running a website — especially a website based on WordPress. This easy to use guide will help take you through the steps of ensuring that your WordPress based blog is running as securely as possible thanks to Wordfence (and easy to use plugin that goes a long way to towards improving security on your WordPress installation).
Wordfence is a Web Application Firewall that can substantially improve the security of your WordPress site. It’s a WP plugin and can be managed entirely through your WordPress dashboard. In this tutorial, we’ll get you up and running with Wordfence.
Installing Wordfence
I’ve created a blog with absorbing content and wish to protect it from hackers.
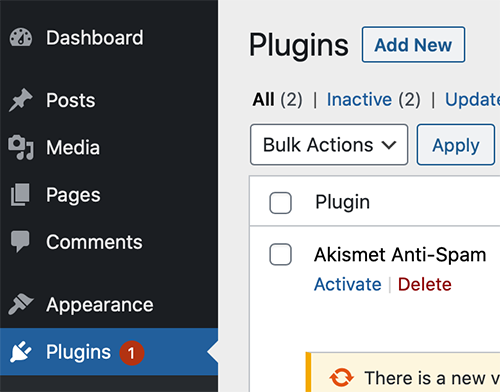
I’ll head to my dashboard and click Plugins, then Add New.
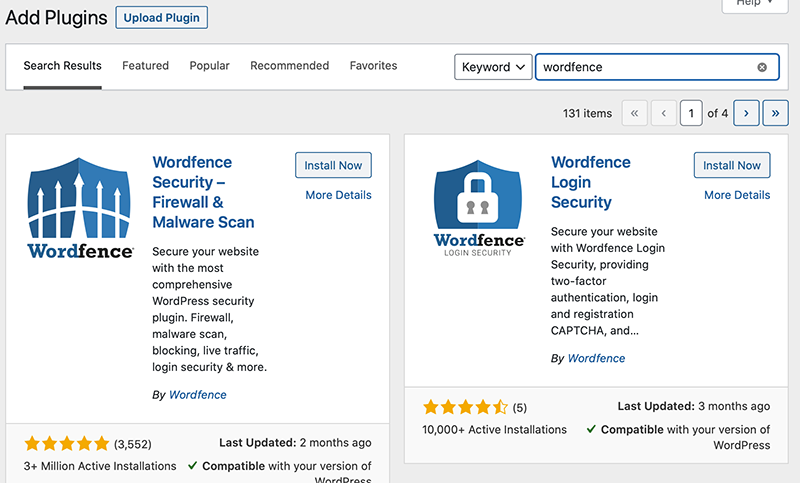
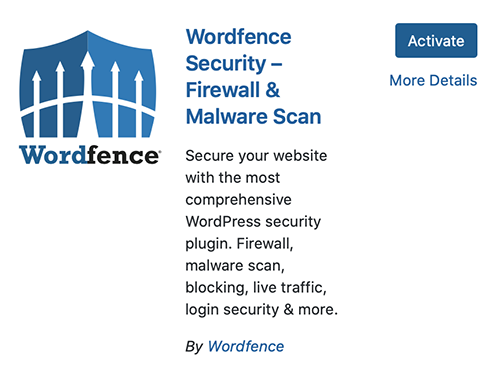
In the search box, enter “wordfence”. Under “Wordfence Security – Firewall & Malware Scan” click “Install Now”.
The installer will spin for a few seconds as it installs.
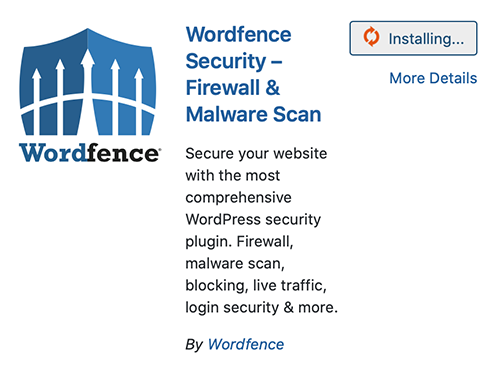
When it’s done, click Activate.
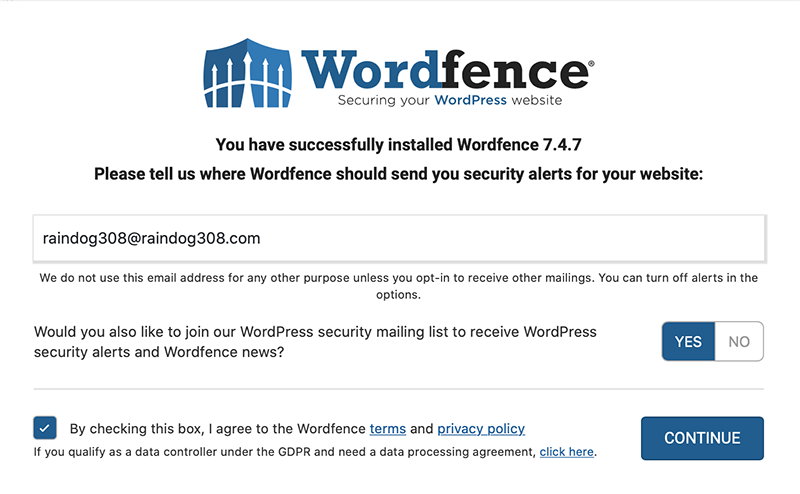
Congrats, Wordfence is installed. You’ll be greeted with a success message. One of the options is to subscribe to their security alerts email list. I recommend subscribing, as their emails discuss current WordPress attack patterns.
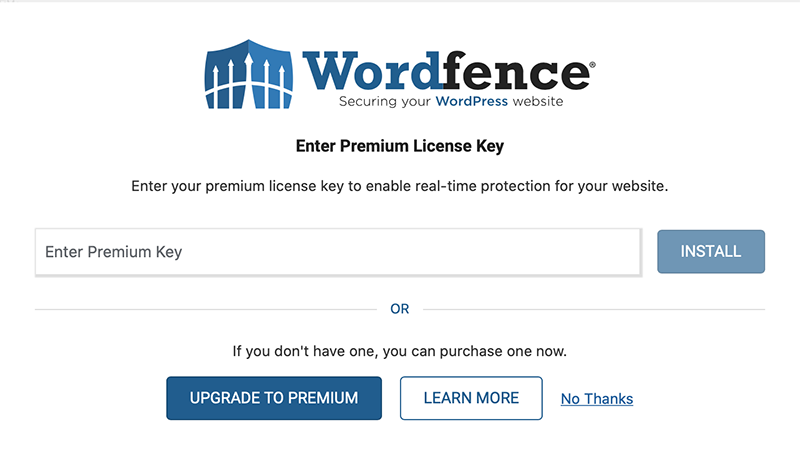
Wordfence offers a premium mode. In this tutorial, we won’t be covering that option, so just click “No Thanks”. One of the nice things about Wordfence is that the product provides a lot of benefits even without paying for premium. You’ll occasionally run into things that are premium-only that maybe you wish you had, but even as a freebie, Wordfence is very beneficial.
Configuring Wordfence
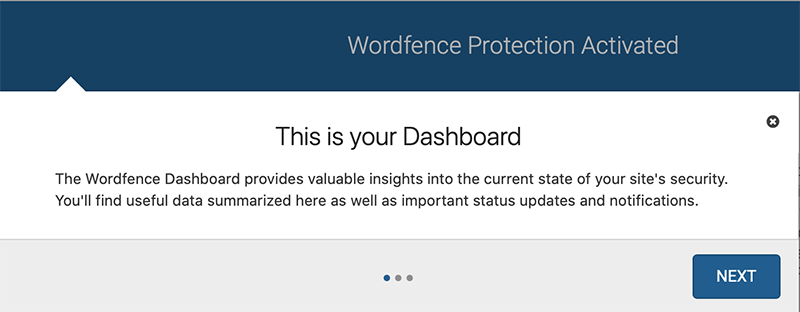
On your dashboard’s left menu bar, you’ll now see a Wordfence section. Click it.

Wordfence has a few tutorial-like popups that will orient you.
At the top of the Wordfence dashboard, you’ll see this option. Click “Yes” so Wordfence can stay up to date.

Next, click on the orange tab to optimize your Wordfence wAF.

What this is actually going to do is prepend a call to a .php file before every php call WordPress makes. Click Continue.
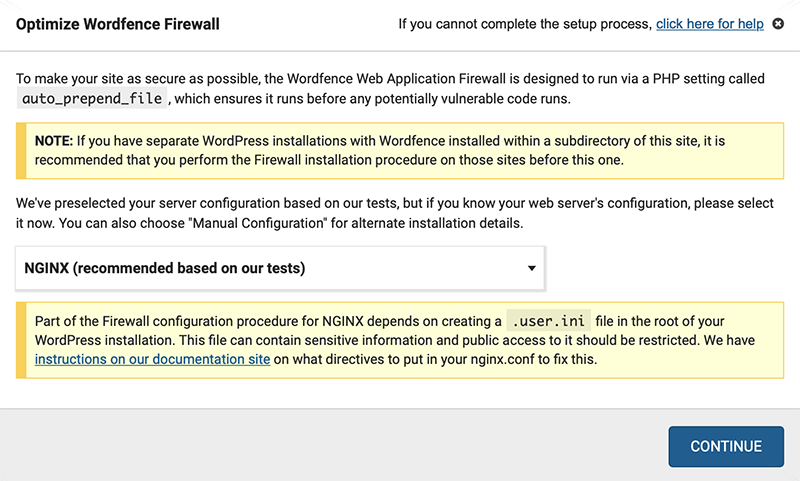
If you’re curious, the file modified is .user.ini in your WordPress root. Here is the modification made:

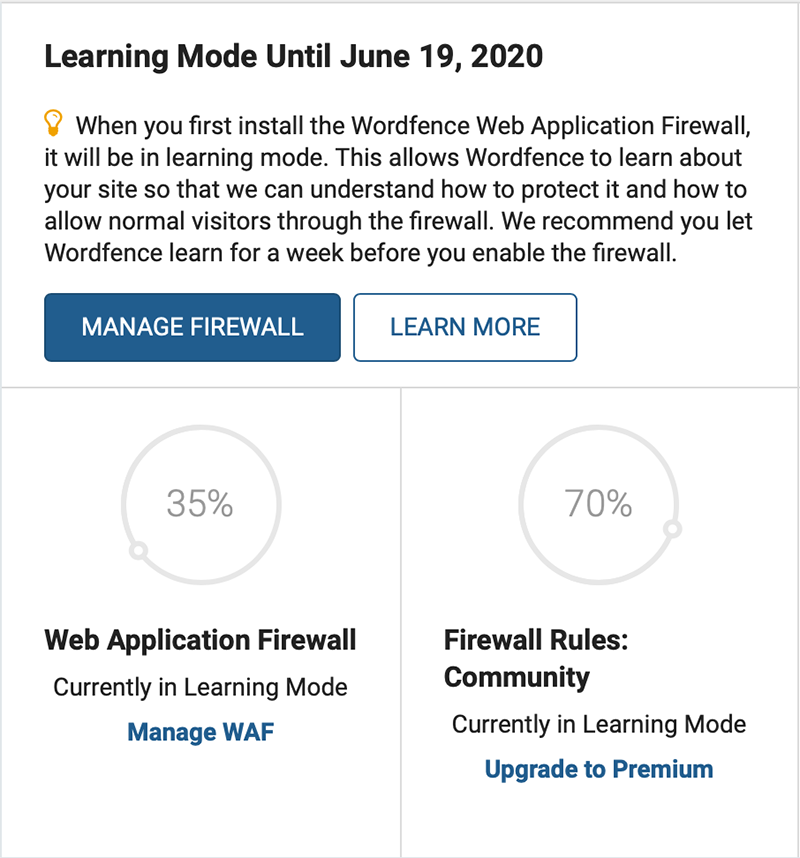
You’ll notice that Wordfence says its in “Learning Mode”. The WF engine is being tuned for your site and it’s learning what typical access patterns users use. Typically you leave it in “Learning Mode” for a period of time (one week) before it moves into active mode.
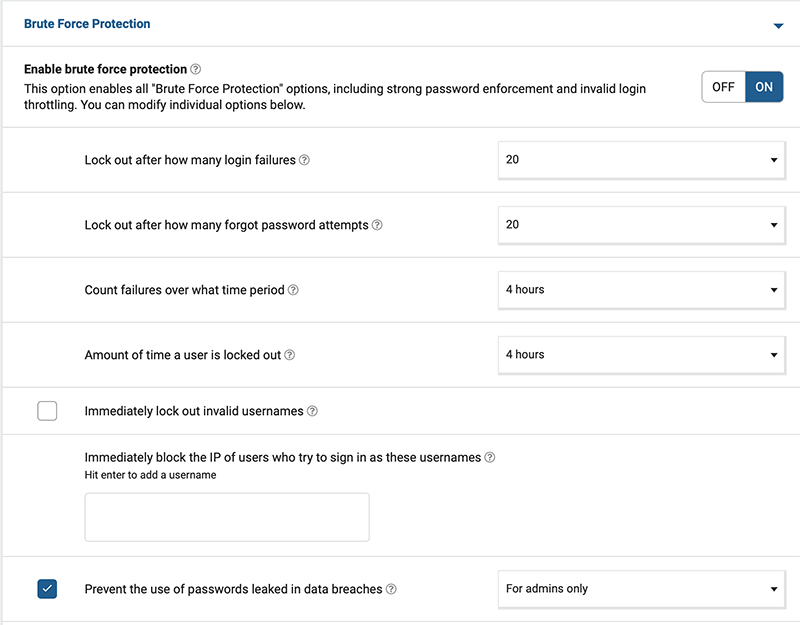
Let’s look at some of the ways Wordfence is already protecting your site. Still on the Firewall page, click All Firewall Options. WordPress has put some generous defaults in place to protect you against people trying to guess passwords. Note also that WF prevents the use of passwords that have appeared in data breaches. This is a fantastic improvement. You and your admins are prevented from using passwords that are in well-known password databases.
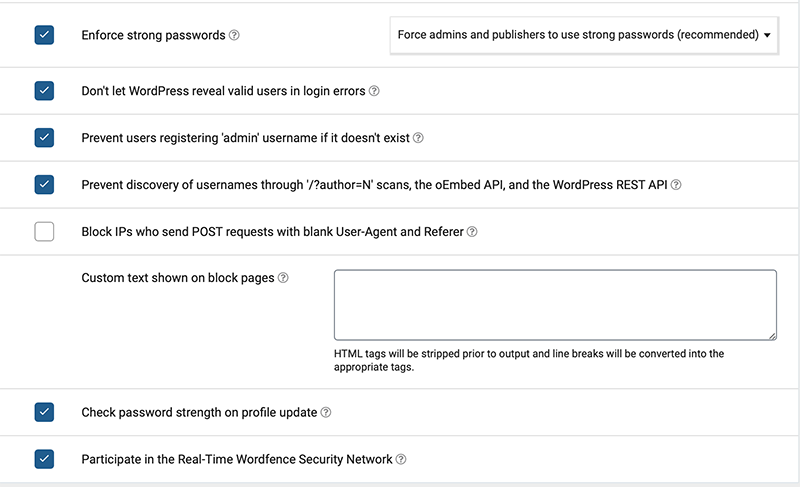
Scrolling down, you’ll see Wordfence has put in some other protections to enforce strong passwords and prevent WordPress from leaking login data.
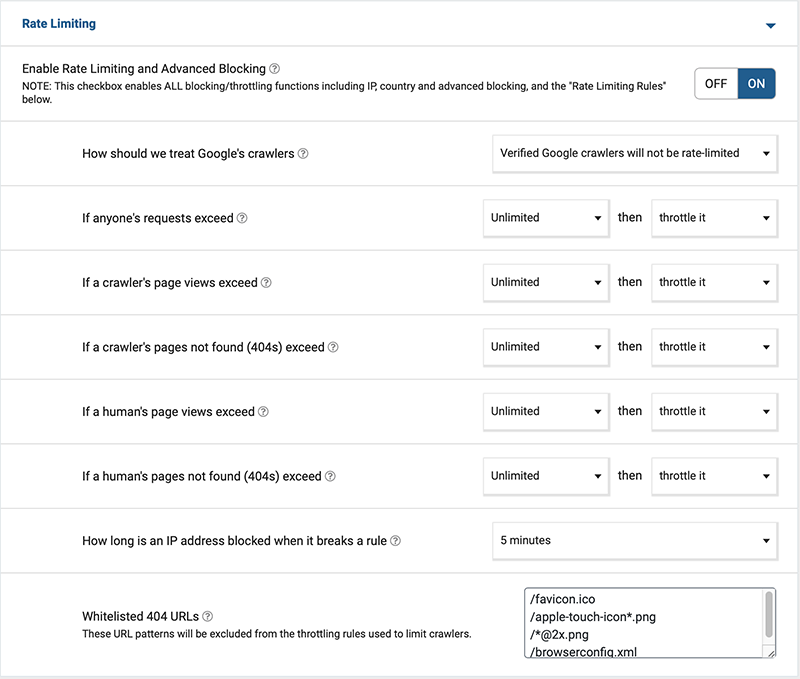
Under Rate Limiting, you’ll see that WF has put some defaults in place but they’re set to Unlimited. You may wish to tweak these. For example, no human should be retrieving hundreds of 404s per minute – that’s a sign someone is running a script. You could change that to 5 per minute and not risk disappointing any users while still blocking bots.
If you’ve changed anything, be sure to click “Save Changes” at the top. Now click on Scan on the left menu bar.
Wordfence Scans
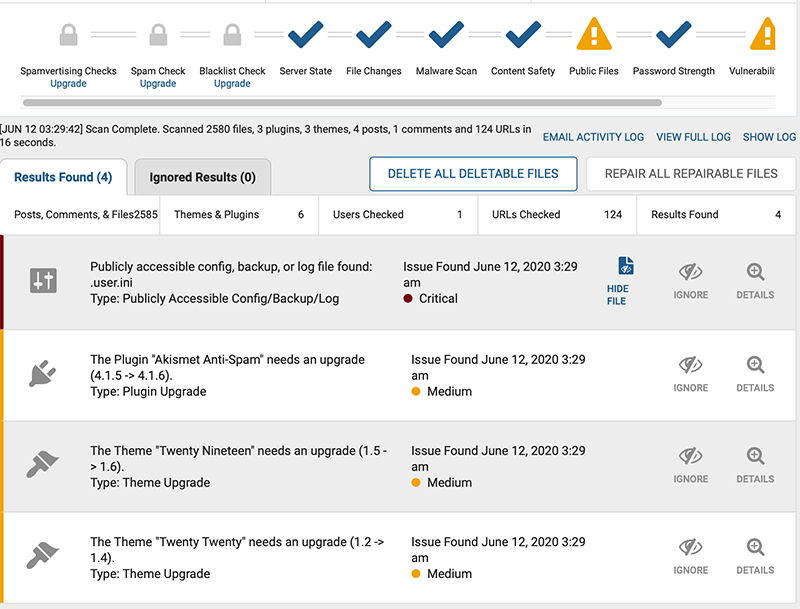
Wordfence also includes a scanner that detects malware, inappropriate file permissions, etc.

Click “Start New Scan”. After running for a bit, here is the report I received:
Wordfence 2FA
Now click on Login Security in the left menu bar. You’ll receive a tutorial popup about Wordfence 2FA.
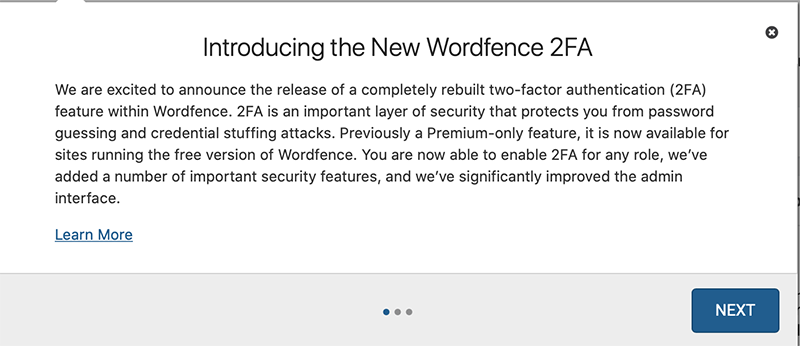
This is a great add-on for security, and it’s awesome that it’s now in the free version. Once you dismiss the popup, you’ll see that everything is ready for Wordfence 2FA:
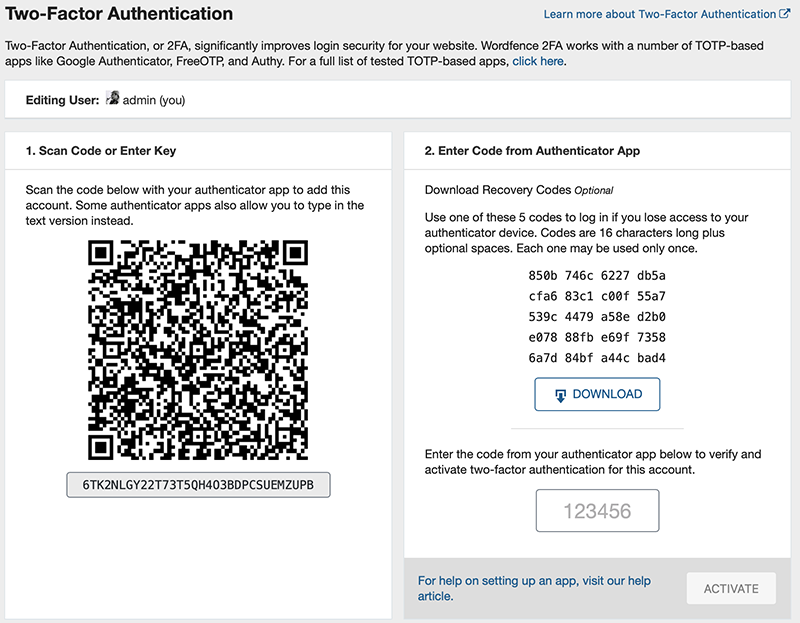
In this case, I fired up Microsoft Authenticator on my iPhone, scanned that barcode, and my authenticator app registered it:
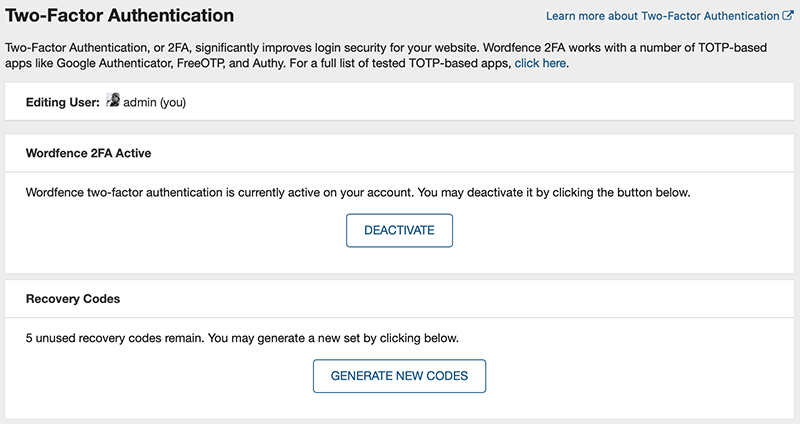
I’ll enter the six-digit code in Wordfence (where the 123456 is greyed out) to enable for my account, and then click Activate. WF informs me that I’m now setup.
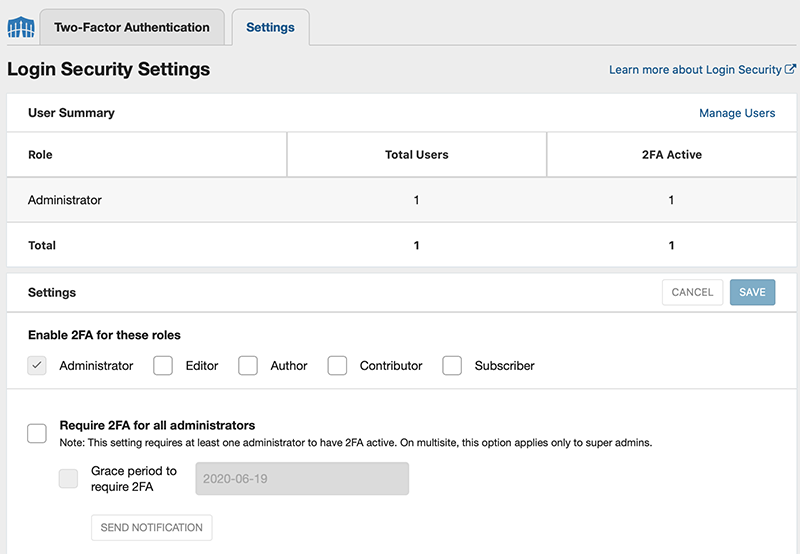
Going back to Settings, you’ll see that you can enable 2FA on a per-user or per-role basis.
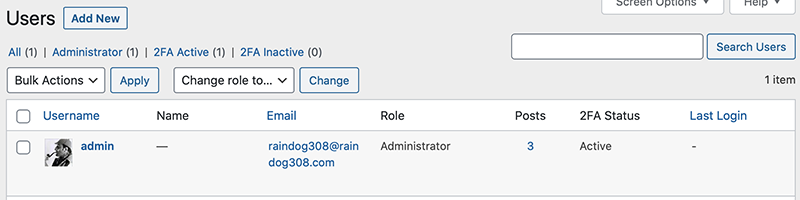
If you click Manage Users, you’re taken to the normal WordPress Users page, but there is now a “2FA Status” column.
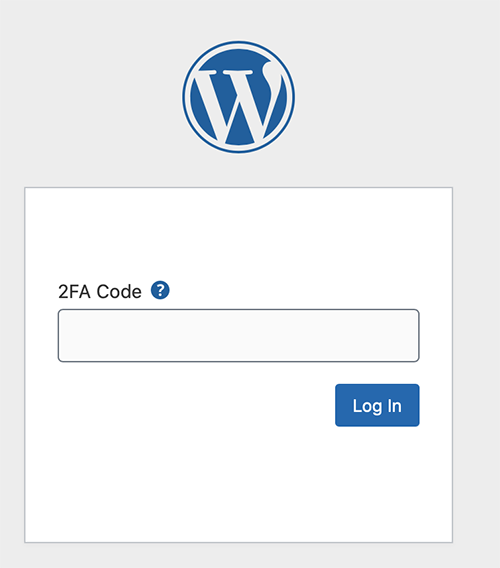
Now when I login, after entering my username/password, there’s a second screen that requires 2FA.
Wrapping Up
There is much more you can do with Wordfence. The Tools menu, for instance, has a lot of great features that are very handy even besides their security value. I encourage you to read the Wordfence docs and see how this security tool can help keep your WordPress site safe.
Related Posts:
Yeee-ouch! Guest-to-Host Escape Vulnerability in Linux KVM/x86
ELI5: Why is Everything Being Rewritten in Rust?
The YouTube App is an Authenticator...and That's a Problem
Want to Guess How Many Spam Comments We've Blocked Since 2016?
Whatever Happened About that Provider Who Claimed a Virtualizor Bug Caused a Breach?
Nyr's Legendary Road Warrior Script: Still the Rock Solid Go-To for Easy VPN!
raindog308 is a longtime community LETizen, technical writer, and self-described techno polymath. With deep roots in the *nix world, he has a passion for systems both modern and vintage, ranging from Unix, Perl, Python, and Golang to shell scripting and mainframe-era operating systems like MVS. He’s equally comfortable with relational database systems, having spent years working with Oracle, PostgreSQL, and MySQL.
As an avid user of LowEndBox providers, raindog308 runs an empire of LEBs, from tiny boxes for VPNs, to mid-sized instances for application hosting, and heavyweight servers for data storage and complex databases. He brings both technical rigor and real-world experience to every piece he writes.
Beyond the command line, raindog308 has a life-long love of German Shepherd Dogs, high-quality knives, target shooting, theology, tabletop RPGs, playing guitar, and hiking in deep, quiet forests.
His goal with every article is to help users, from beginners to seasoned sysadmins, get more value, performance, and enjoyment out of their infrastructure.
You can find him daily in the forums at LowEndTalk under the handle @raindog308.


Leave a Reply