 This is the third in our series on USENET. Previous articles:
- USENET Part 1: Wasn’t USENET Part of AOL or Something Back in the Dial-Up Days?
- USENET Part 2: Spambots, Scientology Wars, and the Internet’s First Deity
In this episode, we’re going to roll up our sleeves and actually use USENET. In particular, our mission is to search the vast NNTP interwebs to find a copy of Plan 9 From Outer Space, widely regarded as probably the worst movie ever made. From cardboard sets to actors dying and being replaced during filming to a rogues’ gallery of 1950s Z-list celebrities such as Swedish wrestler Tor Johnson and late-night movie marathon hostess Vampira, the movie is one of those rare bad movies that is so awful that it is fun to watch. It’s also in the public domain so we won’t have any controversy here :-)
We’re using community advertiser, Frugal Usenet, who has been a pleasure to deal with throughout this process. With premium service for only $4.16/month or $50/year, they are an excellent value and we’ll be interviewing them soon!
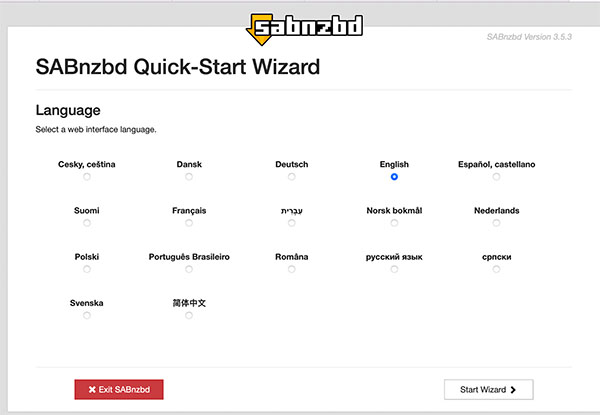
I’m going to use SABnzbd, which is a free NNTP/NZB client. After downloading and installing (I’m using macOS), you’ll find it running on port 8080 of your localhost (all configurable, of course). So surfing to http://127.0.0.1:8080/sabnzbd, we meet the wizard:
Next, I plug in the credentials from my Frugal Usenet account. With FU, you’re getting a primary and a secondary server, so that if one is unavailable you can use the other. The best practice is to set each to 10-20 connections for optimal speed. The limit is 50, and since this is a tutorial I’m just putting them all towards my first server and skipping the second, but if you go with Frugal Usenet, please follow their directions for best experience. (Note that Frugal Usenet also gives you a third bonus server which is completely separate from a connections budget perspective!)
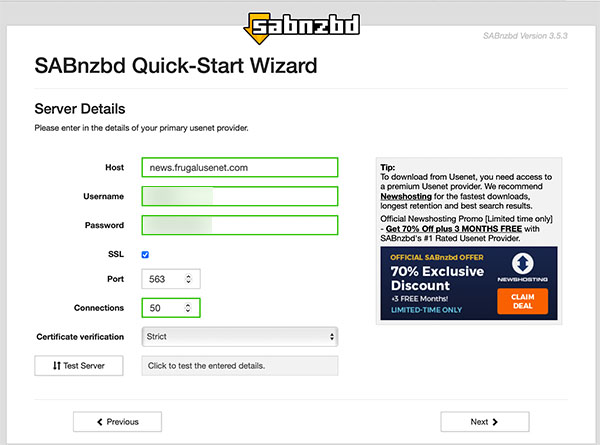
And clicking on Test Server shows everything is good:

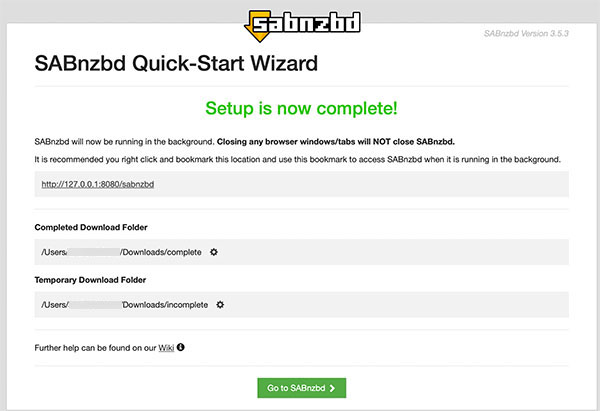
And now we’re setup and it tells us where various folders are located. Of course, this is just the wizard – you can modify anything you wish later in settings.
Now let’s go find Vampira.
I’m going to use binsearch.info:
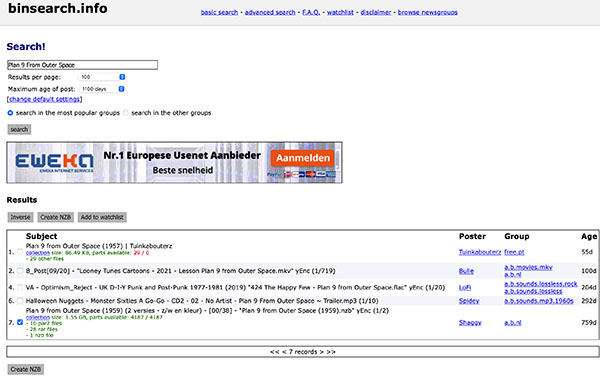
Looks like there are several copies out there. I’ll ignore the first because it does not appear complete. The last (#7 on the list) looks promising. Let’s select it (check it) and then click “Create NZB”. A file (similar to a .torrent – it’s just metadata) is downloaded, and then when I go back to SABnzbd I click “Add NZB” at the top of the interface. And now it’s queued:
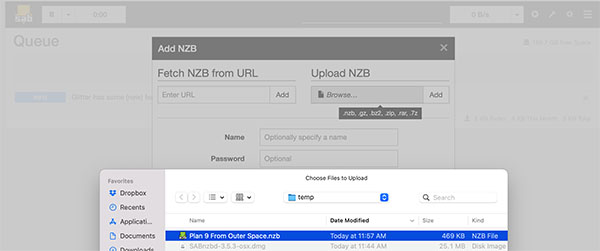

As you can see, it’s downloading very speedily on my home 500mbps line. Once done, I’ll find it in my “completed” files:


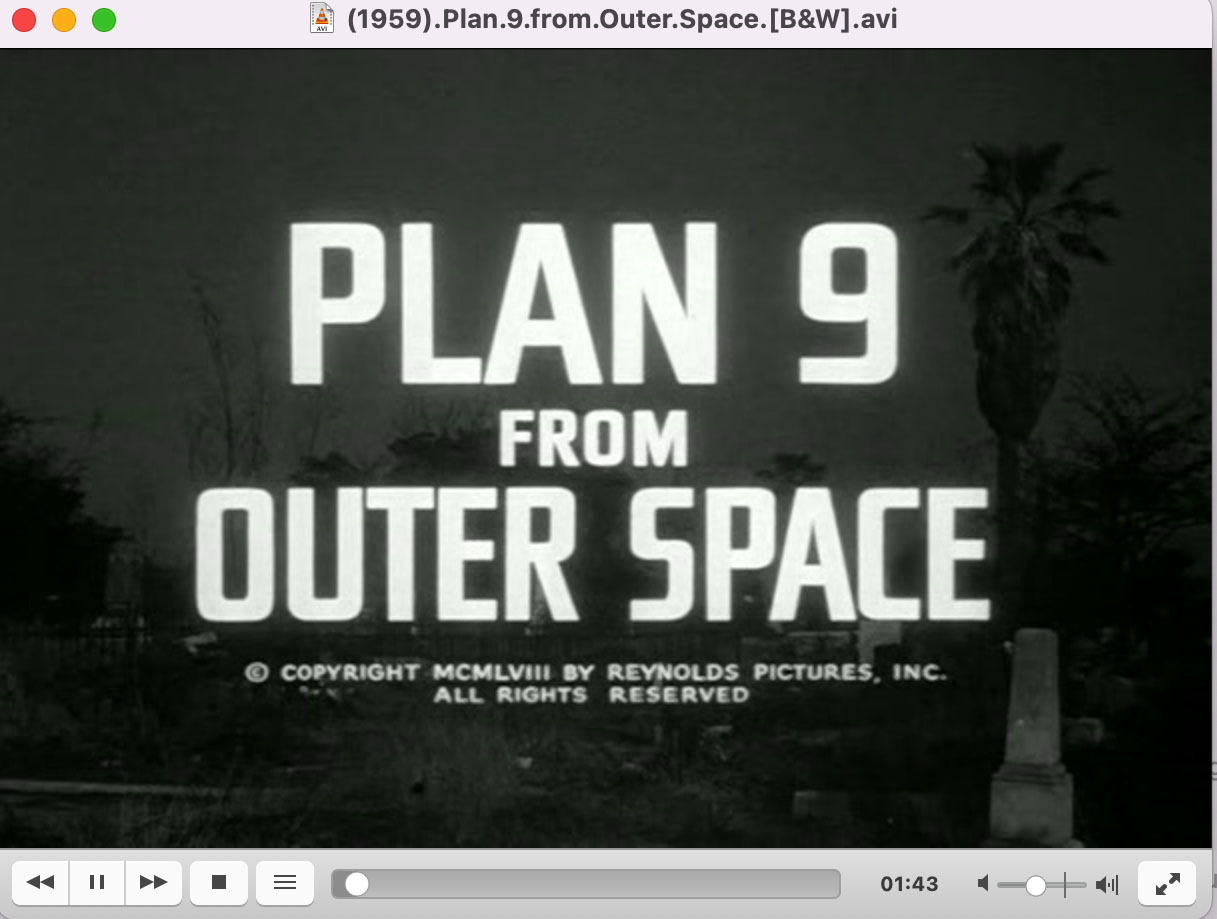
And firing up VLC on the B&W .avi launches me into a retro 1950s world of gravediggers from outer space!








This was a great three part series for a millennial that missed all the fun of the 1990s and the pre WWW days…
I had a fielding USENET still had binaries to DL and I always suspected that the whole p2p filesharing days of the early 2000s were at least inspired by if not secretly using some of these types of NNTP server connections?
Thanks for the visuals too!