
This How To is designed to help you install Webmin on your fresh install of Ubuntu 18.04 Bionic Beaver and then walk you through some basic functionality like creating a website and adding users.
Webmin is used to provide a web based interface for administration of your Ubuntu server rather than having to perform all of the tedious and easy to make mistakes via command line file editing. Webmin offers a free alternative to commercial products like cPanel or Plesk.
Intended Audience
This tutorial is intended for beginner to intermediate linux uses who are looking to get started operating their own web/database/email servers and who would appreciate the use of a web interface over command line configuration of services. Windows users also attempting to make the jump to linux might also appreciate an more staggered transition to the command line vs having to do everything in the shell all of the time right out of the gate.
Pros and Cons of using Webmin
Webmin is a pretty badass product and its hard to see the downsides of using it for your administrative tasks. It’s not going to have as many integrations as some of the other commerical products out there but at the low low price of zero dollars its pretty awesome.
Pre-requisites
- Server with a fresh install of Ubuntu 18.04
- DO NOT INSTALL THIS ON A SERVER THAT IS ALREADY IN PRODUCTION!!!!
- $ sudo apt-get update && sudo apt-get upgrade
Lets get started
Add Webmin Ubuntu Repository
$sudo vi /etc/apt/sources.list ###use vi or your favorite editor like nano $[sudo] password for user: |
Here is the body of the sources.list file
deb http://archive.ubuntu.com/ubuntu bionic main universe deb http://archive.ubuntu.com/ubuntu bionic-security main universe deb http://archive.ubuntu.com/ubuntu bionic-updates main universe ### ADD WEBMIN REPOS ### deb http://download.webmin.com/download/repository sarge contrib |
Once you’ve added the repositories you can save and exit the file.
Now download the PGP key for the newly added repository
$ wget http://www.webmin.com/jcameron-key.asc --2019-05-14 02:07:26-- http://www.webmin.com/jcameron-key.asc Resolving www.webmin.com (www.webmin.com)... 216.105.38.10 Connecting to www.webmin.com (www.webmin.com)|216.105.38.10|:80... connected. HTTP request sent, awaiting response... 200 OK Length: 1320 (1.3K) [text/plain] Saving to: 'jcameron-key.asc' jcameron-key.asc 100%[==================================>] 1.29K --.-KB/s in 0s 2019-05-14 02:07:26 (161 MB/s) - 'jcameron-key.asc' saved [1320/1320] |
Add the keyfile with the following command
$ sudo apt-key add jcameron-key.asc $ sudo apt-get update ##Update the repositories Ign:1 http://download.webmin.com/download/repository sarge InRelease Get:2 http://download.webmin.com/download/repository sarge Release [16.9 kB] Hit:3 http://archive.ubuntu.com/ubuntu bionic InRelease Get:4 http://download.webmin.com/download/repository sarge Release.gpg [173 B] Get:5 http://archive.ubuntu.com/ubuntu bionic-security InRelease [88.7 kB] Get:6 http://download.webmin.com/download/repository sarge/contrib amd64 Packages [1,383 B] Get:7 http://archive.ubuntu.com/ubuntu bionic-updates InRelease [88.7 kB] Get:8 http://archive.ubuntu.com/ubuntu bionic-security/main amd64 Packages [334 kB] Get:9 http://archive.ubuntu.com/ubuntu bionic-security/main Translation-en [120 kB] Get:10 http://archive.ubuntu.com/ubuntu bionic-security/universe amd64 Packages [243 kB] Get:11 http://archive.ubuntu.com/ubuntu bionic-security/universe Translation-en [139 kB] Get:12 http://archive.ubuntu.com/ubuntu bionic-updates/main amd64 Packages [599 kB] Get:13 http://archive.ubuntu.com/ubuntu bionic-updates/main Translation-en [221 kB] Get:14 http://archive.ubuntu.com/ubuntu bionic-updates/universe amd64 Packages [933 kB] Get:15 http://archive.ubuntu.com/ubuntu bionic-updates/universe Translation-en [273 kB] Fetched 3,059 kB in 2s (1,438 kB/s) Reading package lists... Done |
Now we actually install webmin and its dependencies
$ sudo apt-get install webmin Reading package lists... Done Building dependency tree Reading state information... Done The following additional packages will be installed: apt-show-versions libapt-pkg-perl libauthen-pam-perl libio-pty-perl libnet-ssleay-perl libpython-stdlib libpython2.7-minimal libpython2.7-stdlib perl-openssl-defaults python python-minimal python2.7 python2.7-minimal Suggested packages: python-doc python-tk python2.7-doc binutils binfmt-support The following NEW packages will be installed: apt-show-versions libapt-pkg-perl libauthen-pam-perl libio-pty-perl libnet-ssleay-perl libpython-stdlib libpython2.7-minimal libpython2.7-stdlib perl-openssl-defaults python python-minimal python2.7 python2.7-minimal webmin 0 upgraded, 14 newly installed, 0 to remove and 7 not upgraded. Need to get 21.2 MB of archives. After this operation, 193 MB of additional disk space will be used. Do you want to continue? [Y/n] Y ###make the magic happen |
A bunch of stuff is going to scroll by … hopefully without errors
Setting up webmin (1.910) ... Webmin install complete. You can now login to https://ubuntu:10000/ as root with your root password, or as any user who can use sudo to run commands as root. Processing triggers for ureadahead (0.100.0-21) ... Processing triggers for systemd (237-3ubuntu10.21) ... |
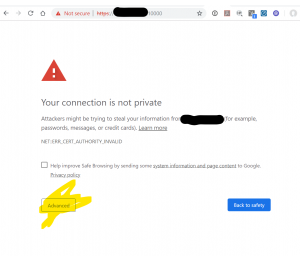
Go to https://x.x.x.x:10000/ in your browser to bring up your webmin interface. Hit the advanced button and then Proceed to x.x.x.x (unsafe)
Now you should see the login prompt for webmin. Hit it with your root username and password or any user that is an eligible sudoer. 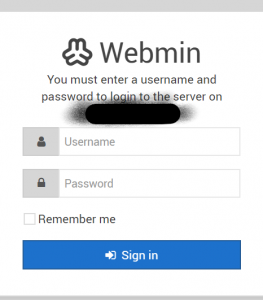
First login is going to show you the dashboard and give you any information about security updates that are pending!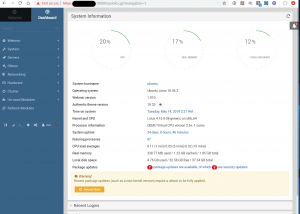
Make sure that you take care of those security updates with a reboot. Look there’s a button! How much easier can it get!?
Security Precautions – Firewall Configuration for lite Zero Trust
A NOTE OF CAUTION!! YOU COULD LOCK YOURSELF AND EVERYONE ELSE OUT OF YOUR VPS DOING THIS. From a security perspective this is a good idea, which is the beginning of so many production outages.
From a usability perspective, you need to know what you are doing or things are going to go wrong. If you don’t know what you are doing phone a friend or just come back to this section when you are more comfortable with iptables and firewall policy. We’ll have a follow up tutorial on that topic.
Resource: http://www.whatismyip.com – will show you your workstation’s public IP address.
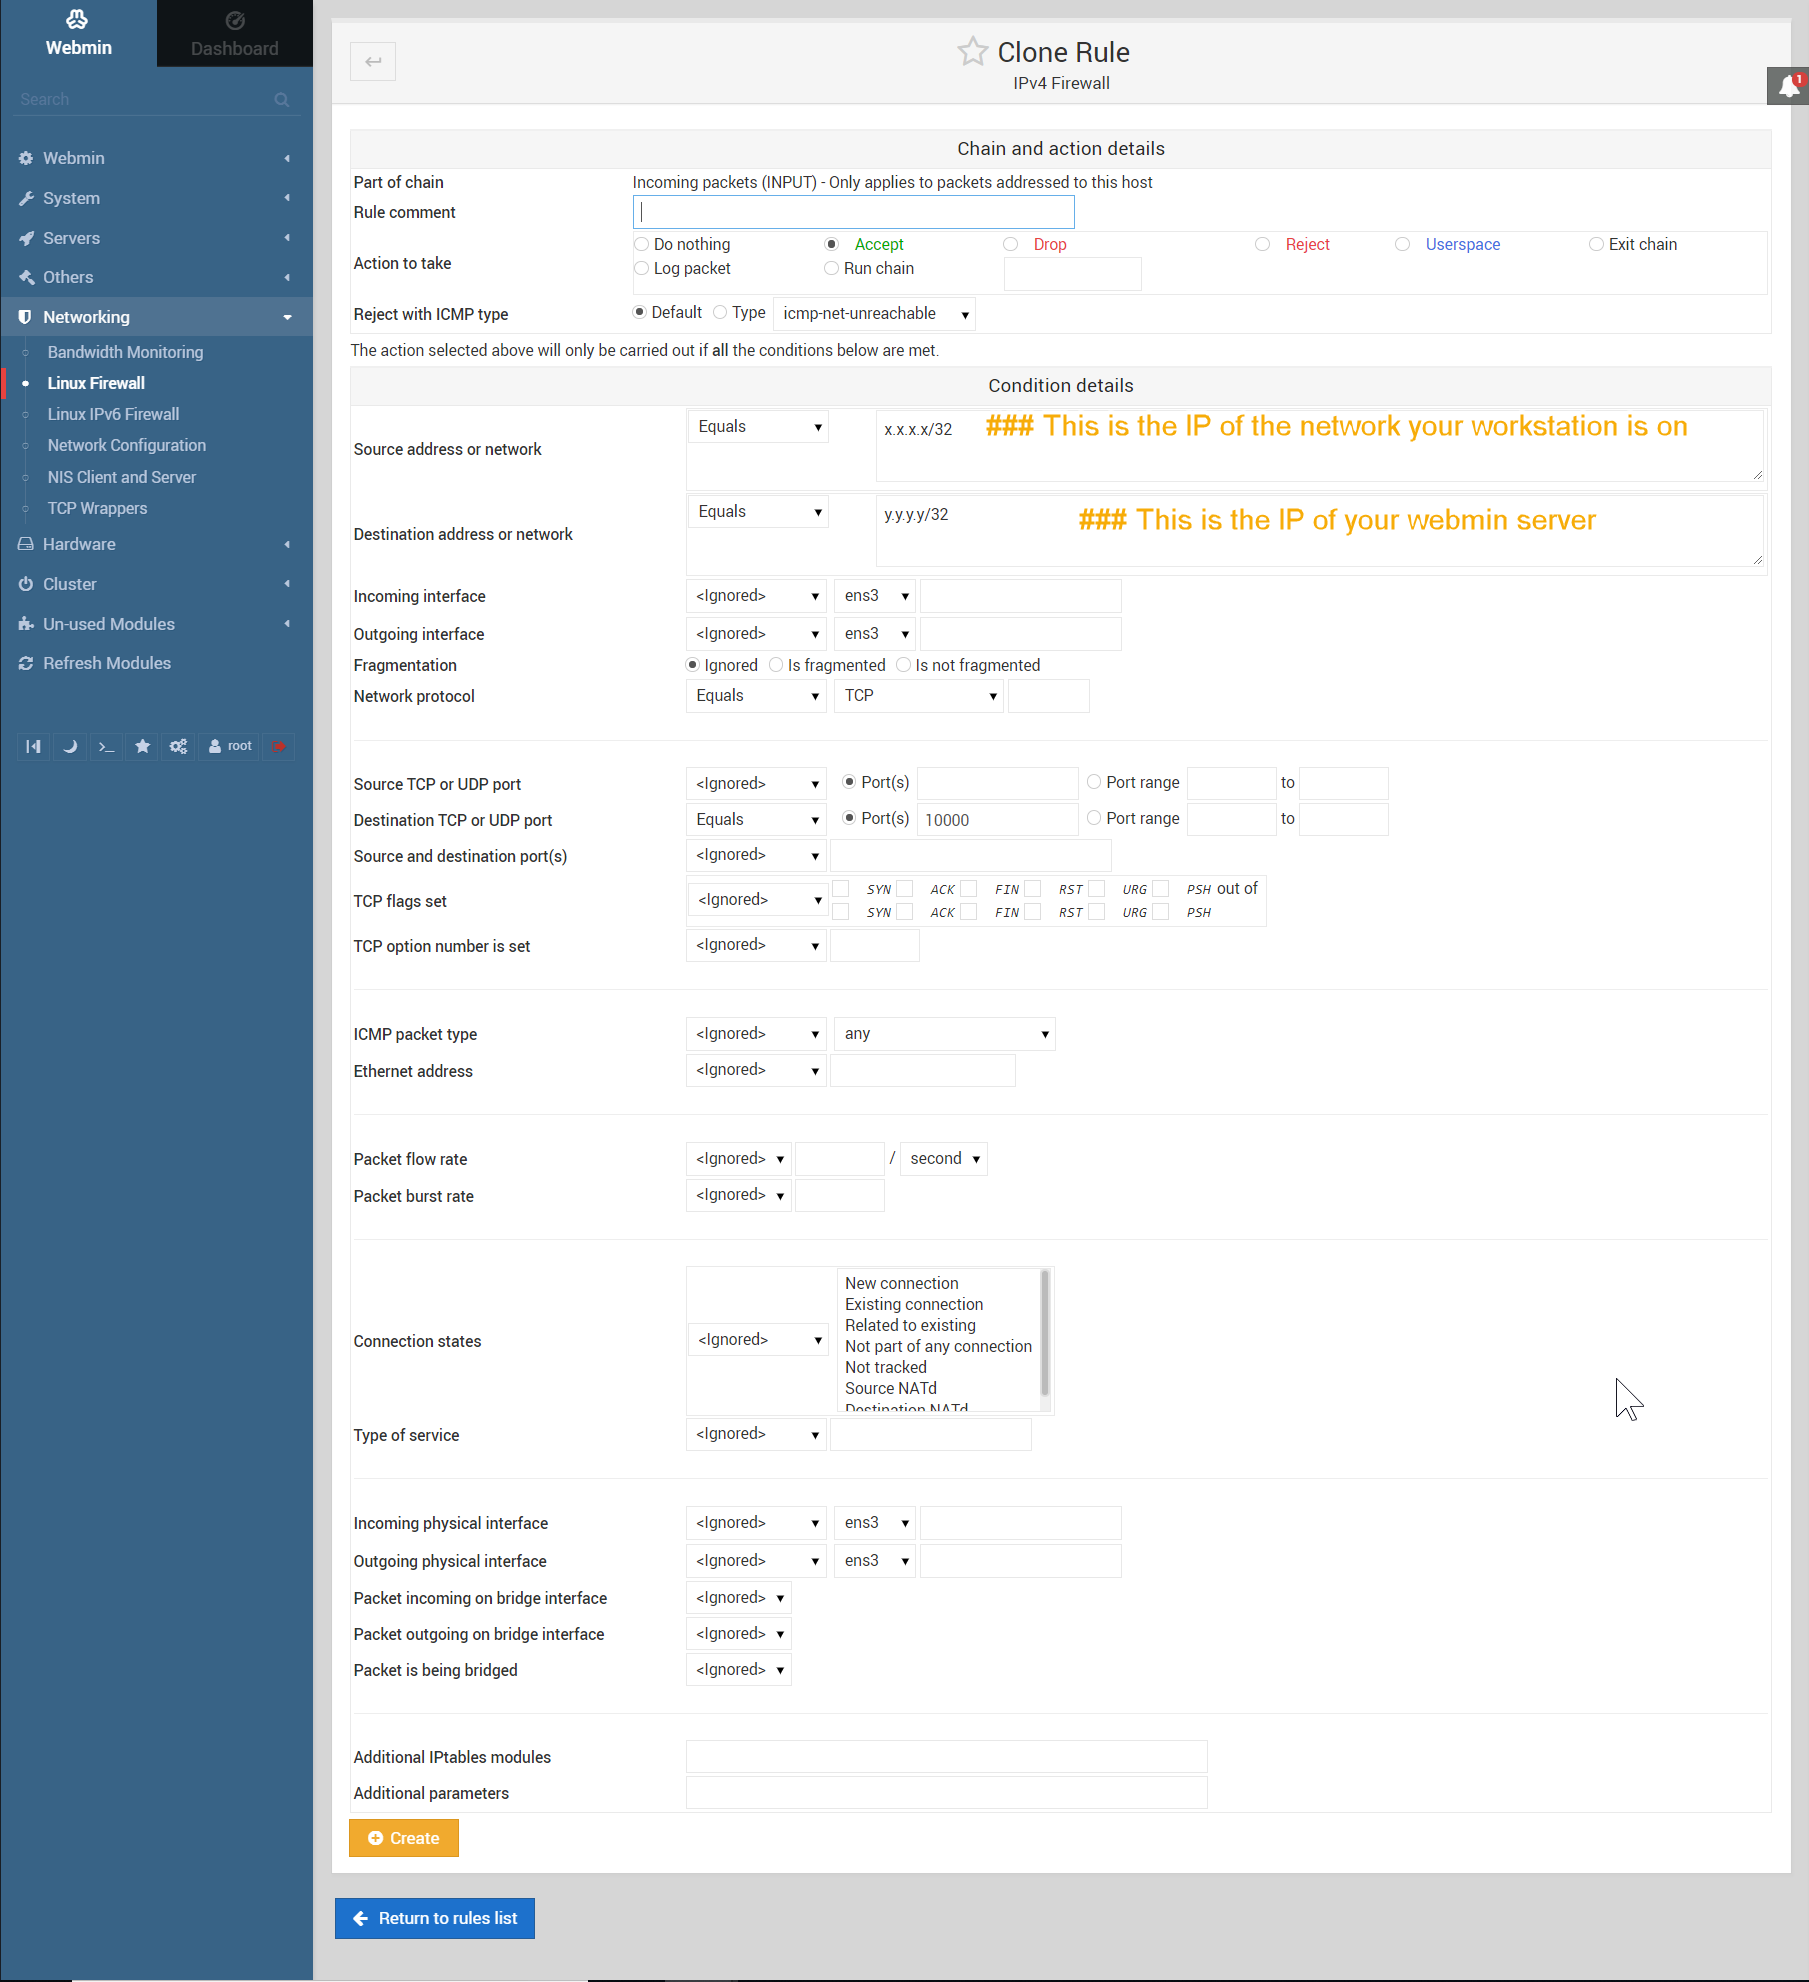
Let’s do ourselves a “favor” here and go to Webmin > Networking > Linux Firewall and create some rules that only allow known good IPs to access the webmin administrative port? Don’t lock yourself out. Don’t lock yourself out. Don’t lock yourself out.
IPTables (and most modern firewalls) apply rules on a first match basis. Meaning that as soon as I have a match, it executes that match and stops caring about any rules after the match. That means you need to place accept rules into the chain of rules before you put in your “zero trust” rules that block everything by default. That’s right, Zero Trust just means block everything by default.
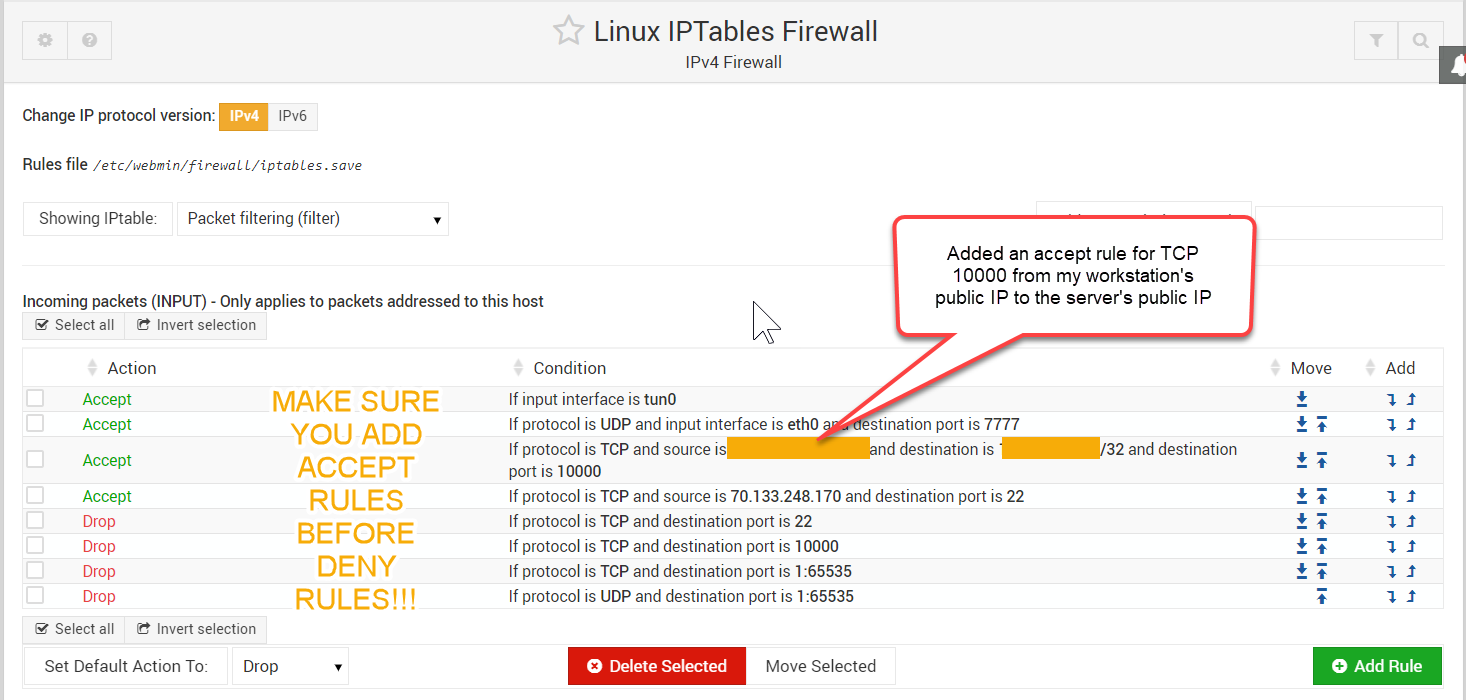
Here is the default IPtables interface in webmin before we go and mess it up. You can see that there is an accept rule for 7777, that’s openvpn.
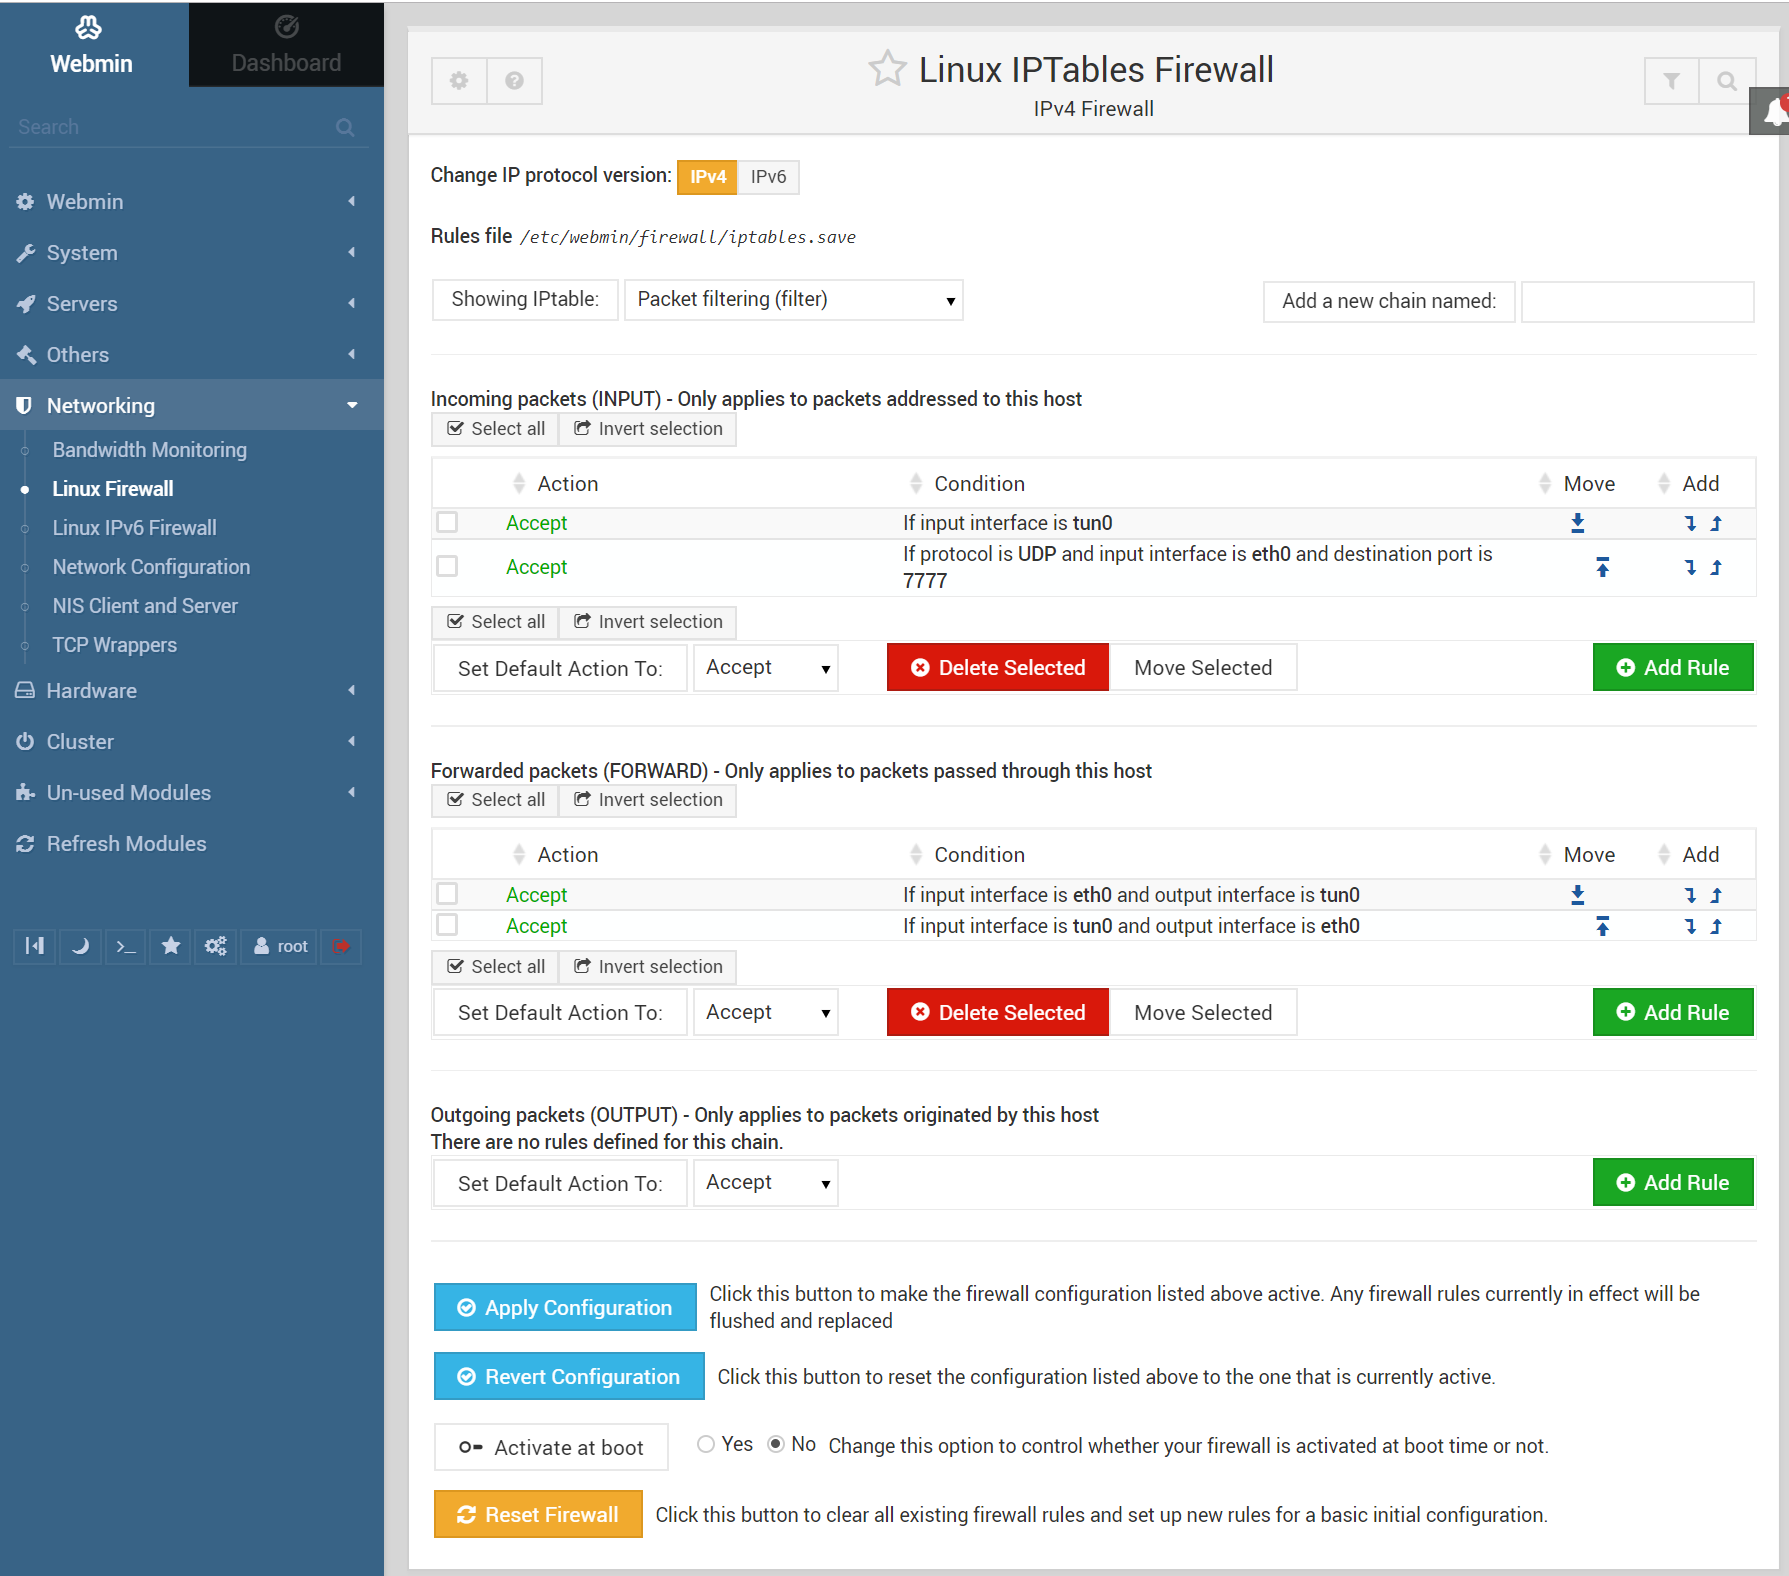
We need to create accept rules for any service that we want to access remotely. I made any accept rule for Tcp/22 SSH, and an accept rule for Tcp/10000 Webmin where the source address is my workstation (x.x.x.x/32 – /32 indicates a range of 1 IP address.)
IF YOU ARE ON A PRODUCTION SERVER WITH PUBLIC FACING SERVICES AND NOT WRITING A TUTORIAL YOU WILL WANT TO CONSIDER ACCEPT RULES FOR
TCP/80 HTTP from source 0.0.0.0/0 ### web servers
TCP/443 HTTPS from source 0.0.0.0/0 ###encrypted web traffic
TCP/25 SMTP frmo source 0.0.0.0/0 ###Simple Mail Transport
FTP, Encrypted email, SSH if you want the whole world to login, webmail. ###tutorial on zero trust and iptables forthcoming
Example of my finished firewall policy with the last two rules to drop all traffic from all sources bound for TCP and UDP ports 1:65535. This is definitely not an elegant way to do this.
Please don’t lock yourself out of your VPS.
Cool things about Webmin
- There’s a web app for shell access that has translucency built into it. Others > Command Shell
- There’s a partition editor if you really want to roll the dice! Hardware > Partitions on local Disks
- Un-Used modules gives about 100 options for modules to install like Postfix mail server, shorewall firewall, spamassassin, etc.
- Cluster configuration – hopefully we’ll get to play with this in the future!
Un-installation Procedures
Webmin is pretty invasive. If you want to uninstall it – I recommend destroying your VPS and starting fresh. Please don’t delete your own data doing so.
References / Appendix
- https://doxfer.webmin.com/Webmin/Main_Page
- IPTables summary of chain commands http://sys.u22.net/t09/t09p053.php
- http://www.webmin.com/
Author’s bio
Sean Richards, CISSP, is a 20 year linux enthusiast and security practitioner. He loves animals, BBQ, and bicycles.
https://www.linkedin.com/in/seangrichards/
https://github.com/seangrichards/
https://twitter.com/seangrichards
Related Posts:
Kaylee is the Media Specialist at LowEndBox and a long-time follower of the LowEndTalk community. After years of reading and engaging with the platform from the sidelines, she officially joined the team to help expand LowEndBox’s reach, storytelling, and presence across digital channels.
Kaylee brings a strong passion for accessible technology and digital media. Her technical interests span the Apple ecosystem, Android devices, and emerging maker trends like 3D printing. She’s also deeply immersed in the world of social media—she manages the official LowEndBox social feeds and is always on the lookout for creative ways to spotlight community activity, tutorials, and hosting trends.
Whether she’s writing industry news, covering community milestones, interviewing providers, or crafting technical explainers, Kaylee approaches her work with a genuine enthusiasm for tech and a talent for clear, engaging communication.
Outside of the screen, she enjoys creative writing, photography, and discovering new tech tools to experiment with.
You can find her content right here on LowEndBox, as well as on the official LowEndBox Twitter and YouTube accounts—where she helps bring the LowEnd community to life.


Very useful. Thanks for your tutorial.