I have a confession: sometimes I write LowEndBox tutorials so I can find them when I google the question in the future.
Case in point: whitelisting an IP in Cloudflare’s WAF.
I don’t do this regularly because my home IP rarely changes. For travel, one option is to setup a VPN so you’re always coming from the same IP. That’s not a perfect solution because if you setup a VPN in Chicago and you’re now in Florida, the latency is less than pleasant. So I guess you’d need a set of VPNs in different geographies. Or you can just go into Cloudflare’s web site and change the whitelisted IPs if you’re going to be in one spot for a while.

What happens is that about every few months I need to do this and it takes me 5-10 minutes of clicking around in the CF interface to remember how to do this operation. After today, I’ll no longer have this problem.
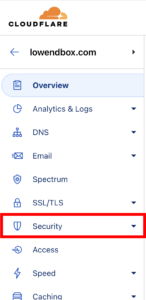
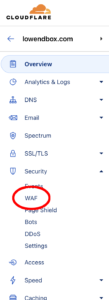
Start by logging into Cloudflare and browsing to the web site in question. Then find the Security tab on the left. Then expand that group and click WAF.
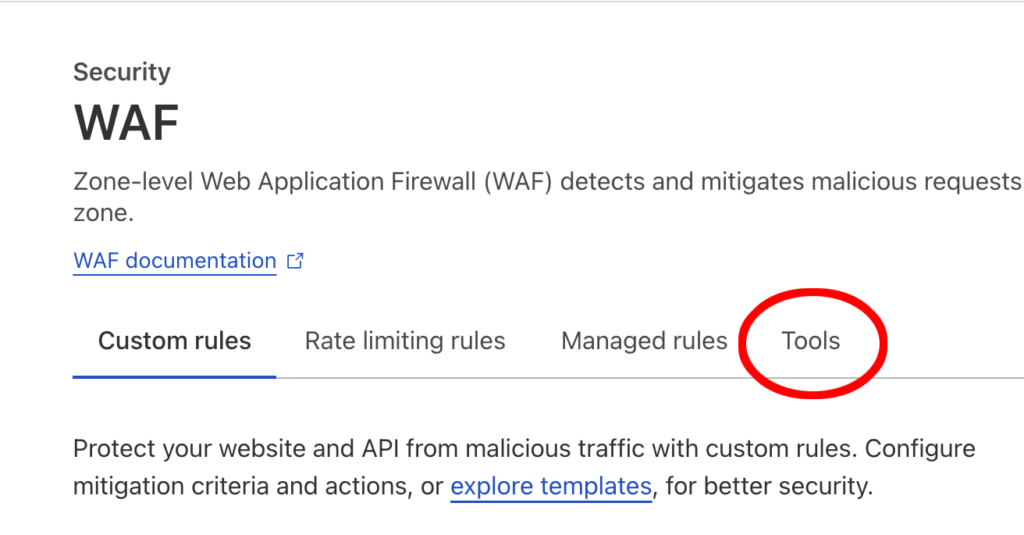
Now in the main pane, click on Tools.
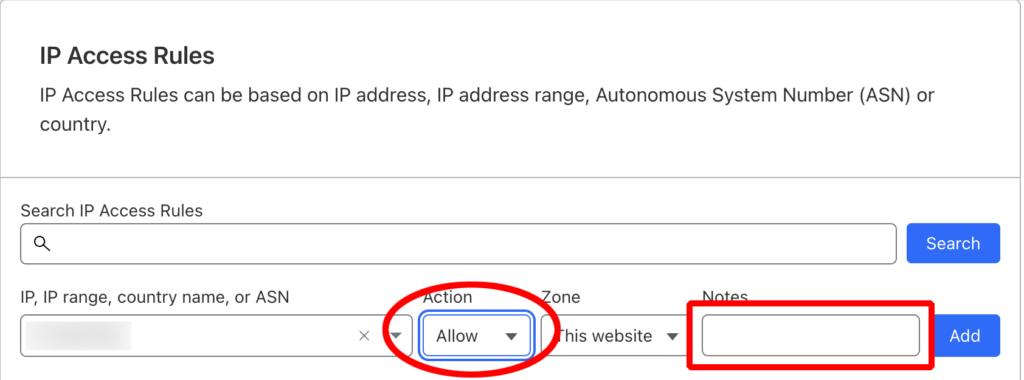
Enter your IP address. Important: you need to enter the IP, and then click to accept in the dropdown right below that.
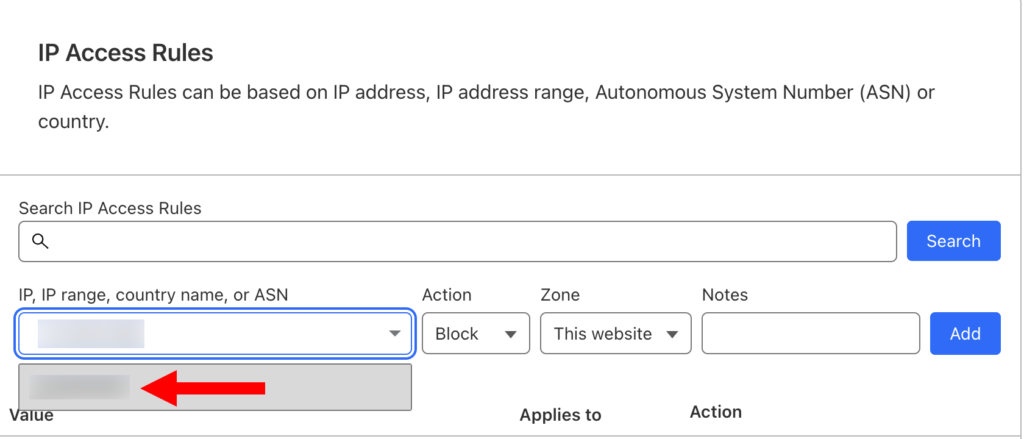
Change “Block” to “Allow”. Add anything you want in Notes:
Now you should see your new rule in the WAF rule list:


Leave a Reply