![]() Not long ago, I needed several VPNs and set them up in…10 minutes? That was the time to spin up/reinstall VMs and run LowEndTalk member @Nyr’s legendary Road Warrior script.
Not long ago, I needed several VPNs and set them up in…10 minutes? That was the time to spin up/reinstall VMs and run LowEndTalk member @Nyr’s legendary Road Warrior script.
I chose OpenVPN, admittedly because I’m familiar with it, but there is a WireGuard version as well.
In this tutorial, we’ll walk through setting up an OpenVPN server on a VPS you own, and then configuring Windows and macOS to connect to it.
I’ll be using a Debian 13 VPS on Vultr called vpn.lowend.party. The VPS you choose does not need hardly any RAM, so a small VPS is perfect. You should be able to get a VPN VPS for $15-20 a year. Or if you don’t need one for very long, pay by the hour at Vultr.
Setting Up the OpenVPN Server
GetNyr’s OpenVPN Road Warrior script and execute it:
wget https://git.io/vpn -O openvpn-install.sh && bash openvpn-install.shNow run it. You can take the defaults for most things. I’ll use Google’s DNS and name my VPN connection “vpn.lowend.party”. My responses are bolded.
Welcome to this OpenVPN road warrior installer!
I need to ask you a few questions before starting setup.
You can use the default options and just press enter if you are ok with them.

Which protocol do you want for OpenVPN connections?
   1) UDP (recommended)
   2) TCP
Protocol [1]: 1

What port do you want OpenVPN listening to?
Port [1194]: <return>

Select a DNS server for the clients:
   1) Default system resolvers
   2) Google
   3) 1.1.1.1
   4) OpenDNS
   5) Quad9
   6) Gcore
   7) AdGuard
   8) Specify custom resolvers
DNS [1]: 3

Finally, tell me a name for the client certificate.
Client name [client]: vpn.lowend.party

We are ready to set up your OpenVPN server now.
Press any key to continue...
After this, you’ll see a lot of text fly by as the script installs various packages and set up the VPN. Finally you’ll see:
Finished!
Your client configuration is available at: /root/client1.ovpn
If you want to add more clients, just run this script again!
Now look in your root directory:
root@vpn:~# ls -l /root
total 40
-rw-r--r-- 1 root root  8259 Dec  5 23:12 vpn_lowend_party.ovpn
-rw-r--r-- 1 root root 24962 Dec  5 23:09 openvpn-install.sh
That .ovpn file is what we need to configure on the client side. It is a text file. You can either scp it from your server, or just cat it (cat *.ovpn), copy the text, and paste it in a file on your client side. But make sure the file you save it as ends in .ovpn (not .txt).
Configuring Your Windows PC
To configure for Windows, we’ll use the official OpenVPN client. Go to OpenVPN.net and select the appropriate installer. We’re using Windows 10 in this example. Downloading the .exe and installing it is the usual next, next, next Windows process.
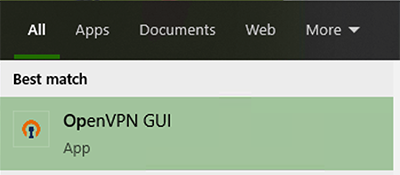
Once installed, either double-click the OpenVPN icon on your desktop or select it from the start menu.
![]()
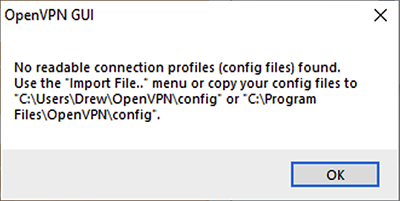
You’ll get an error that there are no config files. Click OK.
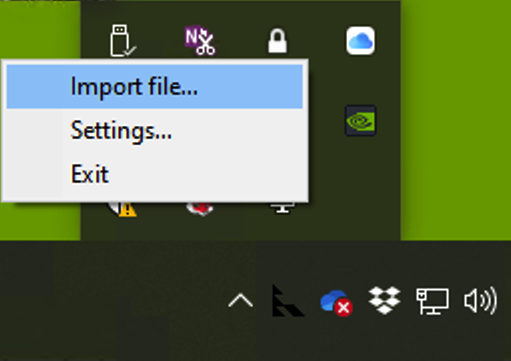
Now find the OpenVPN GUI icon in your tray (lower right hand corner).
![]()
Right click and select “Import file…”
In the file selector, browse to the .ovpn file you copied from your VPN server.
Once you’ve clicked OK, you’ll get a message that it has been successfully imported:
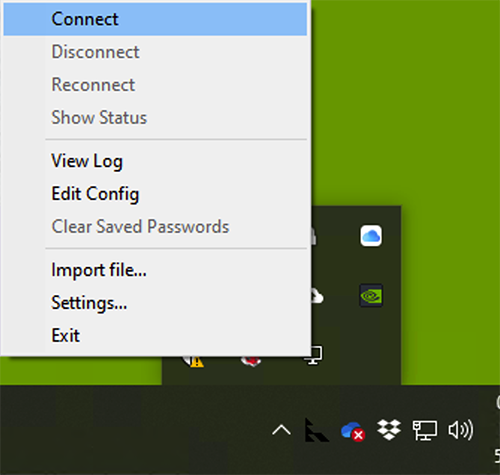
Now right-click on the OpenVPN GUI icon in your tray again and select Connect:
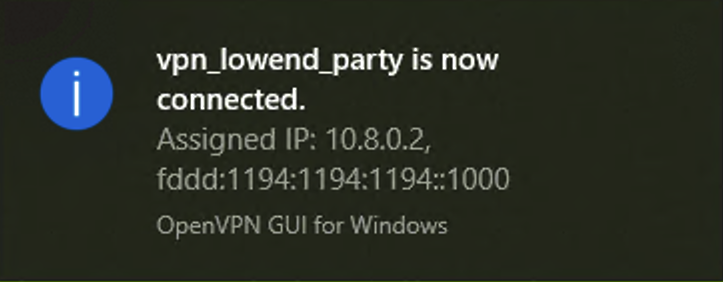
You’ll get a notification that you’re connected:
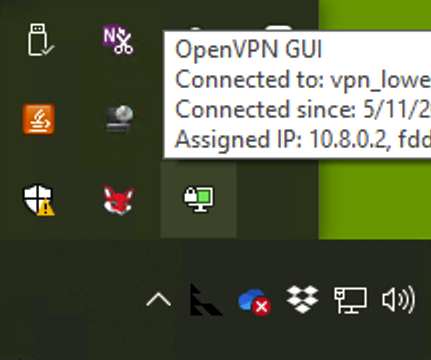
And if you look in your tray, you’ll see the OpenVPN icon has now turned green:
At this point, if you go to something like What’s My IP, your browser will display the IP of your VPN server, not your home Internet, verifying that you’re VPN’d to your server.
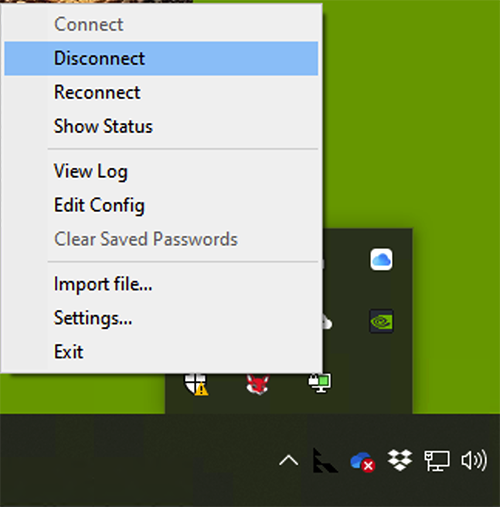
To disconnect, right-click on the OpenVPN GUI and select Disconnect.
Configuring Your Mac (with Viscosity)
For Mac, I’m going to show you how to use SparkLab’s Viscosity, which is my favorite VPN client. It’s not free, so if you are looking for a free client, skip forward to the next section which uses an alternate client, Tunnelblick.
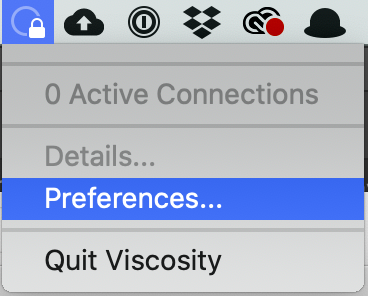
Installing Viscosity is the usual .dmg mount and click. Once it’s installed, run it from Applications. You’ll find a new icon (circle and padlock) on your menu bar:
![]()
Click it and select Preferences to setup your connection:
In the Preferences pane, hit the plus button in the lower left corner, and select Import Connection and then From File.
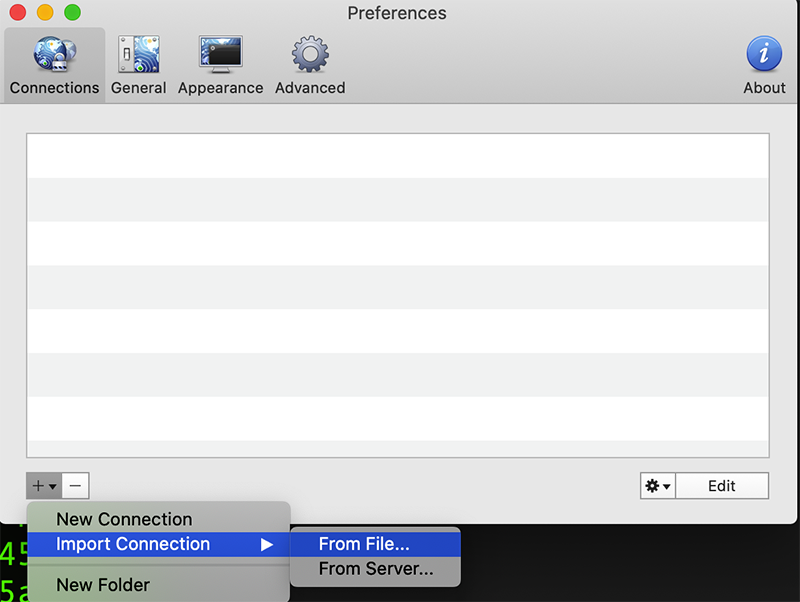
Browse to the .ovpn file you copied from your server earlier:

Once you’ve selected it and clicked OK, you’ll get a successful import message from Viscosity:
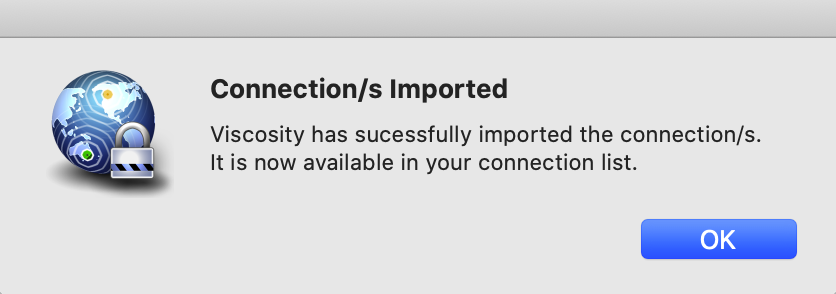
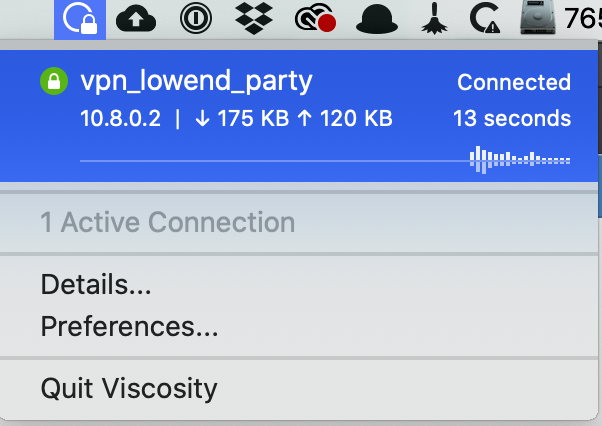
Click OK, then go back to your menu bar. Click the circle-and-padlock Viscosity icon again. your connection will show as “Disconnected”. Click it to connect.
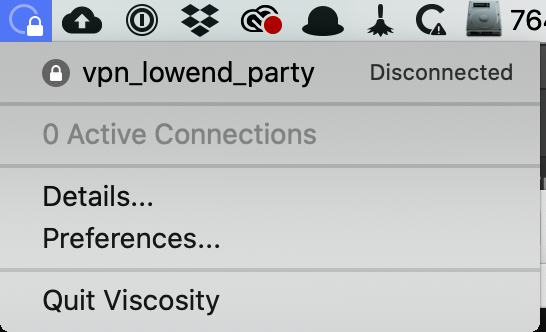
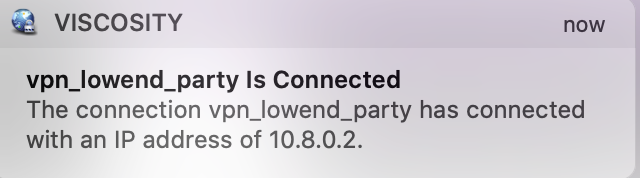
After a moment, you’ll get a macOS notification that you’ve been connected:
At this point, if you go to something like What’s My IP, your browser will display the IP of your VPN server, not your home Internet, verifying that you’re VPN’d to your server.
To disconnect, click the Viscosity menu bar icon again and click on your connection name:
You’ll get a macOS notification that you’ve bene disconnected:

Configuring Your Mac (with Tunnelblick)
Tunnelblick is a free OpenVPN-compatible client for macOS. To obtain a copy, head over to tunnelblick.net. Installing it is the usual .dmg mount & click.
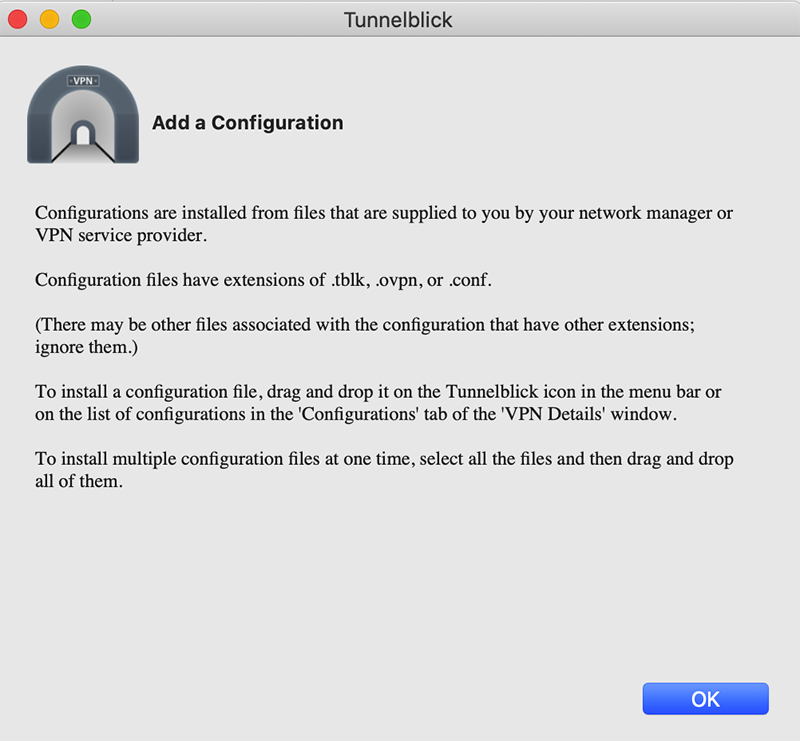
Once run, Tunnelblick will display its opening welcome:
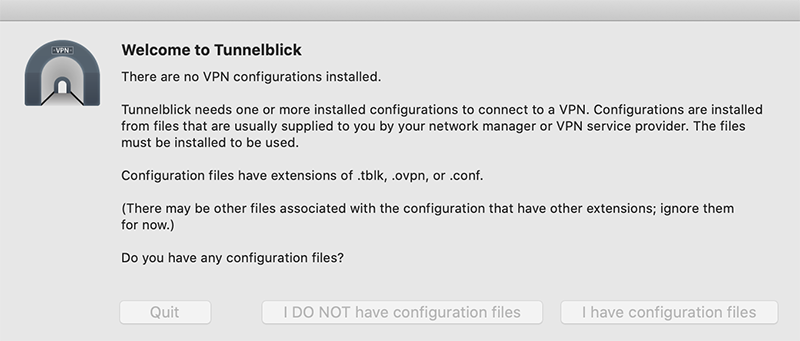
Click “I have configuration files”. Tunnelblick will then tell you it doesn’t care. OK, not exactly, but it’ll tell you this isn’t the place to enter configuration files. Close the window.
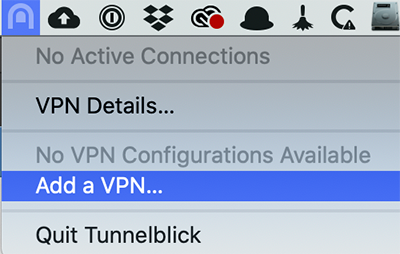
In the menu bar, click the new Tunnelblick icon and select Add a VPN…
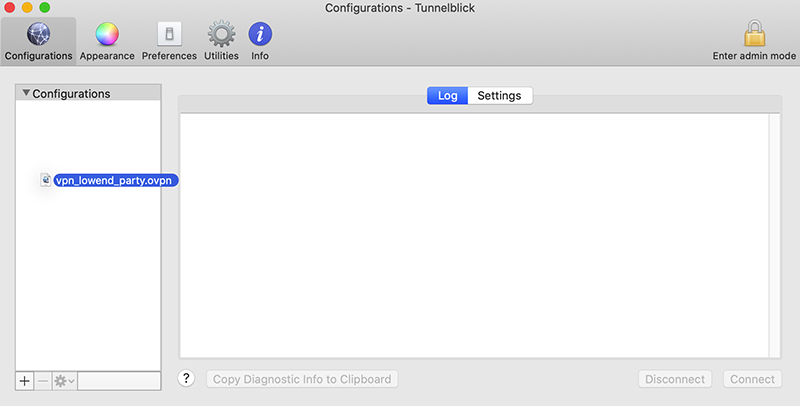
The Configurations pane that comes up. In Finder, browse to where you saved the .ovpn file, click it, and drag it to Configurations.
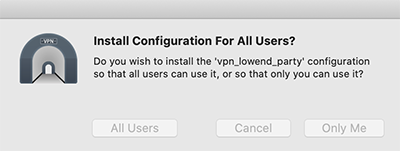
You’ll be asked if you want to install it for all users or just you. Make your choice:
Tunnelblick will then show it under Configurations. Close this window.
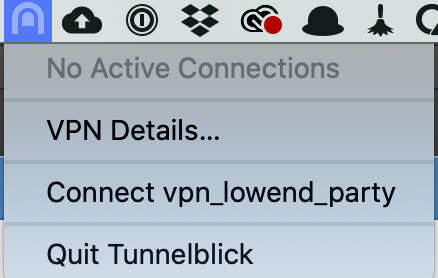
Back in your menu bar, click the Tunnelblick icon and select the Connect entry for your VPN:
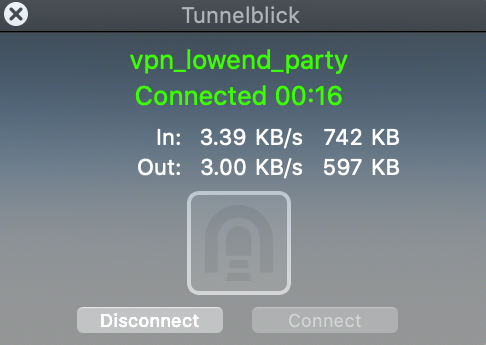
After working for a bit, Tunnelblick will give you a nice bright green acknowledgement that you’re connected:
At this point, if you go to something like What’s My IP, your browser will display the IP of your VPN server, not your home Internet, verifying that you’re VPN’d to your server.
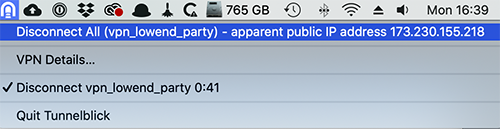
To disconnect, simply click the TunnelBlick menu bar icon again and click Disconnect:
Related Posts:
Whatever Happened About that Provider Who Claimed a Virtualizor Bug Caused a Breach?
Provider Claims Virtualizor WHMCS Plugin Vulnerability Caused Breach. Virtualizor Doesn't Agree.
If Your Biometric Data is Stolen, Should You Care? Probably Not.
Knock, Knock: How to Shield Your VPS From Port Scanning with Port Knocking
So How Exactly Do You Learn About Security Issues on Your VPS?
Roll Your Own: How to Setup and Maintain a Minecraft Server on Your VPS
Raindog308 is a longtime LowEndTalk community administrator, technical writer, and self-described techno polymath. With deep roots in the *nix world, he has a passion for systems both modern and vintage, ranging from Unix, Perl, Python, and Golang to shell scripting and mainframe-era operating systems like MVS. He’s equally comfortable with relational database systems, having spent years working with Oracle, PostgreSQL, and MySQL.
As an avid user of LowEndBox providers, Raindog runs an empire of LEBs, from tiny boxes for VPNs, to mid-sized instances for application hosting, and heavyweight servers for data storage and complex databases. He brings both technical rigor and real-world experience to every piece he writes.
Beyond the command line, Raindog is a lover of German Shepherds, high-quality knives, target shooting, theology, tabletop RPGs, and hiking in deep, quiet forests.
His goal with every article is to help users, from beginners to seasoned sysadmins, get more value, performance, and enjoyment out of their infrastructure.
You can find him daily in the forums at LowEndTalk under the handle @raindog308.


Nyr is love, Nyr is life