 In this tutorial, we’re going to show you how to setup your VPS to use two-factor authentication for both normal SSH connections and console logins with Google Authenticator.
What is Two-Factor Authentication?
“One factor” authentication is either “something you know” or “something you have”. For example, logging in with a password is “something you know” and so that is single-factor authentication. Two factor authentication requires both something you know and something you have. A common means to achieve this is by using SSH keys. You must have both the SSH private key file and know the passphrase to unlock that SSH private key. If someone looked over your shoulder and saw you type your SSH key passphrase, or if someone stole your SSH private key file, neither by themself would be sufficient. They would need to know both your passphrase and have your key file to be successful.
What Problems Are We Trying to Solve?
The problem with SSH private keys is that you must carry the file around with you. If you’re always logging in from home or from one laptop, that’s fine, but what if you want to login from a friend’s house, from work, or from the library? Either you have to carry your private key around on a USB or put it on cloud storage, neither of which is optimal. Is there a way we can require “something you have” without needing to have access a file? Yes, with Google Authenticator.
Another problem is console access. Your VPS provider provides console access as a way for you to access your VPS if you can’t get in via ssh (for example, if you munge the firewall rules). Here you cannot use an SSH key file. This means that access to all of your VPSes with that provider are dependent on whatever password you setup for the provider’s control panel. Worse, that password is sometimes emailed to you in clear text! This also means that if someone can get ahold of your email, then they can do a password reset, recover your control panel password, and compromise all of your VPSes. However, we can plug this hole, too, with Google Authenticator.
What is Google Authenticator?
Instead of having a key file, in this system your “what you know” is the Google Authenticator app. Every 30 seconds, the Authenticator displays a new 6-digit number. Through some crypto mathematical wizardry, your VPS knows what this number is. When you login, you’re prompted to enter this number after entering your Unix password.
To be clear, no one else can easily guess this number, and the number is only good for 30 seconds. So even if someone did see your number, they only have 30 seconds to try to reuse it. You can even defeat that by rate-limiting logins so that the number can only be used once.
Setting Up Google Authenticator on Your VPS
I’ll be using a brand spanking new Debian 10 VM I’ve named fortress.lowend.party. After imaging it, I’ll setup the PAM module for Google Authenticator and reconfigure sshd. PAM stands for Pluggable Authentication Module. It allows you to setup requirements for any kind of authentication – login, sudo, etc. In this case, we’re going to setup an sshd authentication that requires both the Unix password and Google Authenticator.
apt-get update
apt-get -y install libpam-google-authenticator
Google Authenticator requires time sync, so let’s make sure our VPS always has the proper time. We’ll use ntpd (the Network Time Protocol daemon) for this purpose.
apt-get -y install ntp
systemctl start ntp
systemctl enable ntp
NTP is timezone-agnostic, but if you haven’t done so, you might want to set your timezone properly here.
dpkg-reconfigure tzdata
Or if you know the name of the timezone you want to use:
timedatectl set-timezone America/Los_Angeles
Running Google Authenticator
Now I’ll switch to a user I’ll use for login (raindog308) and run the Google Authenticator setup.
raindog308@fortress:~$ google-authenticator
Do you want authentication tokens to be time-based (y/n) y
Say yes to this question. Now a pretty cool QR scan code will print out, in your terminal, for you to scan with your phone:

Let’s setup the app while the QR code is still on your screen.
Setting Up the Google Authenticator App
In my case I’m using an iPhone. I’ve installed the free Google Authenticator app from the App Store and started it.
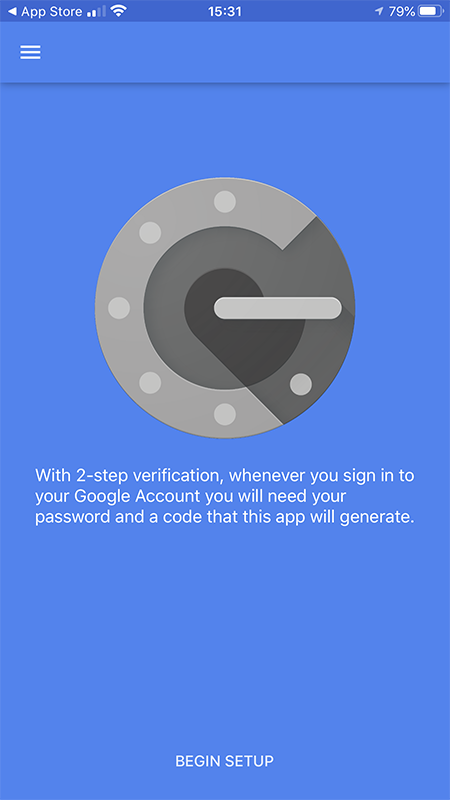
Tap Begin Setup (at bottom).
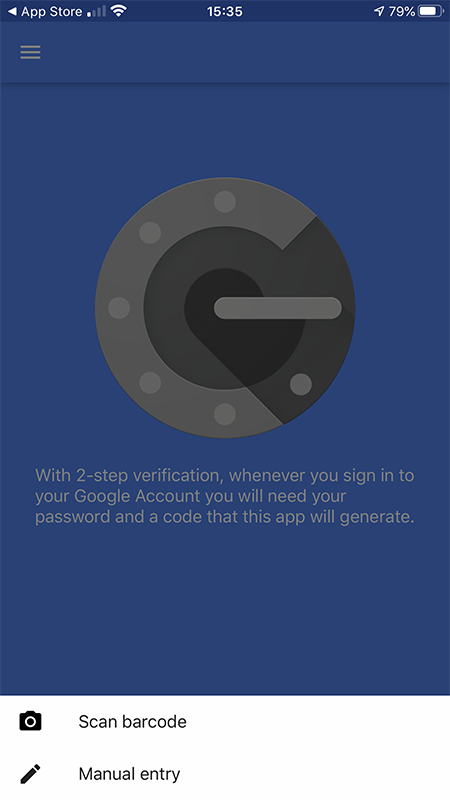
Tap Scan barcode.
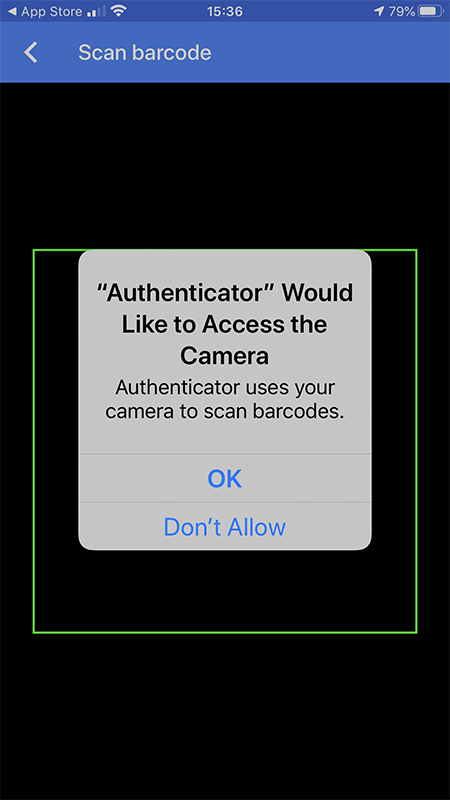
Give permission to access your camera. Then hold your phone up to your screen so the QR code appears in the green box. Moments later, the app will register your authenticator.
Finishing VPS Setup
Now go back to your terminal session. Copy and save the secret key, verification code, and emergency codes in some secure place. An entry in whatever password safe you use is an excellent choice.
Now finish answering the questions:
Do you want me to update your "/home/raindog308/.google_authenticator" file? (y/n) y
Say yes!
Do you want to disallow multiple uses of the same authentication
token? This restricts you to one login about every 30s, but it increases
your chances to notice or even prevent man-in-the-middle attacks (y/n)
Your choice, but saying yes is more secure.
By default, a new token is generated every 30 seconds by the mobile app.
In order to compensate for possible time-skew between the client and the server,
we allow an extra token before and after the current time. This allows for a
time skew of up to 30 seconds between authentication server and client. If you
experience problems with poor time synchronization, you can increase the window
from its default size of 3 permitted codes (one previous code, the current
code, the next code) to 17 permitted codes (the 8 previous codes, the current
code, and the 8 next codes). This will permit for a time skew of up to 4 minutes
between client and server.
Do you want to do so? (y/n)
You shouldn’t really need this. Say no.
If the computer that you are logging into isn't hardened against brute-force
login attempts, you can enable rate-limiting for the authentication module.
By default, this limits attackers to no more than 3 login attempts every 30s.
Do you want to enable rate-limiting? (y/n)
Your choice but yes is the more secure choice.
Setting Up PAM and sshd_config
Now open a new shell and su or sudo to root. You’re going to keep this second session open so that if anything is fumbled while setting up Google Authenticator, you have a fallback session and can quickly fix things.
Edit /etc/pam.d/sshd and add the following two lines:
auth required pam_unix.so no_warn try_first_pass
auth required pam_google_authenticator.so
These lines mean mean “Unix password required, Google Authenticator required”.
Now edit /etc/ssh/sshd_config and change as follows:
UsePAM yes
ChallengeResponseAuthentication yes
This will require Google Authenticator for all users. Note that Google Authenticator is not required for SSH keys. So the requirements to login are either (1) you have your private ssh key file and know its passphrase, or (2) you enter the Unix password and enter the proper Google Authenticator 6-digit code. Note that root logins are special and are handled by the PermitRootLogin directive in sshd_config. Normally, PermitRootLogin should either be set to “no” or “prohibit-password” to require SSH keys. We’ll fix console logins later in this tutorial.
Restart sshd:
systemctl restart ssh
Now let’s try logging in. Open a new terminal so you can use the root session as a fallback.
$ ssh raindog308@fortress.lowend.party
Password:
Verification code:
Linux fortress.lowend.party 4.19.0-8-amd64 #1 SMP Debian 4.19.98-1 (2020-01-26) x86_64

The programs included with the Debian GNU/Linux system are free software;
the exact distribution terms for each program are described in the
individual files in /usr/share/doc/*/copyright.

Debian GNU/Linux comes with ABSOLUTELY NO WARRANTY, to the extent
permitted by applicable law.
raindog308@fortress:~$
At the “Verification code” prompt, I entered the six-digit code on my Google Authenticator app. We are officially party rockin’!
Securing Console Login
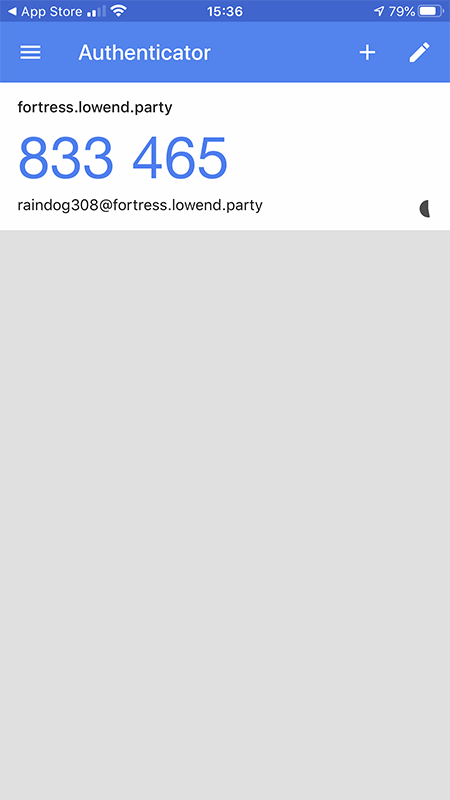
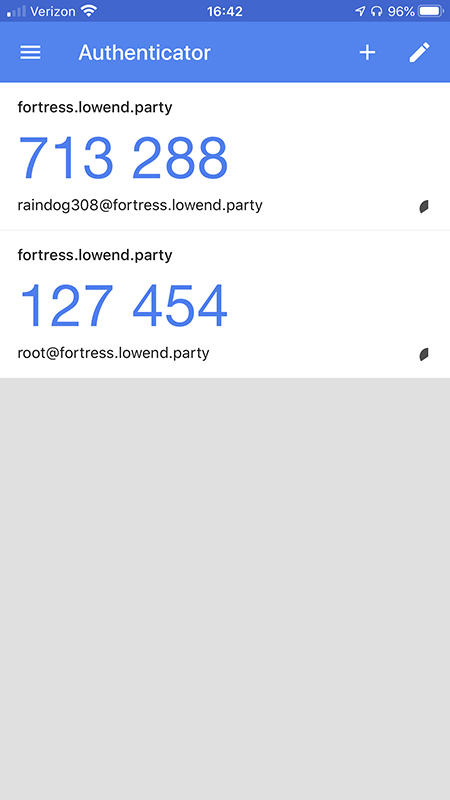
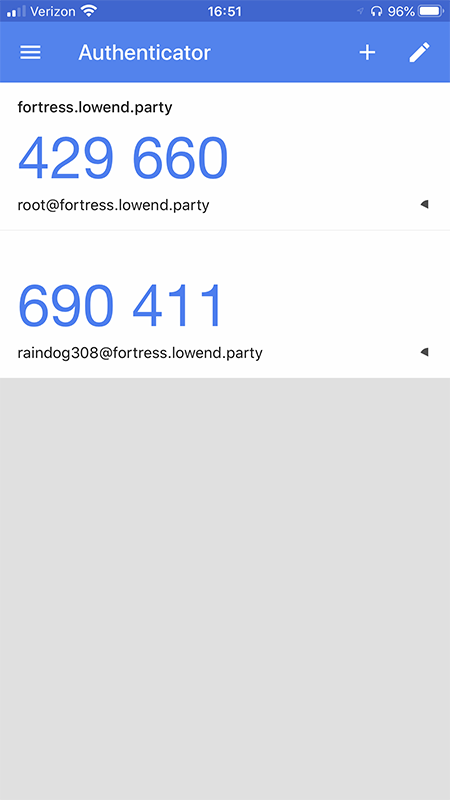
To require Google Authenticator for console logins, you probably want to configure Google Authenticator for the root account so you can login as root on the console. Just repeat the google-authenticator steps above to generate the QR code and register it with your app. You’ll have two entries in your app:
Now edit /etc/pam.d/login and add this line:
auth required pam_google_authenticator.so
This is the same as one of the entries we put in /etc/pam.d/sshd.
Now if you go to your provider’s panel and try to login on the console (as root) you’ll find you’re required to use Google Authenticator.
Debian GNU/Linux 10 fortress.lowend.party ttyS0

fortress login: root
Password:
Verification code:
Last login: Wed May 13 16:20:09 PDT 2020 on ttyS0
Linux fortress.lowend.party 4.19.0-8-amd64 #1 SMP Debian 4.19.98-1 (2020-01-26)4

The programs included with the Debian GNU/Linux system are free software;
the exact distribution terms for each program are described in the
individual files in /usr/share/doc/*/copyright.

Debian GNU/Linux comes with ABSOLUTELY NO WARRANTY, to the extent
permitted by applicable law.
root@fortress:~#
Backing Up Your Google Authenticator Config
In the user’s home directory you’ll find a file called .google-authenticator. If you were to nuke your VPS, setup Google Authenticator again, and then place this file back in the user’s home directory (with proper ownership and mode 0600), Google Authenticator would work for that user.
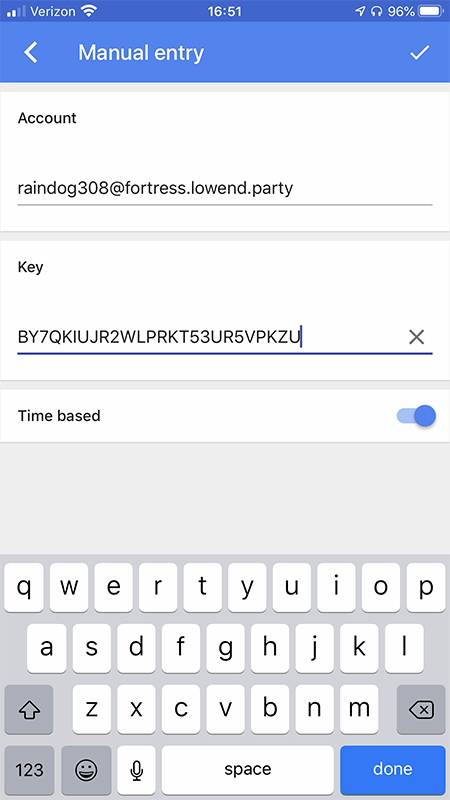
If your phone was lost or for some other reason you needed to reinstall the Google Authenticator app, you would select “Manual entry” in the app and then enter both the account and the key. That was the part that said:
Your new secret key is: BY7QKIUJR2WLPRKT53UR5VPKZU
You did save that key somewhere safe…right?
The key also appears as the first line in the .google-authenticator file. Here, for example, is my .google-authenticator file on fortress.lowend.party:
BY7QKIUJR2WLPRKT53UR5VPKZU
" RATE_LIMIT 3 30 1589413925
" TOTP_AUTH
36720568
35095323
92648133
21906908
71813960
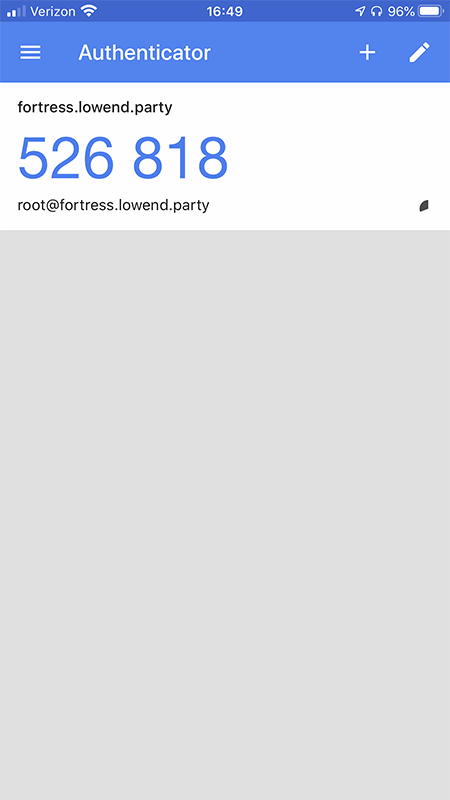
To simulate loss of my phone, I deleted the raindog308@fortress.lowend.party from my Google Authenticator app:
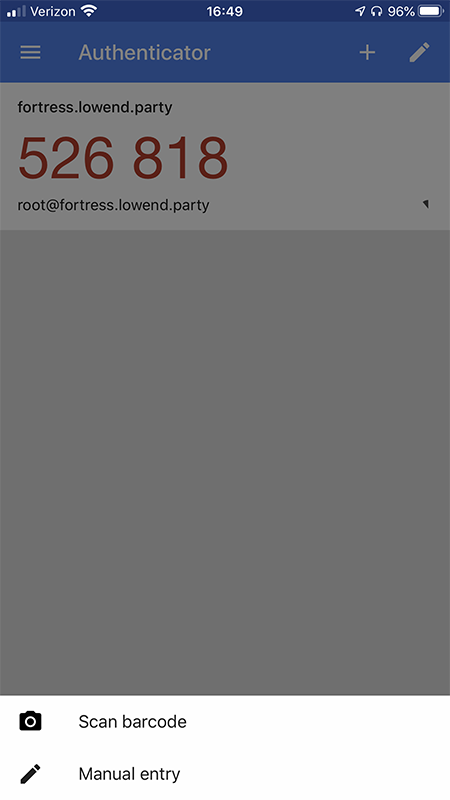
Then I hit the “+” button in the upper right and selected Manual entry:
I typed in my name for the account (raindog308@fortress.lowend.party) and then laboriously entered the key (BY7QKIUJR2WLPRKT53UR5VPKZU):
The entry was thus recreated:
I was then able to login again as raindog308 with Google Authenticator.
Related Posts:
Whatever Happened About that Provider Who Claimed a Virtualizor Bug Caused a Breach?
Nyr's Legendary Road Warrior Script: Still the Rock Solid Go-To for Easy VPN!
Provider Claims Virtualizor WHMCS Plugin Vulnerability Caused Breach. Virtualizor Doesn't Agree.
If Your Biometric Data is Stolen, Should You Care? Probably Not.
Knock, Knock: How to Shield Your VPS From Port Scanning with Port Knocking
So How Exactly Do You Learn About Security Issues on Your VPS?
raindog308 is a longtime community LETizen, technical writer, and self-described techno polymath. With deep roots in the *nix world, he has a passion for systems both modern and vintage, ranging from Unix, Perl, Python, and Golang to shell scripting and mainframe-era operating systems like MVS. He’s equally comfortable with relational database systems, having spent years working with Oracle, PostgreSQL, and MySQL.
As an avid user of LowEndBox providers, raindog308 runs an empire of LEBs, from tiny boxes for VPNs, to mid-sized instances for application hosting, and heavyweight servers for data storage and complex databases. He brings both technical rigor and real-world experience to every piece he writes.
Beyond the command line, raindog308 has a life-long love of German Shepherd Dogs, high-quality knives, target shooting, theology, tabletop RPGs, playing guitar, and hiking in deep, quiet forests.
His goal with every article is to help users, from beginners to seasoned sysadmins, get more value, performance, and enjoyment out of their infrastructure.
You can find him daily in the forums at LowEndTalk under the handle @raindog308.


There are so many TOTP applications, some are much versatile and secure than Google Authenticator, I don’t understand why this gets promoted everywhere. Google Authenticator can’t even encrypt/lock your 2FA keys. Enjoy borrowing your phone to someone…
Don’t worry, I just tried and this works fine with Aegis too, so this means you can use other things than Google Auth