


 It happens. No judging here. You created a 32-character password chock full of special character goodness and you thought you’d made a note in your password manager but somehow, you didn’t. You didn’t setup
 sudo or doas, and now you need to do something as root and you can’t.
Oh no!
But not all is lost. There’s at least two ways to fix the issue.
Using Your Panel
The first thing to check is if the provider’s panel supports root password resets. It’s almost like hosting companies get so many requests to reset root passwords that the hosting panel providers built it in to save them headaches…hmmm.
I logged into Solus on RackNerd and here is what I see:
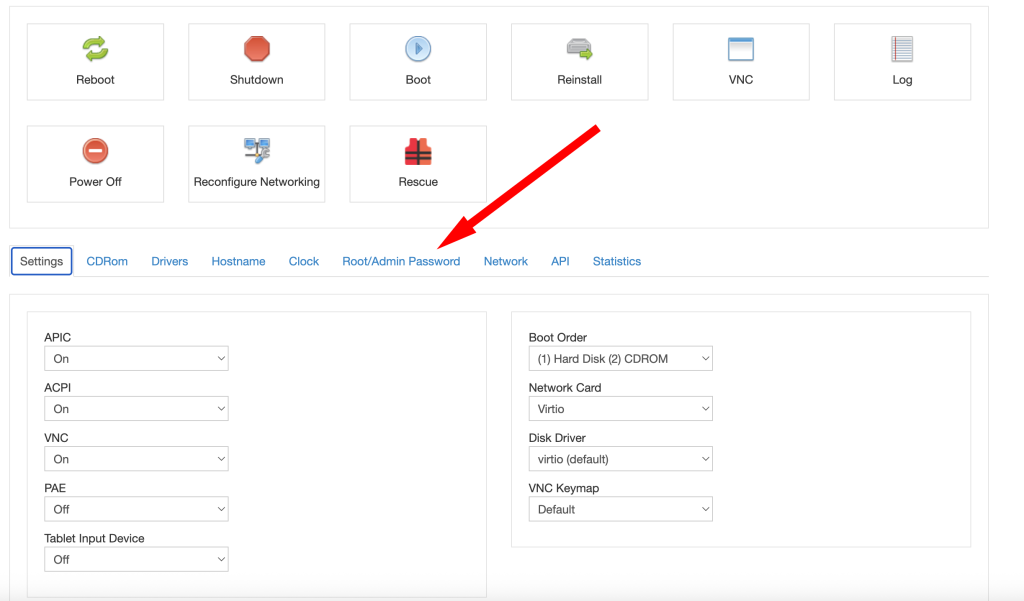
So let’s try that.

After clicking change, you get this message:
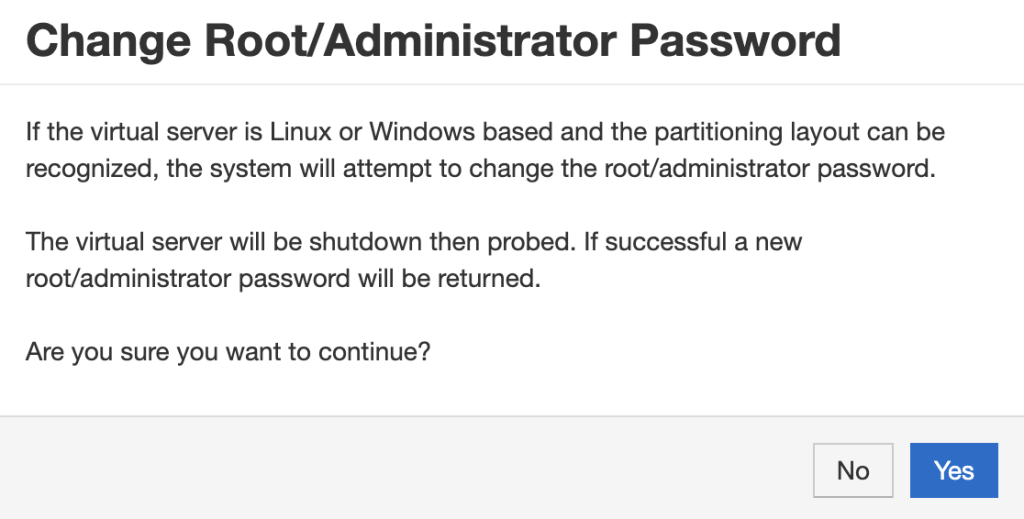
And then after clicking Yes:
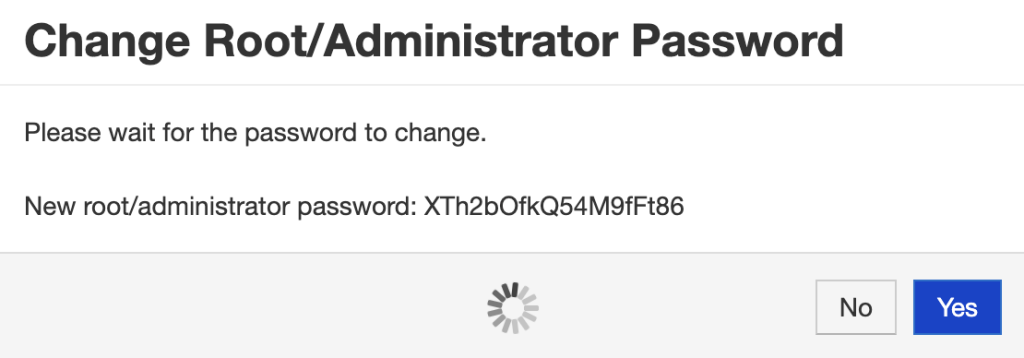
(Don’t worry – I’ll change it before this article is published!)
After a little processing, it’s successful:
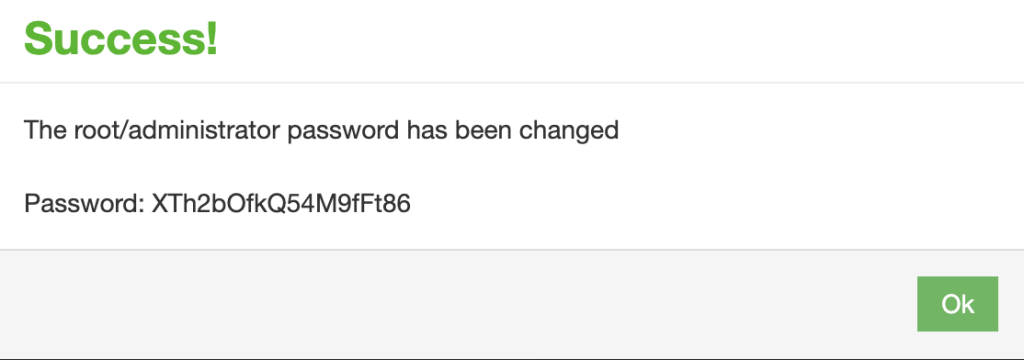
Now in my case, there was only one problem. As part of my VPS setup, my Ansible scripts put this in /etc/ssh/sshd_config:
PermitRootLogin without-passwordSo it actually was not possible for me to login as root. In this particular case, losing the root password didn’t actually matter because I could login with my ssh key, but you get the point. If I’d lost the ssh key, I’d have been hosed.
Using Rescue
Let’s look at the SolusVM rescue mode:
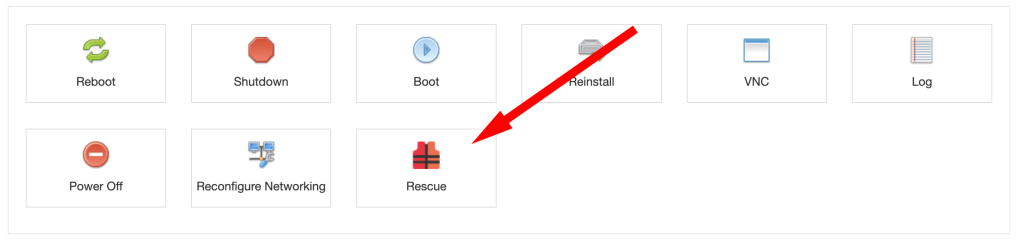
Clicking that gives a warning:
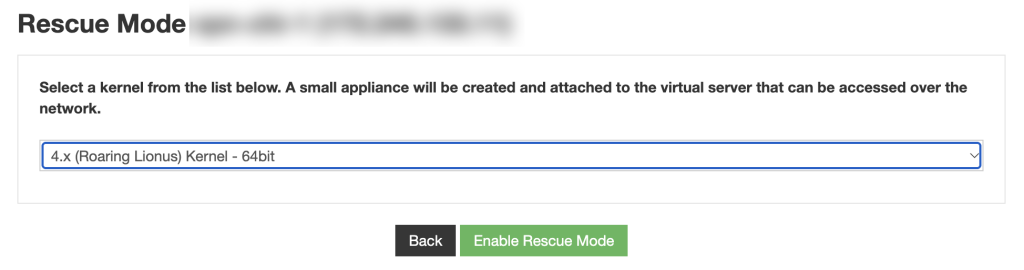
I clicked “Enable Rescue Mode” and SolusVM politely asked me to confirm:
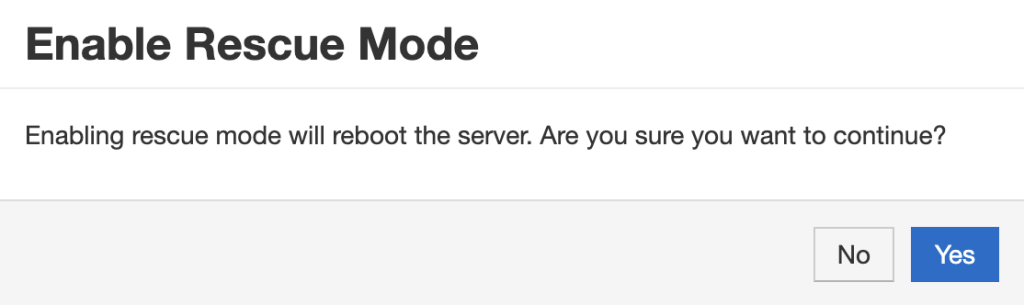
Yes, please.
After clicking Yes:
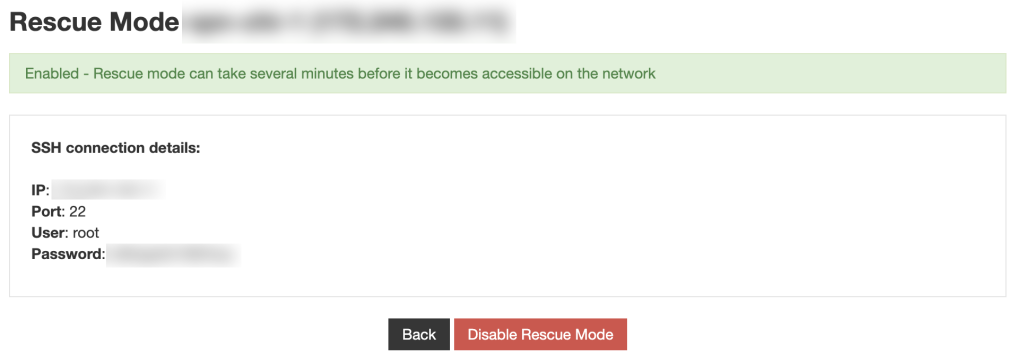
I let it boot a bit, and then was able to login from my PC:
$ ssh -o StrictHostKeyChecking=no -o UserKnownHostsFile=/dev/null root@<my IP>Whoa…what’s up with all those -o flags? If you don’t use them, you’ll get the dramatic warning that “IT IS POSSIBLE THAT SOMEONE IS DOING SOMETHING NASTY!”
The reason is that the IP is in my hosts file as associated with a certain host key, and when I boot in rescue mode, its’s a completely different OS image. So my ssh client gets a totally different host key and throws the flag. The -o flags I listed ignore that temporarily, without having to go in and modify the known_hosts file.
Now after logging in, it’s important to note that I am not logged into my VPS per se. I’m logged into a rescue image. For example:
rescue # cat /etc/hostname
rescue
If I was to run passwd root now, I’d be changing the rescue image password, which is pointless.
So we have a little work to do. First, find the actual root partition of your VPS:
rescue # mount | grep "on / "
/dev/vdb1 on / type ext3 (rw,relatime,discard,errors=remount-ro,data=ordered)
rescue # lsblk -f
NAME   FSTYPE LABEL UUID                                 MOUNTPOINT
sr0
vda
├─vda1 ext4         a09aaadc-93fd-4c32-af29-f007d7c429f6
└─vda2 swap         ab346e4e-071f-491e-a512-2dcabaff20bd
vdb
└─vdb1 ext3         0e8b889c-8efb-4093-9d42-817ae3ca1f90 /
rescue #
OK, so the rescue environment is /dev/vdb1. /dev/vda1 is my actual root. So let’s prep a chroot environment for that.
rescue # mount /dev/vda1 /mnt
rescue # mount --bind /dev  /mnt/dev
rescue # mount --bind /proc /mnt/proc
rescue # mount --bind /sys  /mnt/sys
rescue # mount --bind /run  /mnt/run
And then enter the chroot environment:
rescue # chroot /mnt /bin/bash
Now I am in my actual VPS. For example:
root@rescue:/# cat /etc/hostname
vpn-chi-1
root@rescue:/#
And now I can reset the root password:
root@rescue:/# passwd
New password:
Retype new password:
passwd: password updated successfully
root@rescue:/# exit
exit
rescue # reboot
Related Posts:
Make Your VPS Reactive: Easily Write Scripts that Fire Automatically When Filesystem Events Occur wi...
The Era of Vibe-Coded Operating Systems is Upon Us
Re-Enabling AES-NI on VPSes That Don't Pass the Feature Through
Yeee-ouch! Guest-to-Host Escape Vulnerability in Linux KVM/x86
Vaya con Dios, strncpy
How to Speed Up Your Software RAID Resyncs - Thanks, LowEndTalk!

raindog308 is a longtime community LETizen, technical writer, and self-described techno polymath. With deep roots in the *nix world, he has a passion for systems both modern and vintage, ranging from Unix, Perl, Python, and Golang to shell scripting and mainframe-era operating systems like MVS. He’s equally comfortable with relational database systems, having spent years working with Oracle, PostgreSQL, and MySQL.
As an avid user of LowEndBox providers, raindog308 runs an empire of LEBs, from tiny boxes for VPNs, to mid-sized instances for application hosting, and heavyweight servers for data storage and complex databases. He brings both technical rigor and real-world experience to every piece he writes.
Beyond the command line, raindog308 has a life-long love of German Shepherd Dogs, high-quality knives, target shooting, theology, tabletop RPGs, playing guitar, and hiking in deep, quiet forests.
His goal with every article is to help users, from beginners to seasoned sysadmins, get more value, performance, and enjoyment out of their infrastructure.
You can find him daily in the forums at LowEndTalk under the handle @raindog308.























Leave a Reply