 Welcome to the last installment in the CentOS 7 LAMP Server Tutorial: Modernized and Explained series! In this article we are going to turn our LAMP server into a LEMP server by removing Apache and installing NGINX (pronounced “Engine X”) in its place.
Why would we want to replace the Apache web server with NGINX? The answer is in concurrency. NGINX can handle more connections at the same time than Apache can without causing any extra work for the server. It can be used as a stand-alone web server, or it can be used as a “buffer” or “shock absorber” between Apache and the rest of the Internet. In this tutorial we’re going to replace the Apache web server with a standalone installation of NGINX. Let’s get started!
Preparation for the switch
If you’ve followed along with our series, you now have a WordPress website running on Apache with PHP 7.3 and a Let’s Encrypt SSL certificate. Apache serves the non-SSL site on port 80, and the SSL site on port 443. NGINX also wants to listen on port 80 and port 443, because these are the ports that HTTP and HTTPS always use. We cannot put NGINX alternate ports because that’s no web browser would ever find it. The solution is to disable or remove Apache, and then set up NGINX in its place.
In Part 2 we configured Apache with a VirtualHost that tells Apache where to serve our WordPress site from. NGINX will need a similar configuration so that it knows how to serve our website. We’ll also have to tell NGINX how to make use of the Let’s Encrypt SSL certificate.
A word of Caution!

We’re going to be making some drastic configuration changes in this tutorial, so a word of caution is in order: Backup your data, and don’t do this on a production server. If you already have a working website that is bringing you income or is otherwise important to you, stop. It is in our best interest to get a second VPS, run through the tutorial in full, and then set up a test site. Once you’re sure it works for you, then migrate your site to your new NGINX based server.
Removing Apache
Still with us? Great! This is going to be fun. As was previously mentioned, we need to get Apache out of the way so that NGINX can do its job. There are two ways to go about this: Stop and disable Apache, or just remove Apache. We are going to remove it. This is easily done with a single command:
yum -y remove httpd
Here’s how this looked on our low end VPS:
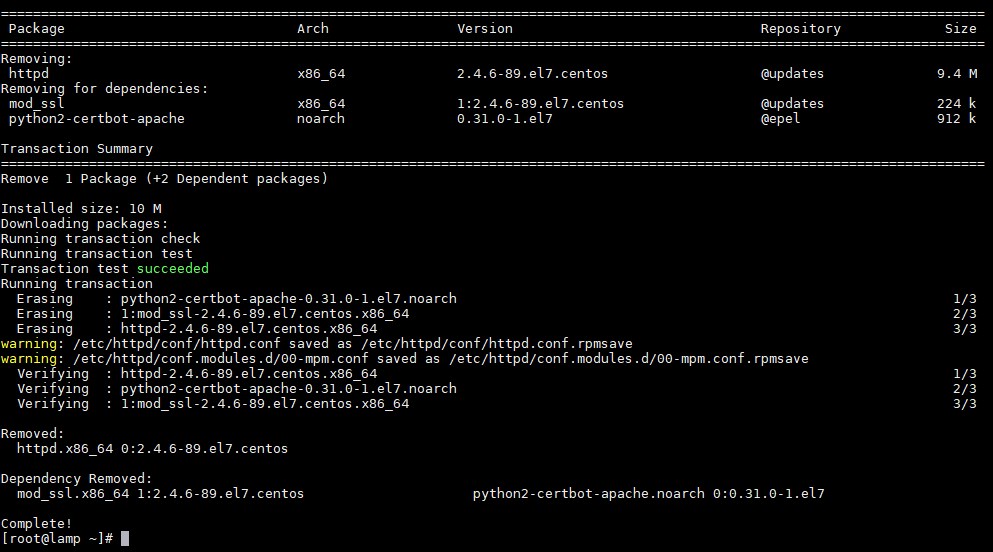
You’ll notice that Yum also removed mod_ssl (Apache’s SSL module) and the Let’s Encrypt SSL certbot for Apache. We’ll be replacing these with the NGINX equivalents in the next step.
Installing NGINX
NGINX can be installed directly from the base CentOS 7 Yum repositories, but it lacks some features that we’re going to need. We’re going to use a repository that is maintained by somebody with the username “error”. Don’t worry- there are no errors! We need to install that repository before installing NGINX. Here is the command to use:
curl -o /etc/yum.repos.d/nginx-error.repo \
https://copr.fedorainfracloud.org/coprs/error/nginx/repo/epel-7/error-nginx-epel-7.repo
What about Let’s Encrypt SSL certificates? In part 3 of this series we learned that certbot uses its Apache module to intelligently request and install Let’s Encrypt SSL certificates. But since we’re switching to NGINX, we need to install the similar NGINX module for certbot.
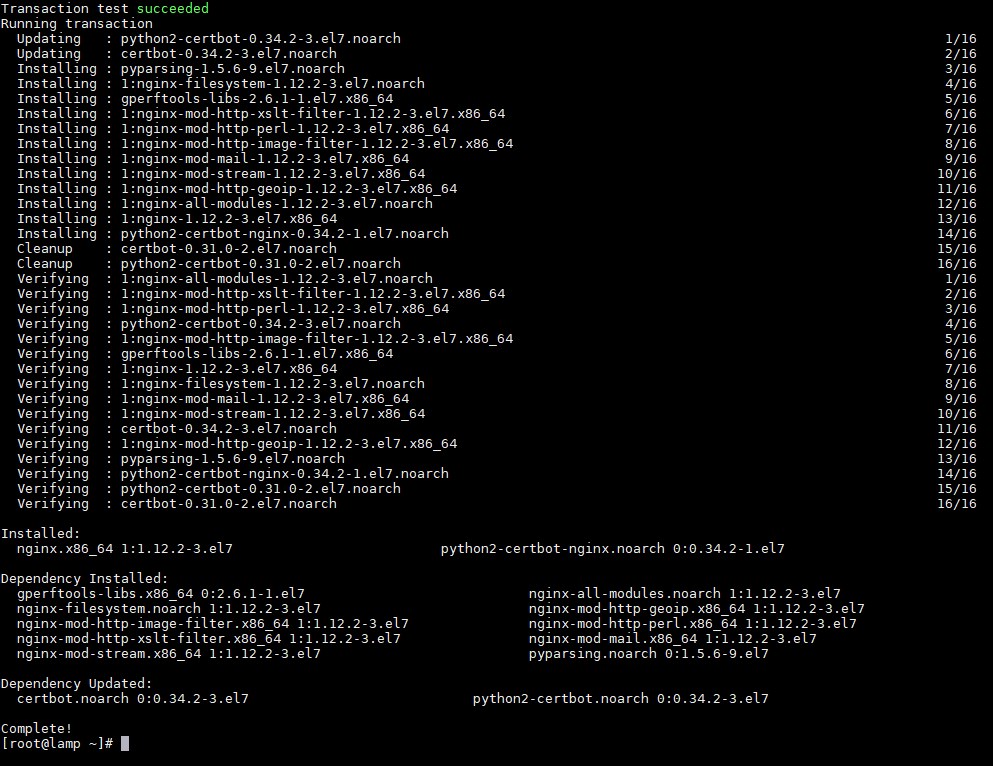
The following command will install the updated version of NGINX and the certbot NGINX module:
yum -y install nginx python2-certbot-nginx
Here’s how this looked on our VPS:
Now we’ll enable NGINX so that it’ll start at boot up, and start it for the first time:
systemctl enable nginx.service
systemctl start nginx
You may notice that we’re not doing anything with PHP. That’s because we previously configured PHP-FPM for PHP 7.3. PHP-FPM is independent of the web server. We can use any web server to communicates with PHP-FPM via its unix socket. We’ll be configuring that communication very soon. For now you should see the following page when you go to your website:

If you don’t see that page, then go back and check your work- it’s probably something small.
Configuring NGINX to replace Apache
We originally configured Apache with a VirtualHost configuration so that it could serve files for our virtually hosted website. NGINX has the same feature, but NGINX calls them “server blocks” instead of “virtual hosts”. And much like Apache, we can create a directory that is just for configuration files that are specific to each hosted website.
Let’s first create the necessary directory and then back up the default nginx.conf file (NGINX’s main configuration file) before we create our own files.
mv /etc/nginx/nginx.conf /etc/nginx/nginx.conf.backup
mkdir /etc/nginx/sites-enabled
Now we’re going to use “nano” to create two files: /etc/nginx/nginx.conf and /etc/nginx/sites-enabled/lowend.conf. The nginx.conf file contains directives for the entire server, where lowend.conf contains the server block and configuration information specific to our website. Copy and paste these configuration files in. Be sure to read them in full, because they explain the entire configuration. The comments are very much part of this tutorial.
nano /etc/nginx/nginx.conf
Paste in the following configuration file:
user nginx;
worker_processes auto;
error_log /var/log/nginx/error.log;
pid /run/nginx.pid;

# Load dynamic modules. See /usr/share/nginx/README.dynamic.

include /usr/share/nginx/modules/*.conf;

events {
        worker_connections 1024;
}

http {
       log_format main '$remote_addr - $remote_user [$time_local] "$request" '
       '$status $body_bytes_sent "$http_referer" '
       '"$http_user_agent" "$http_x_forwarded_for"';
       access_log /var/log/nginx/access.log main;
       log_format cache_status '[$time_local] "$request" $upstream_cache_status';
       access_log /var/log/nginx/cache.log cache_status;
       sendfile on;
       tcp_nopush on;
       tcp_nodelay on;
       keepalive_timeout 65;
       keepalive_requests 1024;

       include /etc/nginx/mime.types;
       default_type application/octet-stream;

#Enable the NGIXN fastcgi cache in /var/run/nginx-cache and configure cache keys

fastcgi_cache_path /var/run/nginx-cache levels=1:2 keys_zone=nginx-cache:100m inactive=60m;
fastcgi_cache_key "$scheme$request_method$host$request_uri";

# Add X-Cache headers to HTTP requests. This allows us to see if cached content is being served.
# If cached content is being served, the header will contain the value "HIT", and if not "MISS".

add_header X-Cache $upstream_cache_status;

# Detect logged in WordPress user cookie
# This is used in the Server Block to bypass the cache for logged in WordPress users.
map $http_cookie $logged_in {
       default 0;
       ~SESS 1;
       ~wordpress_logged_in 1;
}

# Enable individual server blocks to be stored in /etc/nginx/site-enabled
# and still be included in the NGINX configuration.

include /etc/nginx/sites-enabled/*.conf;

}
Now we’ll create the server block for our website:
nano /etc/nginx/sites-enabled/lowend.conf
Paste in the following configuration file:
server {

       #We'll start off by enabling GZIP compression for the server
       gzip on;
       gzip_types text/plain text/css application/json application/x-javascript text/xml application/xml application/xml+rss text/javascript application/vnd.ms-fontobject application/x-font-ttf font/opentype image/svg+xml image/x-icon;
       gzip_proxied no-cache no-store private expired auth;
       gzip_min_length 1000;

       #This Server Block listens on port 80 for HTTP requests
       listen 80;

       #Define the hostnames for this server block, separated by a space
       server_name lowend-tutorial.tld www.lowend-tutorial.tld;

       #Define the documentroot that NGINX will serve pages from for the site.
       root /home/lowend/public_html;

       #Look for index.php. If you want to add index.html or any other default page, add it here.
       index index.php;

       #Define the access log file for the account
       access_log /home/lowend/logs/lowend-tutorial.tld-access.log main;

       #Don't log favicon.ico
       location = /favicon.ico {
              log_not_found off;
              access_log off;
       }

       #Don't log robots.txt
       location = /robots.txt {
              allow all;
              log_not_found off;
              access_log off;
       }

       location / {
              # include the "?$args" part so non-default permalinks doesn't break when using query string
              try_files $uri $uri/ /index.php?$args;

              #Bypass cache for logged in WordPress users
              #This is important so that caching doesn't get in the way of development
              fastcgi_cache_bypass $logged_in;
              fastcgi_no_cache $logged_in;
       }

       location ~ \.php$ {
               try_files $uri =404;
               # Connect to PHP-FPM for PHP calls via fastcgi
               # This is the NGINX equivalent of the Apache fastcgi directives that were previously used
               fastcgi_pass unix:/var/run/php73-fpm/php73-fpm.lowend.sock;
               fastcgi_index index.php;
               fastcgi_param SCRIPT_FILENAME $document_root$fastcgi_script_name;
               include fastcgi_params;

               #Make use of the nginx-cache that was defined in nginx.conf
               fastcgi_cache nginx-cache;
               fastcgi_cache_valid 200 60m;
       }

       # Set a max expiration time for various file types, and don't log 404's for them
       location ~* \.(js|css|png|jpg|jpeg|gif|ico)$ {
              expires max;
              log_not_found off;
       }
       # Configure cache purging. This will allow us to use a small shell script to hourly purge the cache.
       location ~ /purge(/.*) {
              allow 127.0.0.1;
              deny all;
              fastcgi_cache_purge nginx-cache "$scheme$request_method$host$1";
       }

}
Now we can restart NGINX to enable the new configuration:
systemctl restart nginx
NGINX and Let’s Encrypt
In previous steps, we removed the certbot-apache module and installed the certbot-nginx module. The new module does all of the same things for NGINX that certbot-apache did for Apache. We will use the certbot-nginx module to reinstall our certificate with the following command:
certbot --nginx
Since there’s already a certificate, we can select the option “1: Attempt to reinstall this existing certificate”
We also need to update our cron job for renewing certificates. Edit the crontab with the following command:
crontab -e
Edit the configuration so that it looks like the following line:
1 */12 * * * certbot --nginx renew
Check your Work
You should now be able to load your WordPress website in a browser. If not, then please double check all previous steps, and check the NGINX error logs.
With that restart, NGINX is fully configured for your WordPress site. Caching is enabled, and when you’re logged into WordPress, NGINX will bypass the cache so that you can easily see your changes.
Clearing the cache
We’ve configured a way to clear the NGINX cache by calling a URL with HTTP “PURGE” instead of “GET”. This is a great way to do it, and in fact we installed the custom version of NGINX just so that we could enable this feature. But there is a minor problem. At the time of the writing of this article, there are no NGINX cache plugins for WordPress that actually work when they flush the cache using the “PURGE” method. They require that PHP can access the NGINX cache files directly, which presents a security risk: all sites share the same cache directory, and each site’s PHP-FPM instance would have access to another sites cache. That’s not secure at all!
To remedy this, we’re going to leverage wp-cli to give us a list of all the posts and pages on your WordPress site, then pass that to a “for” loop that calls CURL to create an HTTP request that purges the cache of each post or page. We’re going to do this in a very simple shell script. This script should not go in the public_html directory, and should be owned and ran by the website user. Our website username is “lowend” and so this file will go in /home/lowend/. We used the following command to create the file:
sudo -u lowend nano /home/lowend/flush.sh
Paste in the following script. Be sure to correct the URL to match your site:
#!/bin/bash
#Use wp-cli to find all pages and posts and use CURL to issue a
# HTTP PURGE to flush the cache for each page and post.
for page in
$(/usr/local/bin/wp --path=/home/lowend/public_html post list --post_type=page,post --format=csv --field=post_name)
do curl --silent --output /dev/null -X PURGE -I "https://lowend-tutorial.tld/$page"
done
Now set the permissions to 755:
chmod 755 /home/lowend/flush.sh
We want to clear the cache regularly, so we’ll create a cron job that will run our flush.sh script hourly:
crontab -e -u lowend
Paste in the following cron job:
1 * * * * /home/lowend/flush.sh
Last but not least, log into your WordPress website and remove all caching plugins. Instead we’re going to install a plugin called “Redis Object Cache” By Till Krüss. Install and activate the script, and it’ll take care of object caching via Redis, while NGINX will take care of page caching. It’s a great setup.
And with that- we’re done! Our testing showed that we were able to serve about 30% more requests per second using this configuration. Depending on your VPS you may be able to do the same, and possibly much more.
The End is just the Beginning
This tutorial marks the conclusion of the LAMP Server series. We hope that you’ve found it informative! The things you’ve learned by building your own server from scratch will help you to understand and appreciate what goes on behind the scenes when you use a control panel that manages the configurations for you. They really do save a lot of work! But even more than that, you’ve learned how virtual hosting works, how PHP can be configured, and how to use basic Linux tools to administer your server.
What are some other things you could do? Instead of setting up NGINX as we did in this tutorial, why not leave Apache set up and learn how to set up NGINX as a caching proxy server? Learn how to create multiple websites by creating new users and new virtual hosts or server blocks (or both, as the case may be). Tired of building configuration files from scratch every time? Learn a tool such as Ansible that’ll do all the work for you. The possibilities are endless. This may be the end of this series, but it’s just the beginning for someone who’s ready to keep learning. Enjoy!


Hey, these series are pure gold(for a noob like me anyway) !
I just wanted to ask if its possible to run multiple websites with both Apache and Nginx on the same VPS, instead of completely removing Apache?
If yes, what’s the proper way to do it?
Thank you Ryan Flowers!
…and could everything in this series be applicable to CentOS 8? Without changes?
And please Ryan Flowers, we need more of these “High-end” tutorials!