TOR (The Onion Router) is FOSS software to allow onion routing. It is designed to defeat traffic analysis. In this tutorial, we’ll talk about the three kinds of routers you can run to contribute to the project. If you’re merely interested in using TOR, please visit the TOR home page and click “Download Tor Browser”.
What is Traffic Analysis?
Imagine I’m a surveillance agency and I want to gather information on you, so I watch your network traffic. Even if it’s encrypted, I’ll be able to see which web sites you visit. I won’t be able to decrypt your bank password, but I’ll know the name of your bank. I won’t be able to know what you said to your friends, but I might be able to see that you said *something* and build a list of your friends, etc.
How does TOR defeat this?
TOR defeats this by onion routing. Your connections are routed through a mesh of 7,000+ (as of this writing) servers, and the paths chosen change with each browser click you make. This makes it impossible (or at least very difficult) for someone to trace your connection. This is a gross simplification of how TOR works – check out Wikipedia for a fuller overview.
Note that this does not magically make you invisible on the Internet. The purpose of TOR is to enhance individual privacy, not enable a legion of superhackers.
How can you help?
To function, TOR needs three types of nodes:
- Relay nodes: These are the mesh nodes through which traffic passes. Their function is simply to pass traffic from one node to another.
- Bridge relays: This are specialized entry nodes that are kept secret (not listed in the public TOR directory), which makes it more difficult for governments to block these entrances.
- Exit nodes: These are the points where your traffic “pops out” of the network. Your traffic typically enters on a relay node, passes through several, and then exits on an exit node. So if the traffic goes through a server in Kentucky (USA), Toronto (CAN), and Berlin (DE) in that order, Kentucky and Toronto are relay nodes and Berlin is an exit node. If you were sitting in Seattle, you would appear (based on your IP) to be in Berlin.
You can help by running more nodes. Spare and idling LowEndVPSes are excellent for running nodes.
What kind of node should I run?
Relay and bridge nodes are rarely controversial, but exit nodes nearly always cause abuse reports. You must check your provider’s terms. Some providers disallow all TOR nodes, while many more allow only relay and bridge nodes. When in doubt, read your provider’s Acceptable Use Policy and if you have questions, open a ticket. You can find a list of TOR-friendly hosts on the TOR project’s wiki.
In this example I’m running on a BuyVM VPS in their Las Vegas location. BuyVM is a TOR-friendly provider. See the TOR section of their AUP for full details.
How do I setup a node?
On Debian 10, it’s as simple as:
apt-get install tor
The real work is in editing /etc/tor/torrc. Let’s walk through the chief options:
You should uncomment one or both of these:
Log notice file /var/log/tor/notices.log
Log debug file /var/log/tor/debug.log
You want TOR to run as a daemon, so uncomment this:
RunAsDaemon 1
You should uncomment this so TOR runs as a relay:
ORPort 9001
Put your server’s hostname here:
Address relay.lowend.party
Think up a clever name for your relay and uncomment this:
Nickname LowEndParty
Now you need to configure how much bandwidth you will allocate. There are two methods. The first is to set the amount of bandwidth per second, calculating that out for a month. 100KB/sec is about 255GB/mo, though it will take quite some time before your node “warms up” to the point where it’s serving that much. If you want to give 1TB, you could set this to 375KB/sec or so:
RelayBandwidthRate 100 KB # Throttle traffic to 100KB/s (800Kbps)
RelayBandwidthBurst 200 KB # But allow bursts up to 200KB/s (1600Kbps)
You can also put in an overall limit. Since most VPSes come with monthly bandwidth, it’s easiest to use these directives:
AccountingMax 1024 GB
AccountingStart month 1 00:00
These directives mean “use a maximum of 1TB in an accounting period that starts every month on the 1st.”
Be sure to put some contact info:
ContactInfo Joe Blow <joeblow@example.com>
Turn on directory advertising:
DirPort 9030
This next one is very important! If you’re not running an exit node, set your exit policy to reject everything:
ExitPolicy reject *:*
If you are planning to run an exit node, consult the torrc comments if you wish to limit exit policies.
Firing Up TOR
Now all you need do is:
systemctl enable tor
systemctl start tor
Your node will not suddenly spring to life spewing out gigabytes of traffic. This article has a good overview of a new node’s lifecycle.
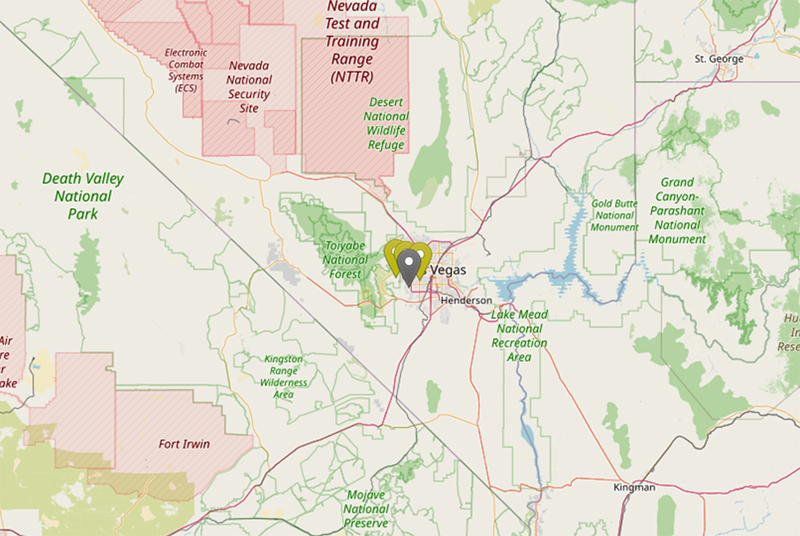
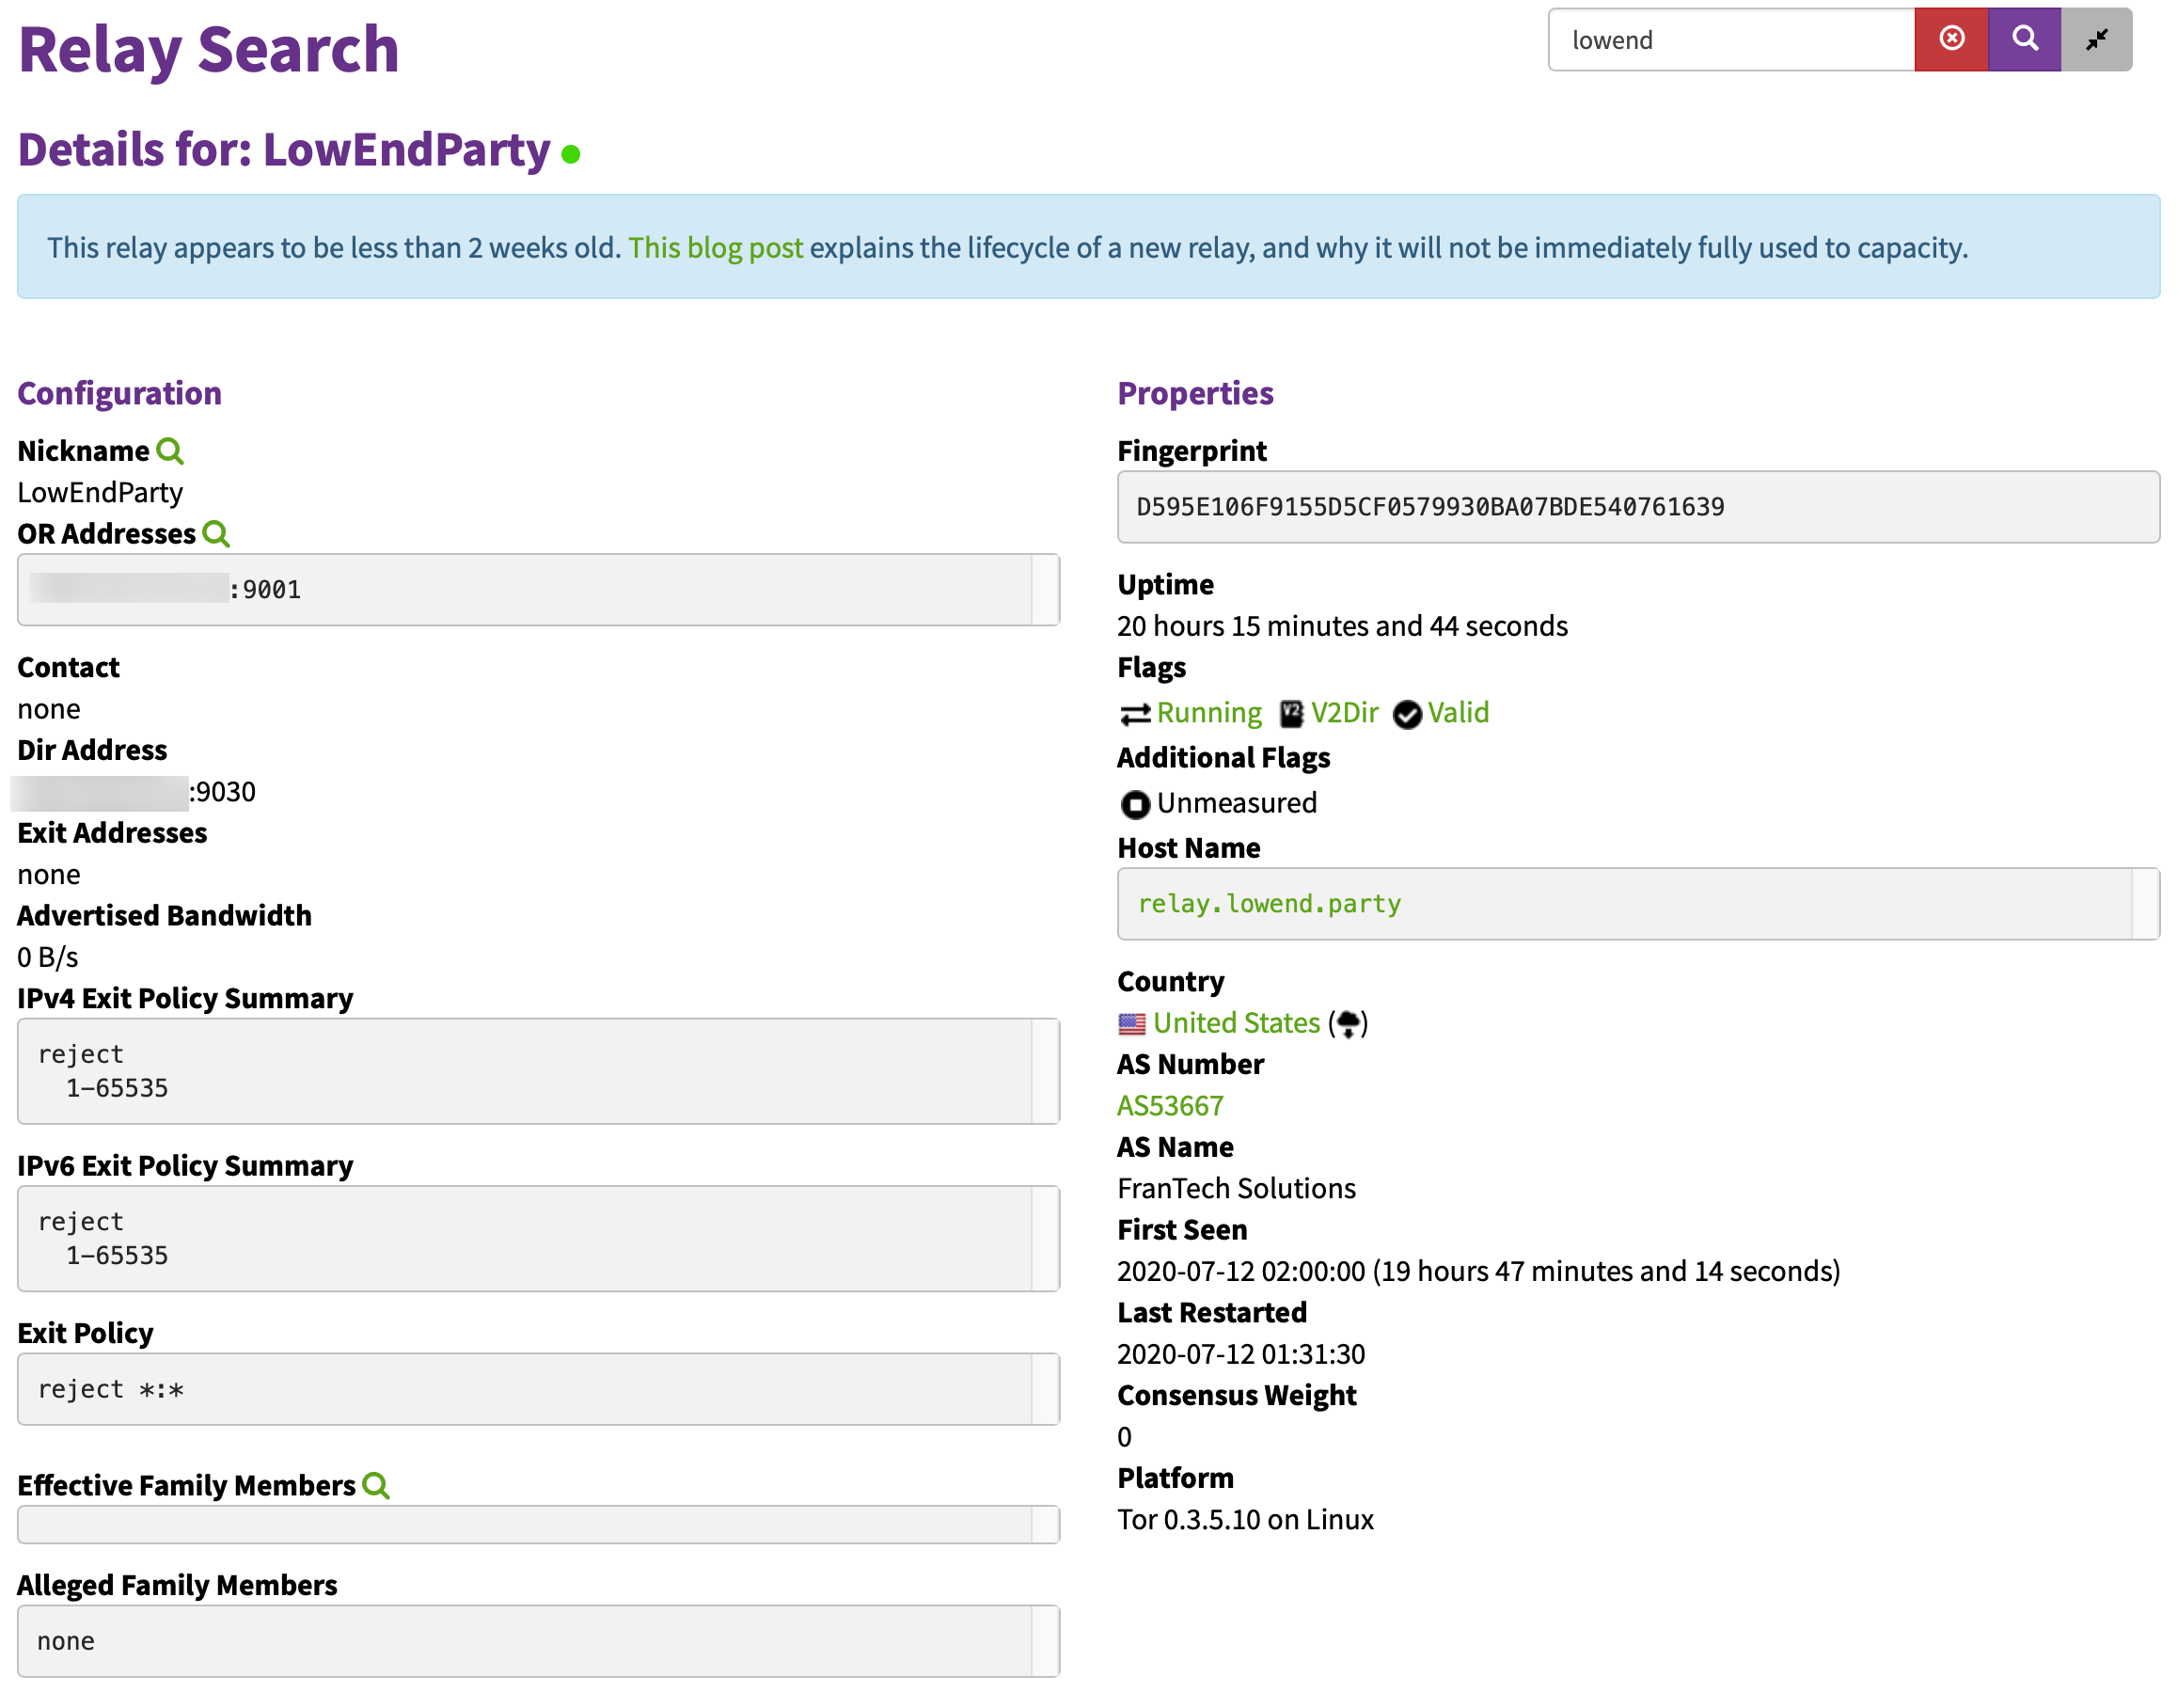
Once your node is established you might want to view metrics on it. You can search for your node here. There’s also a map of all nodes you can view. I see my node in Vegas!

Related Posts:
That Was a Fun Read! Pondering Cosmological UUIDs
Is Elon Musk Going to Spy on Starlink Users? What Can They Harvest?
Should You Run FreeBSD in 2026? Maybe, Maybe Not
2026: The Breakthrough Year for Rust
Looking Back at 2025: What a Wild Year! Our Recap of the Year's Biggest Moments
Revisiting One of the Greatest Posts in LowEndBox History
Raindog308 is a longtime LowEndTalk community administrator, technical writer, and self-described techno polymath. With deep roots in the *nix world, he has a passion for systems both modern and vintage, ranging from Unix, Perl, Python, and Golang to shell scripting and mainframe-era operating systems like MVS. He’s equally comfortable with relational database systems, having spent years working with Oracle, PostgreSQL, and MySQL.
As an avid user of LowEndBox providers, Raindog runs an empire of LEBs, from tiny boxes for VPNs, to mid-sized instances for application hosting, and heavyweight servers for data storage and complex databases. He brings both technical rigor and real-world experience to every piece he writes.
Beyond the command line, Raindog is a lover of German Shepherds, high-quality knives, target shooting, theology, tabletop RPGs, and hiking in deep, quiet forests.
His goal with every article is to help users, from beginners to seasoned sysadmins, get more value, performance, and enjoyment out of their infrastructure.
You can find him daily in the forums at LowEndTalk under the handle @raindog308.


Thanks for writing this tutorial Andrew! Very helpful.
The list with friendly Tor hosts is a little bit outdated.
Grammar correction: replace TOR with Tor.