 Most of what you do with your VPS may take place either at the command line or by interacting with various web pages. But what if you need to run a desktop GUI application? That’s where VNC (Virtual Network Computing) comes in handy. You can “remote desktop” into your VPS.
In this tutorial, I’ll setup a Gnome desktop on Debian 10 and connect to it from both macOS and Windows. Because VNC is not a secure protocol, we won’t serve it over the Internet but instead tunnel it over ssh.
Setting Up the VPS
In this tutorial, I’m using a Debian 10 VPS at Linode’s Fremont, CA datacenter named vnc.lowend.party. After imaging, I login as root and install the Gnome desktop.
apt-get update
apt-get upgrade
tasksel install desktop gnome-desktop
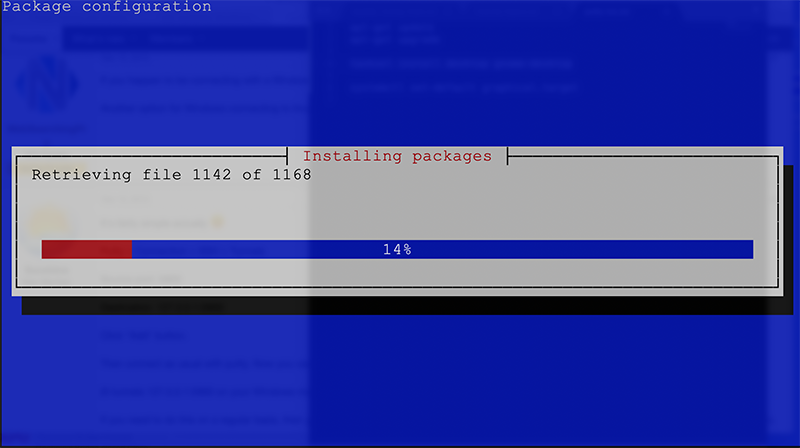
As you’ll see, there are more than 1,000 packages to install here, so go for a nice walk. When you come back, install the VNC software itself:
apt-get install vnc4server
Finally, I want the system to start up in GUI as opposed to headless mode, so let’s change the default systemd target.
systemctl set-default graphical.target
Then to both test this and get the GUI fired up, I’ll just restart the VPS:
reboot
I’m going to login as an unprivileged user when I use VNC, so I’ll create an account for myself.
useradd -m -s /bin/bash raindog308
passwd raindog308
I’ll now switch to this account.
su - raindog308
I need to set a VNC password, so I’ll use the vncpasswd command. Note that VNC only allows passwords up to 8 characters.
raindog308@vnc:~$ vncpasswd
Password:
Verify:
Would you like to enter a view-only password (y/n)? n
raindog308@vnc:~$
Now I can start up a VNC server.
raindog308@vnc:~$ vncserver
/usr/bin/xauth: file /home/raindog308/.Xauthority does not exist

New 'vnc.lowend.party:1 (raindog308)' desktop at :1 on machine vnc.lowend.party

Starting applications specified in /etc/X11/Xvnc-session
Log file is /home/raindog308/.vnc/vnc.lowend.party:1.log

Use xtigervncviewer -SecurityTypes VncAuth -passwd /home/raindog308/.vnc/passwd :1 to connect to the VNC server.

raindog308@vnc:~$
Before we go further, let’s check out security. go back to root and install nmap.
apt-get install nmap
Now do a couple scans. VNC runs on ports beginning with 5901, where the last digits are the number of the connection. Let’s see what’s running both on the public interface and on localhost (127.0.0.1):
root@vnc:~# nmap vnc.lowend.party -p5900-5902
Starting Nmap 7.70 ( https://nmap.org ) at 2020-05-24 16:09 PDT
Nmap scan report for vnc.lowend.party (45.79.66.140)
Host is up (0.000046s latency).
rDNS record for 45.79.66.140: li1165-140.members.linode.com

PORT STATE SERVICE
5900/tcp closed vnc
5901/tcp closed vnc-1
5902/tcp closed vnc-2

Nmap done: 1 IP address (1 host up) scanned in 0.29 seconds
root@vnc:~# nmap localhost -p5900-5902
Starting Nmap 7.70 ( https://nmap.org ) at 2020-05-24 16:09 PDT
Nmap scan report for localhost (127.0.0.1)
Host is up (0.000027s latency).
Other addresses for localhost (not scanned): ::1

PORT STATE SERVICE
5900/tcp closed vnc
5901/tcp open vnc-1
5902/tcp closed vnc-2

Nmap done: 1 IP address (1 host up) scanned in 0.25 seconds
root@vnc:~#
So we can see that the default Debian config binds VNC only to localhost, not to the public interface. This is good!
Tunneling From macOS
I can use macOS’s command line to setup the tunnel:
$ ssh raindog308@vnc.lowend.party -L 5901:localhost:5901
The authenticity of host 'vnc.lowend.party (x.x.x.x)' can't be established.
ECDSA key fingerprint is SHA256:6I33xSZa6+028+2VswynZWH+ztTPQscUzeaAeJLsKQA.
Are you sure you want to continue connecting (yes/no/[fingerprint])? yes
Warning: Permanently added 'vnc.lowend.party,x.x.x.x' (ECDSA) to the list of known hosts.
raindog308@vnc.lowend.party's password:
Linux vnc.lowend.party 4.19.0-9-amd64 #1 SMP Debian 4.19.118-2 (2020-04-29) x86_64

The programs included with the Debian GNU/Linux system are free software;
the exact distribution terms for each program are described in the
individual files in /usr/share/doc/*/copyright.

Debian GNU/Linux comes with ABSOLUTELY NO WARRANTY, to the extent
permitted by applicable law.
Last login: Sun May 24 16:10:29 2020 from x.x.x.x
raindog308@vnc:~$
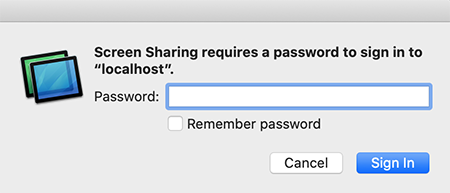
Next go to Finder and type Command-K. Then specify the VNC connection to connect to:

And when prompted, enter the password you setup with vncpasswd:
And now you’ve joined.
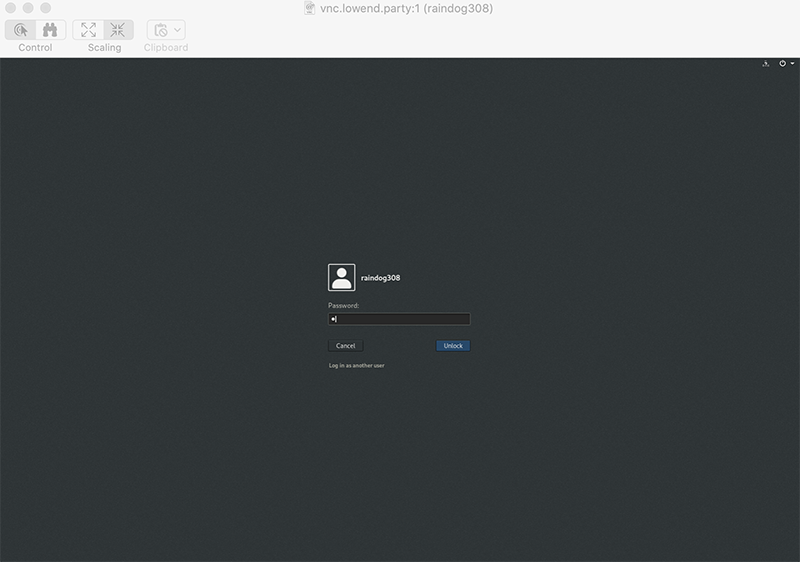
Note that closing the ssh session will kill your VNC connection as well.
Tunneling from Windows
To tunnel from Windows, we’ll use the venerable PuTTY program.
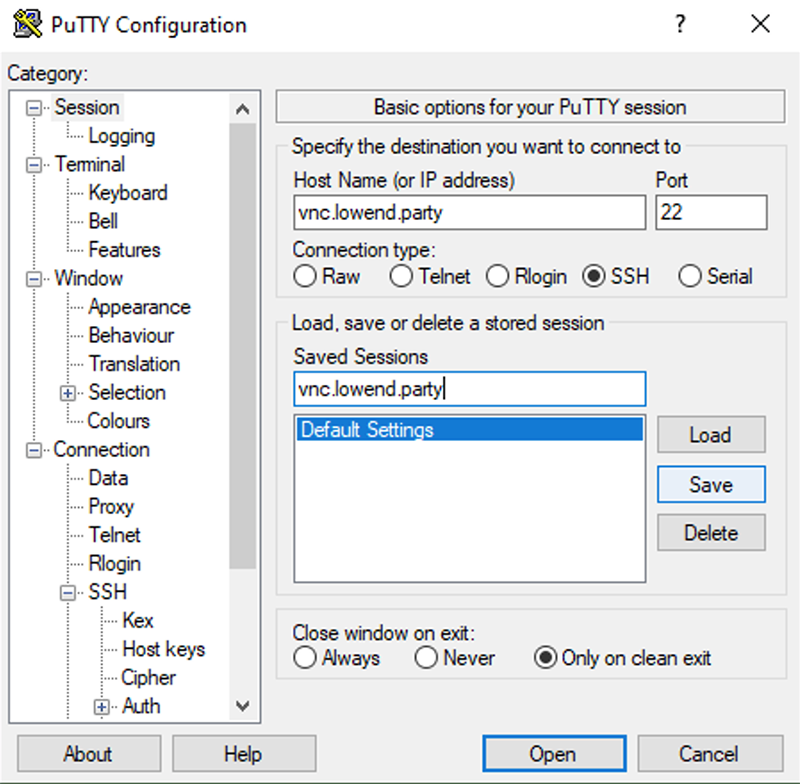
Start PuTTY and then go to the Connect > SSH > Tunnels section. Under Source Port, enter 5901. Under Destination, enter 127.0.0.1:5901. Then click Add.

Now go back the Session and enter the hostname and a name for the session (can be the same as the hostname) and click Save.
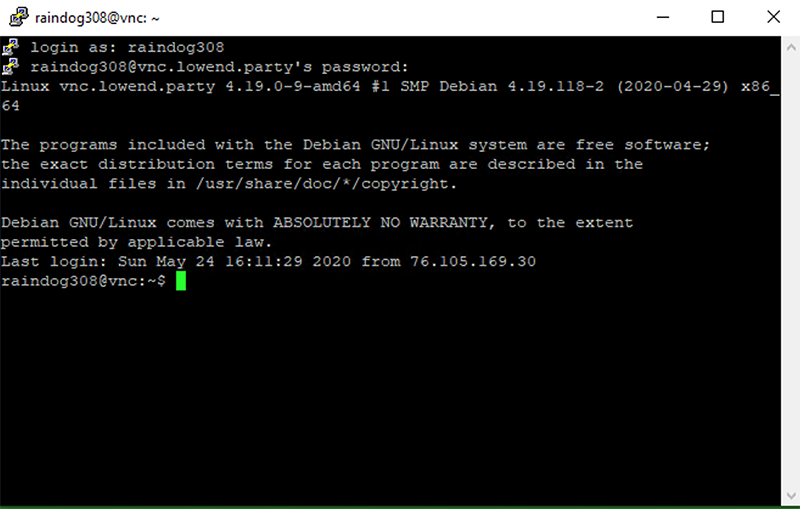
Now, with that session selected, click Open. Enter your credentials and login.
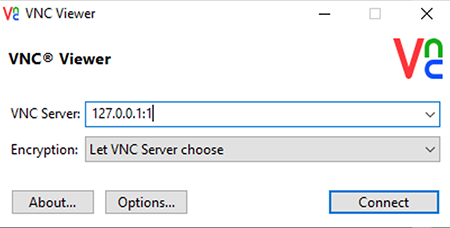
I’m using RealVNC as the VNC client (also known as the “viewer”). Star the program and then enter 127.0.0.1:1 in the VNC Server section. Then click Connect.
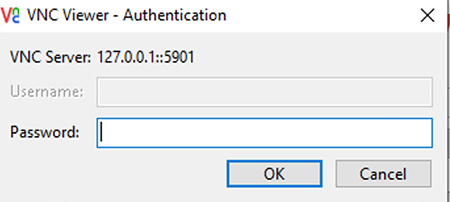
The VNC password prompt appears. Enter the password you entered with the vncpasswd program.
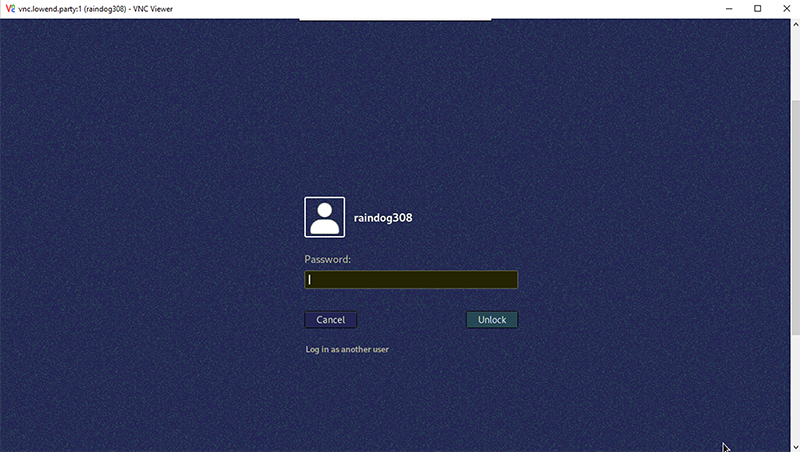
And now you’re logged in to your desktop.
raindog308 is a longtime community LETizen, technical writer, and self-described techno polymath. With deep roots in the *nix world, he has a passion for systems both modern and vintage, ranging from Unix, Perl, Python, and Golang to shell scripting and mainframe-era operating systems like MVS. He’s equally comfortable with relational database systems, having spent years working with Oracle, PostgreSQL, and MySQL.
As an avid user of LowEndBox providers, raindog308 runs an empire of LEBs, from tiny boxes for VPNs, to mid-sized instances for application hosting, and heavyweight servers for data storage and complex databases. He brings both technical rigor and real-world experience to every piece he writes.
Beyond the command line, raindog308 has a life-long love of German Shepherd Dogs, high-quality knives, target shooting, theology, tabletop RPGs, playing guitar, and hiking in deep, quiet forests.
His goal with every article is to help users, from beginners to seasoned sysadmins, get more value, performance, and enjoyment out of their infrastructure.
You can find him daily in the forums at LowEndTalk under the handle @raindog308.


Thanks for this great tutorial
When I run the first nmap command `nmap myserver -p5900-5902` I get the middle port also being open, just like on localhost. In your example all three were closed and you said this was good. Should I close it and if so how? I’m new to linux so any specific instructions would be helpful
Thanks