In the previous CentOS 7 LAMP Server Tutorials, we configured a LAMP stack, secured it with Let’s Encrypt SSL certificates, and installed WordPress with WP-CLI. Here in Part 5 we’re going to up our game just a bit more by installing server side caching with a program called Redis. Then we’ll configure WordPress to use Redis and check our performance to see if Redis actually made an impact. Let’s get started!
What is Redis?
![]() According to redis.io, Redis is a “data structure store” which is used as an in memory database. Because it stores information (called “objects”) in memory, it saves the server the trouble of having to look in its database. In this way it serves as a cache, and as such can help the server handle more traffic without having to work harder to do it.
According to redis.io, Redis is a “data structure store” which is used as an in memory database. Because it stores information (called “objects”) in memory, it saves the server the trouble of having to look in its database. In this way it serves as a cache, and as such can help the server handle more traffic without having to work harder to do it.
By default, WordPress doesn’t know how to use Redis. We’re going to enable WordPress to use Redis by installing a WordPress caching plugin called “W3 Total Cache”. First, we need to install Redis and get it started.
Installing Redis
Redis is available from the CentOS “Extra Packages for Enterprise Linux” (EPEL) software repository. If you’ve followed this tutorial series from the beginning, then the CentOS EPEL repository is already enabled. If not, then you’ll need to enable it now using the following command:
yum -y install epel-releaseNow you’re ready to install Redis. It’s all too easy, just a quick Yum install. Run the following command:
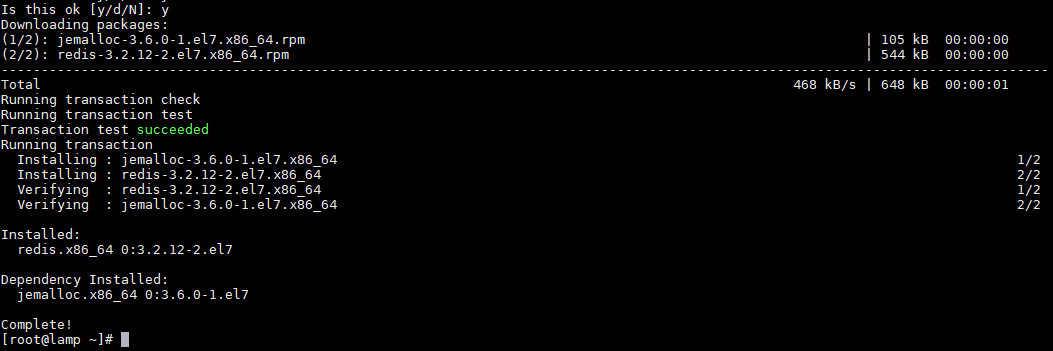
yum -y install redisHere’s how that looked on our VPS:
With Redis now installed, we need to start Redis for the first time and configure CentOS to launch Redis at startup. Run the following commands:
systemctl start redis
systemctl enable redis
Here’s how those commands looked on our VPS:

Lastly, we need to make sure that Redis is actually started and that it is reachable. Much like PHP-FPM’s default configuration, Redis listens on the “localhost” IP (127.0.0.1) on a specific port (6379). Other programs can communicate with Redis by making a connection to that IP and port.
We’re going to test that communication now using the redis-cli program. Just like you can ping an IP with the “ping” command, you can also ping Redis with the “redis-cli ping” command. If Redis is running properly, it’ll simply reply with “PONG”. Give it a try:
redis-cli pingOurs was running properly, and here’s how it looked:

If you got “PONG”, then great! Redis is running and you’re ready to configure WordPress to take advantage of it. Almost. First, we need to get PHP up to speed.
Enabling Redis in PHP 7.3
Now that we know that Redis is working, we need to give PHP the ability to talk to Redis. Thankfully, this is as simple as installing the PHP 7.3 Redis extension and restarting PHP-FPM. If you’ve followed our tutorial, then the following commands will do the job:
yum -y install php73-php-redis
systemctl restart php73-php-fpm
Configuring WordPress to use Redis
As previously mentioned, WordPress doesn’t have the know-how to use Redis. It also doesn’t have any built in caching. We will solve both of those problems by installing the W3 Total Cache plugin for WordPress. Log in to your WordPress Dashboard, and go to Plugins > Add New. Search for “W3 Total Cache” and click on “Install Now” as shown below:

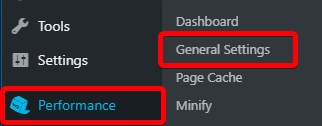
Click on Activate to enable W3 Total Cache. You’ll see a new menu item in the WordPress Dashboard: “Performance”. Click on Performance > General to get into the W3 Total Cache settings.
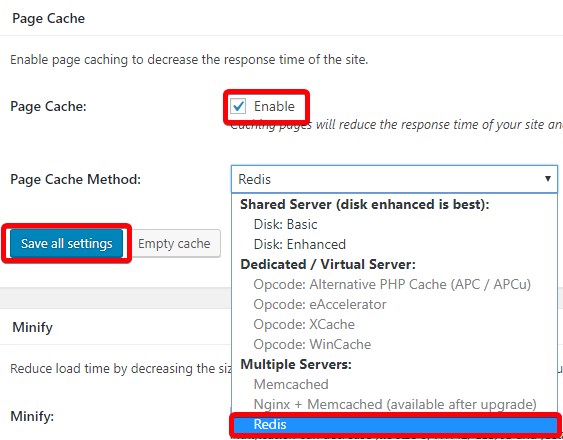
Go to each cache setting and enable it, and choose “Redis” from the drop down if it is available. If Redis is not available on any of the dropdowns and is greyed out, then it’s likely that either Redis isn’t installed, running, or enabled in PHP. You’ll need to retrace the previous steps taken before continuing.
Once all of the caches are enabled and Redis is selected, click on “Save All Settings” as shown below:
Check the function of your site. If your site doesn’t look correct, you may need to change the Minification settings, as those can often cause problems with CSS and Javascript. It’ll take some trial and error. Once your site is working correctly, we can continue.
Configuring WordPress for Redis really is that easy! But it doesn’t tell us whether it’s doing us any good. We want to know: Is Redis doing its job, and making an impact on speed? Let’s find out!
Testing Redis
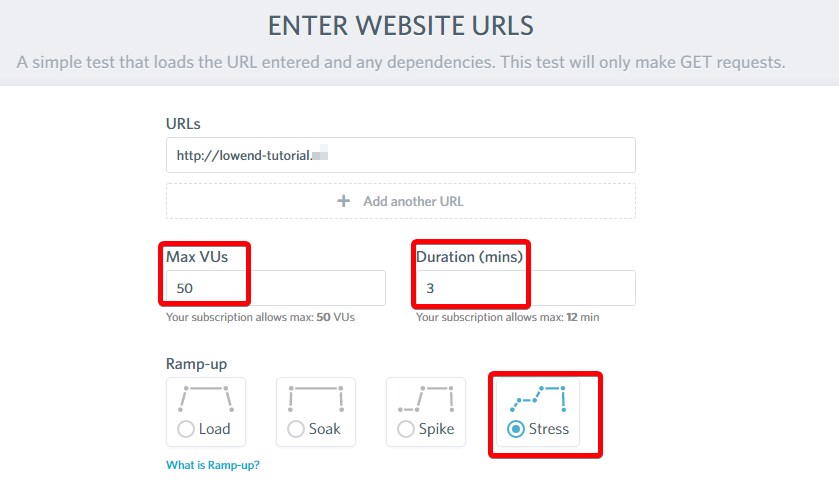
To know whether Redis is making a positive impact on your site, we’ll need to do some load testing. For that we used LoadImpact.com. Their free account will allow you to use up to 50 Virtual Users for 12 minutes at a time to load test your site. We configured a test for 50 Virtual Users (VU) for 3 minutes using the “Stress” ramp-up setting as shown below:
Both tests were run with W3 Total Cache installed. The “Disk Caching” test was done with W3 Total Cache configured for “Disk” or “Disk: Enhanced”. The “Redis Caching” test was done with Redis configured as previously mentioned. You can see the results in the chart below. Disk caching is Blue, while Redis caching is Red, of course.
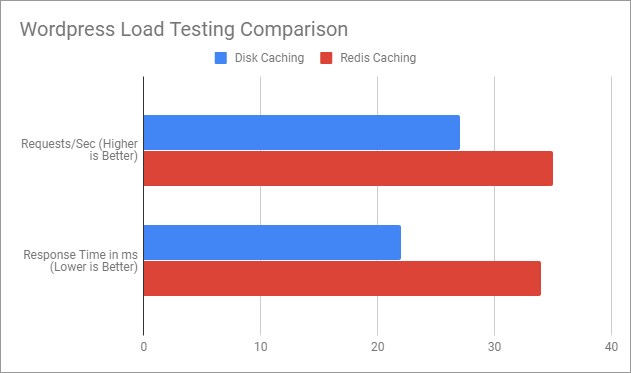
With Disk caching enabled, our WordPress site served 27 requests per second with an average response time of 22ms. For a single core VPS with 512mb RAM, this fine.
When we reconfigured the site to use Redis, there was a very nice improvement. The server was able to serve 35 requests per second, with a slightly higher average response of 34ms. The higher response time is likely due to the server being busy handling so many more requests. Still, 34ms is quite good and completely acceptable.
On the other hand, 35 requests per second vs 27 is VERY good. It’s a 30% increase in performance, and all we had to do was install and configure Redis!
While we’ve covered the general installation and utilization of Redis, we’ve only really scratched the surface. Redis can be configured in countless different ways. Tuning for higher performance is possible, and fine tuning it for your specific requirements may yield even better results. You can learn more about Redis in the official Redis documentation: https://redis.io/documentation
Are we done?
Not quite! There’s still more performance to be had. In the next installment of this series, we’re going to make even more use of caching by replacing Apache with a caching web server called Nginx (pronounced “Engine-X”). Click Here for Part 6: Moving to NGINX


Leave a Reply